
INSTALLING A SOFT TOP
There has been much discussion concerning the installation of soft tops on the roadsters. Should I do it myself or pay to have it done? Well, as with anything, it never hurts to try. Personally I like to do as much work on my cars as I can myself learning at the same time. It took me some where around 3 hours to install my vinyl top.
There are several choices when it comes to tops and quality. You get what you pay for holds true in this instance. The high quality canvas tops look pretty sweet but are very pricy. I have one but have yet to install it. For my daily driver I purchased one of the vinyl tops from Sidney at $135.00 dollars plus shipping. Several of the vendors carry tops and some come with zip out rear windows. Shopping around is your best bet. Here are a few links to sites that sell tops for our little roadsters.
Back to the vinyl top-it was easy to install myself and looks great. My car is not show room quality and I just wanted a serviceable top not a good looking top. The first thing you should do is to check out the top frame and make sure it operates smoothly and has no broken parts. I had to do a bit of repair on mine as several of the joints were missing their fastners. Check the front bow for cracks. If it is cracked get it fixed as the weak point will cause you problems.
It is best to install the new top on a sunny day but I did mine in the garage on a rainy day and all turned out well. The heat from the sun will help you when stretching the top.
Put the top frame in the up position and latch in place. Next you want to slide the rear support bar into the pocket in the back of the top. You may have to cut an opening for the tear drop fasteners to slide into. Place the top loosely over the frame. Go to the front bow and line the top up centering it on the bow. (This is a key step-centering. If you do not get it centered you will have a lopsided looking top. I saw one someone had put on themselves and it looked terrible.) Take your time and the job will turn out just fine. I marked the bow and the top with a welders crayon. Grab the top and pull it as far forward as possible. Using the crayon mark the front edge in three places-each side and the center.
Pop the top frame loose and with your marks you just made install the top front edge onto the bow with the metal strip using screws-one on each side and one in the middle. Line the marks up a little past the lip of the bow. In other words you want to put a little tension on the top.
Reinstall the top frame clamping down the front latches. If it goes on easily you may need to remove the metal strip and put a little more tension on the top. It should be difficult but not impossible to install. You do not want it too loose. How does it look? It should be nice and taunt across the top. If it does not look good keep tightening the top until you are happy with it. Too tight and you will never get it on-too loose and it looks like _hit.
Once you are happy with that fit loosen the latches and the front bow. You are now ready to tackle the sides of the back. Pull down on the sides so they fit evenly over the posties and twisties. Carefully mark with the welders crayon the center points of each postie and twistie. Pull the top off of the car so you can install the grommets into the top for the posties and twisties. I use a piece of 2x4 to assist with the installation. Carefully line the grommet up over your mark and whack it with a rubber mallet sinking the clinching teeth through the top. Turn the top over and install the backing support of the grommet bending the teeth over with a pair of pliers. Take an exacto knife and cut out the material where the postie or twistie will stick through. Repeat this process until all grommets are installed.
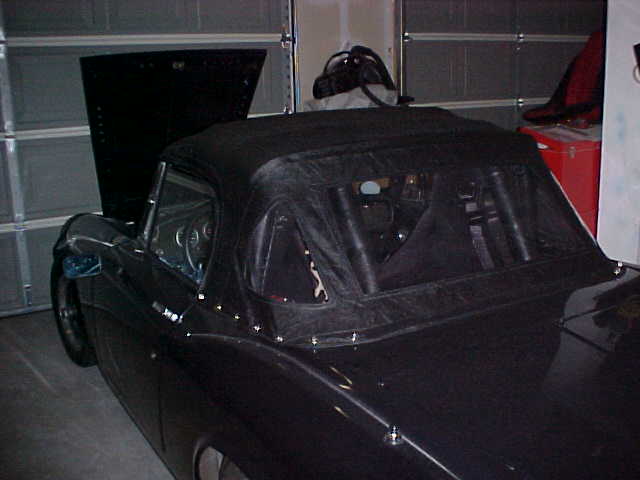
Put the top frame back onto the car. Slide the rear bar into place and connect all of the newly installed posties and twisties on the sides. Hook the latches into place and latch the front bow down. It may take a bit of grunting to get the top latched but you should have a nice tight fit. How does it look? If you are pleased with the job. Take the top off one more time. Install the rest of the screws in the front strip. Cut off any excess top. Glue front weatherstrip into place. Place top and frame back on car and secure into place.
There are also some cables that are suppose to be installed on the windows. I have personally never seen them and do not have then on mine. So I am not 100% on my top installation but missing them has had no adverse effect on the top. Hope this has helped some.