
SR20DET Swap - Part 3
by Travis Rowe
Hello Roadster Enthusiasts! On Sunday, June 1st, I drove the car to the gas station and back! This glorious one-mile jaunt was preceded by a week of frenzied activity, theories and tests trying to eliminate some gremlins.
I had completed the temporary wiring necessary to fire the engine the previous weekend, turned the key…nothing but a solenoid click. After a few minutes of investigation, I realized the ignition switch I was using was temperamental. I tried again and the engine caught after a few cranks! I was ecstatic and confused; I hadn’t put any gas in yet! With a new gas tank, pump and all new lines, the only place for gas to hide was in the fuel rail. The engine sputtered and died after a few moments. I had intended to turn over the engine on the starter for a few cycles to get oil throughout before combustion occurred… I added gas and started it again, but it was late so I only let it run a bit then quit for the night.
The next afternoon I intended to go for a drive but while warming the engine and looking for leaks, etc. I noticed that the engine would not climb in RPM. It would hold an idle well, but sputtered badly if I tried to rev it. At this point my mind started a frenzied attempt to solve the issue. The only major thing different about the install from when I heard the engine run in the front clip was the wiring and the throttle position sensor (TPS). Since my transplant was originally an automatic, I swapped the automatic style TPS for a manual style unit. I investigated the functionality of the TPS and it appeared to be working although finding a proper specification was not easy. I then began to think that maybe the ECU was upset that the automatic transmission controller was gone, that maybe the ECU was not compatible with a manual transmission? At this time, Michael Spreadbury suggested checking the error codes from the ECU. I thought I needed a diagnostic tool to do this, but it turns out the Nissan engineers were once again very thoughtful. There is an LED on the ECU that flashes in sequences to give code numbers. It claimed that there was an error with the mass airflow sensor (MAF) and the ignition. I started looking through the manual for how to troubleshoot the MAF when I stumbled upon the “Fail Safe” mode. In situations where there is a malfunction with the air/fuel mixture control system, the engine is run in on a baseline mixture and not allowed to rev past 2400RPM. This sounded exactly like my symptoms! I started to run the diagnostic tests detailed in the manual and quickly found a bad connection in the MAF circuit. Too good to be true!?! The engine ran just as good as the first time I heard it after patching up the connection. I double-checked the ECU and it reported a code 55 – All systems good!
Since then I have put 200 miles on the car. Everything appears to be in good working order except the idle when the engine is warm. The engine stumbles a bit at idle and sometimes stalls after it reaches about 190F. Still a couple of gremlins to find and lots to do to make the car roadworthy (remember this car sat since ’72).
That is where I am as of the end of June; I hope to get enough miles in to trust the car to make the entire trip to Shasta (and back)! TR
Here are some pictures. One of the engine bay, another of the mess of wiring that occupies the passenger side of the car and a third showing the real need for lowering the front end.
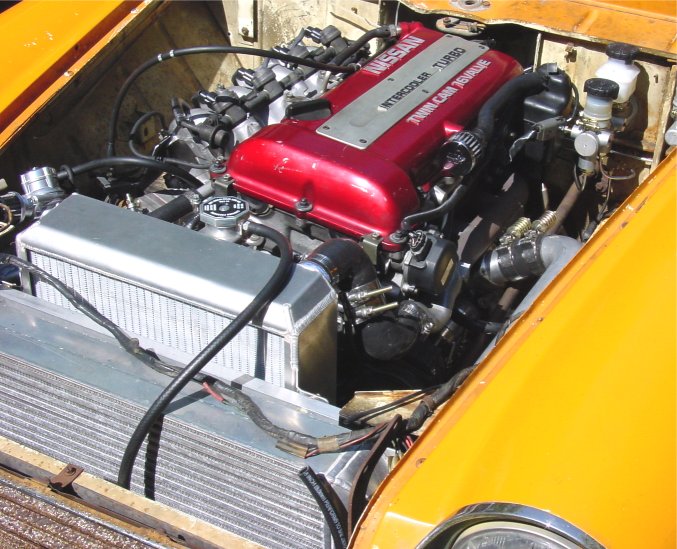 | 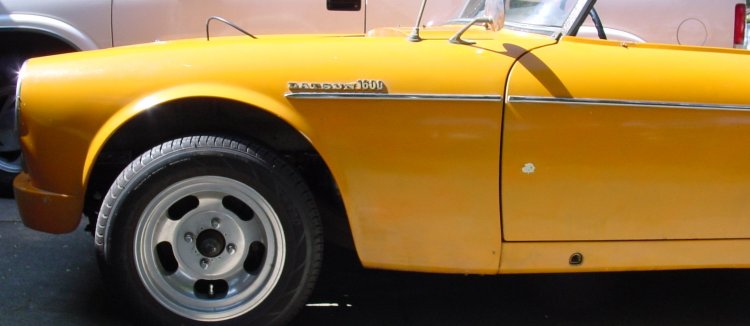 | 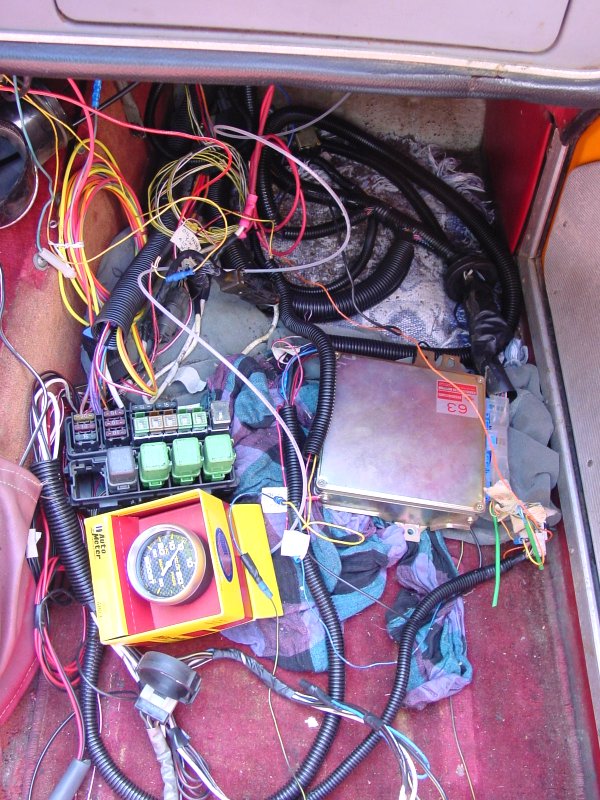 |
| Engine | Needs | Wiring |
| Compartment | Lowering | Nest |
| Full Size | Full Size | Full Size |
More advice from someone with experience doing it the wrong way! Those of you who are experts in learning the hard way (like me) need not read the following…
- Hydraulic plumbing – All of the lines that I flared seemed to need some use to “break in”. After a bit of use, I saw leaks develop at connections. When I retightened the connections, they would require almost a full rotation to seat again. This is a simple matter except that in trying to hide some of the plumbing and connections, I inadvertently made access very difficult! Make sure there is access to everything that may need to be adjusted, tweaked, etc. If I were to do this again, I would move my clutch/rear brake junction block over a couple of inches.
- Heater ON/Off valve – I had a couple of these bouncing around the garage, so I built one “good” unit from the parts. This probably took an hour and a half to do. To ensure that it was serviceable, I pressure tested it with air. I took the extra time to test it because it is very difficult to access with the engine installed and this was going to be the last easy access until I paint the car. Needless to say this thing leaked on the first trip from the garage. The new part price is well worth the peace of mind and the time spent to refurbish an old unit.
- Measure once, cut twice – I made all of my measurements and test fits of the engine with the body of the car loosely bolted in place. This made it much easier to repeatedly lift the body off of the frame. I figured loosely bolted would keep the proper alignment. To my surprise, when I tightened the body mounting bolts a few strange things happened. First, the brackets I made to replace the stock radiator mounting bars had the wrong bolt spacing. Second, the firewall moved forward about 1/8”. My guess is that the tension put on the body by tightening the bolts causes the body to flex. Again, not a big deal except that the engine rubbed the firewall and after installing all of the engine ancillaries, I was unwilling to remove the engine and body to modify the transmission and engine mounts. So I lifted the car and struggled to make the adjustment from below.