
311s Body Removal Step by Step
By Dave Northrup
311s.org is reprinting these instructions with the author's permisssion. A few notes:
If you can take some pictures as you go along they can help jog the memory when you begin reassembly. Put all removed hardware in plastic bags clearly marked as to where the parts came from. I even put the broken bits in there as it makes it easier to count for replacements. Mark all electrical connections for ease of reinstalling. Now for Dave's write-up.
The instructions for this were taken from Dean Apostal's Datsun Sports Parts Listing, Repair & Service Manual for Models SPL311 and SRL311. Credit is also due to Scott Sheeler and Don Morrell. Don Morrell is the copyright holder.
Datsun Roadster Parts can be reached at www.datsunparts.com or 818-363-2015.
Place the car on a smooth, level surface, ready to go. Lots of space around it. Remember: THINK SAFETY!!!!!
Also, I don't know the history of this car; the dpo was on his way to "customizing" it, removing the chrome, tail lights, etc, before he lost interest and I picked it up. So if you spot something that's not correct, let me know! Of course, I may or may not change it - my goal is to create a really fun driver without spending a gazillion dollars on it. I did that with my TR3, and it's really not worth it!
You may ask why am I doing this? Well, the frame is bent up front; we have the engine out, and I have a replacement piece to weld in.
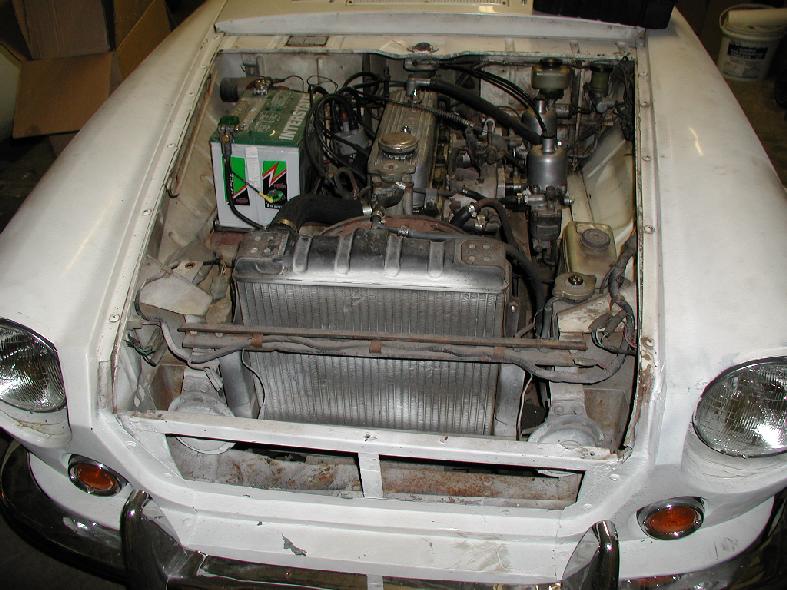
As you can see, the hood is already off. It's stored in a safe place for when we will put it back on.
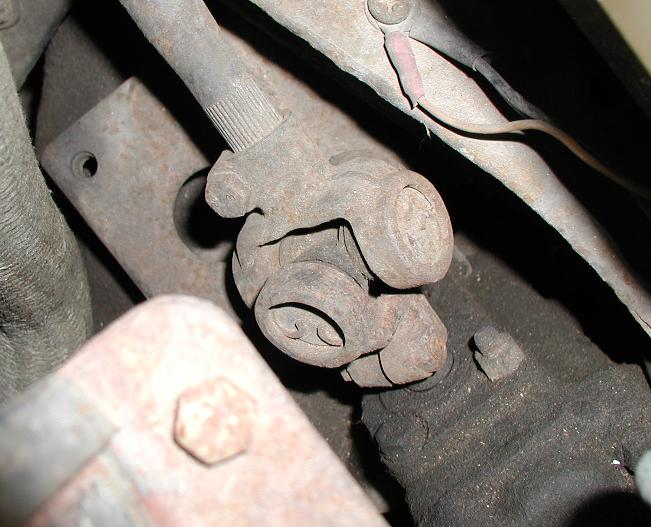
This is the steering column yoke. It will come off soon!
5/27/05 - took off the old top and removed the seats. I have also loosened ten body bolts - 4 on each side. two each side in the engine compartment, and three in the passenger compartment. The trunk is full right now of parts, so I have to do some reorganizing to get to the trunk bolts.
5/28/2005
It was at this point that Jim M came over to help. Special thanks, Jim!!! I couldn't have done it without you!!!!!
First bolt on this side. 3/4". One on each side.
Second bolt, one on each side. 9/16" One on each side.
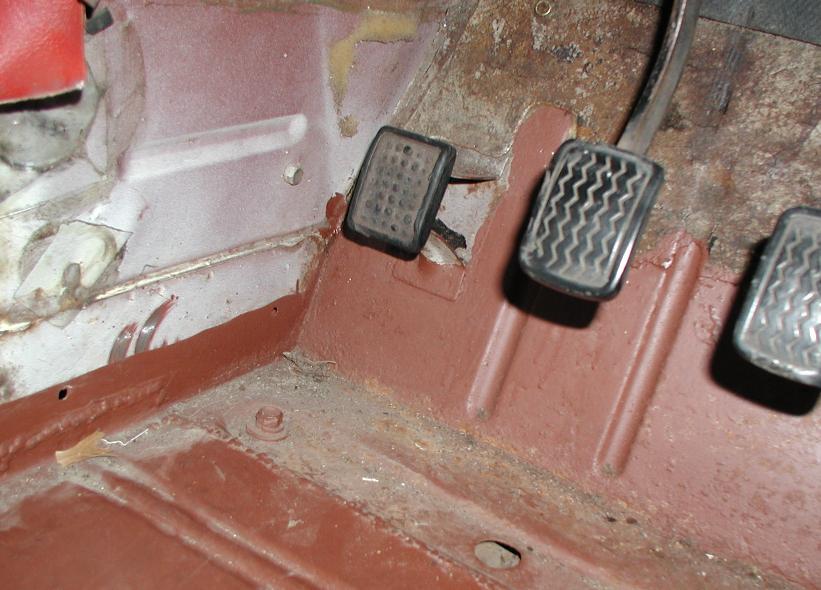
In the passenger compartment, in the footwell. One on each side; 9/16" This one is easy to miss!
In the passenger compartment, under the seats. One on each side; 9/16"
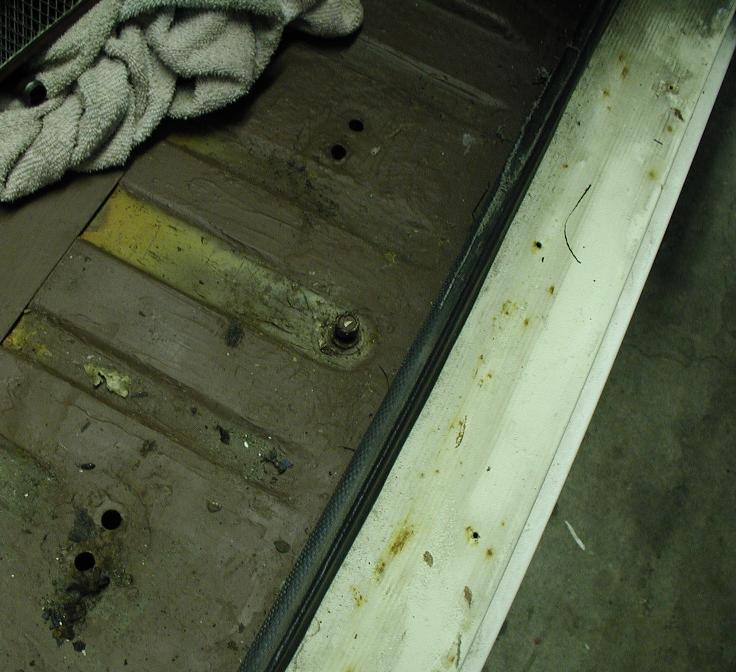
In the passenger compartment, back up on the luggage shelf. One on each side; 9/16"
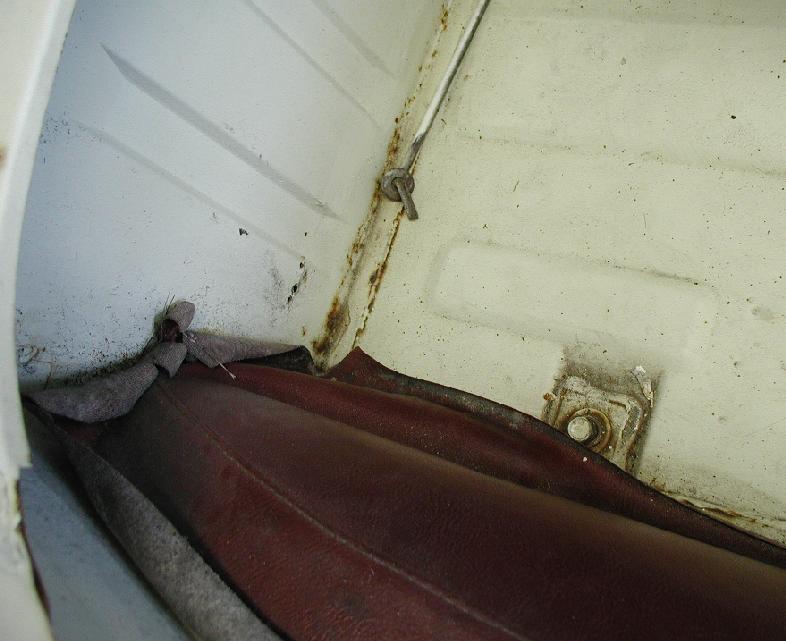
This one's in the trunk. 3/4" one on each side.
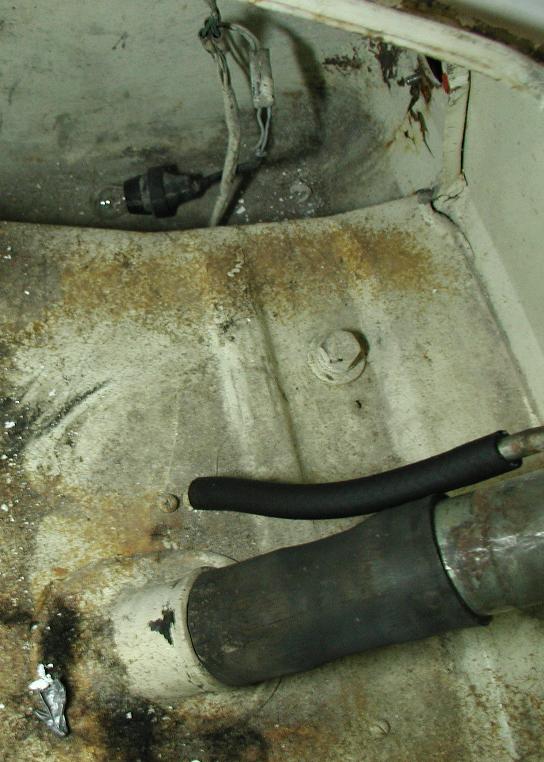
Also 3/4", these are in front of the rear axle, in under the rear fender.
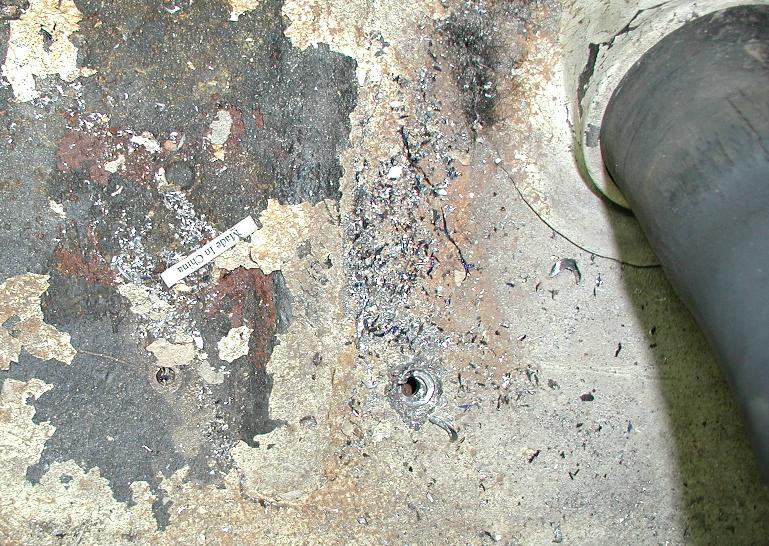
These had me buggered for a while. They are hard to find, especially if the trunk insulation, etc is still somewhat there. These are weird bolts - mine had three different heads on them, and looked like they had been tacked in or something underneath. I drilled them out. There are four; they attach to the plate the gas tank attaches to underneath, tucked way in under the bodywork attached to the frame in the very rear.
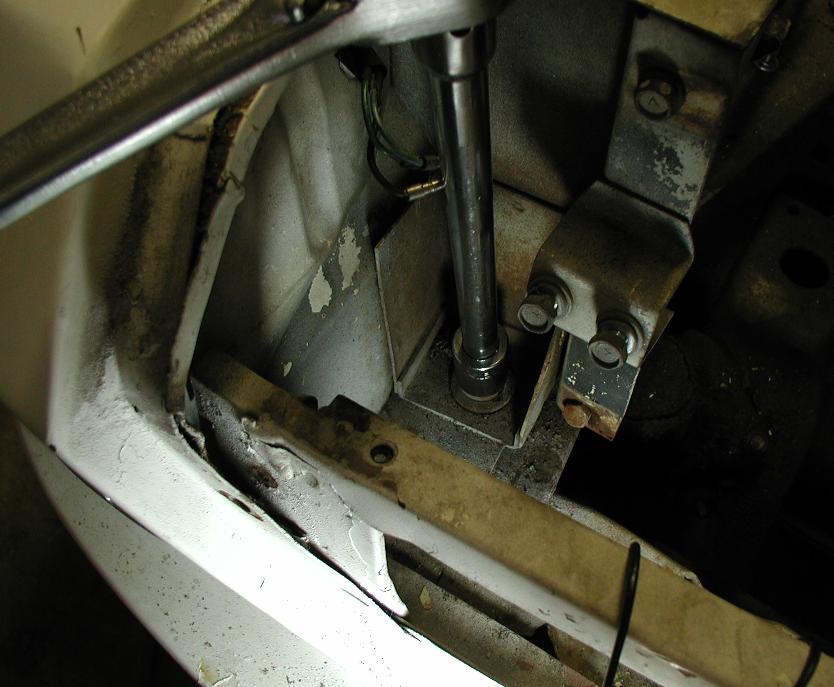
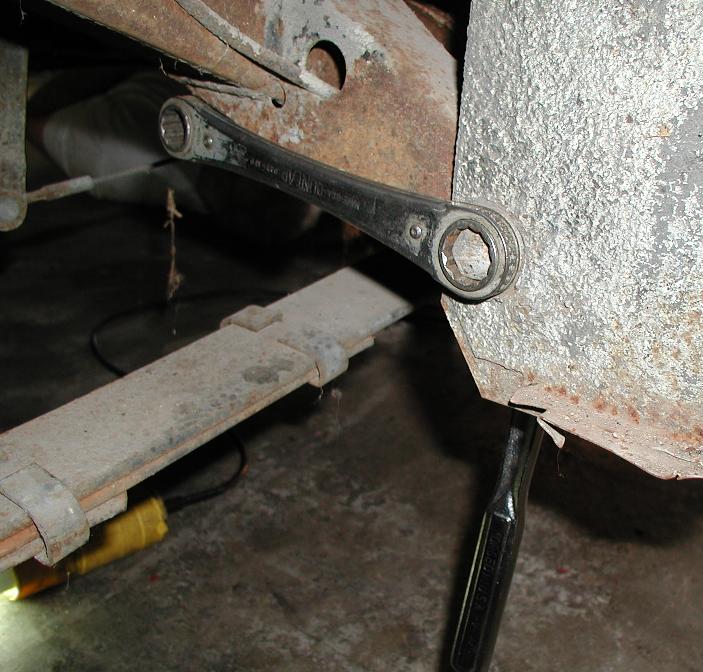
The steering column comes out here. There is obviously some rust helping to hold this in place. We tried and tried all sorts of things, and nothing worked until I used the infamous "smoky wrench!" I used a small torch to heat up the outer shell, and my companion (Thanks, Jim!!!) pulled on the steering wheel and got it out! You will see both bolts are out; we also tried prying them apart with a very large screwdriver. Don't know if that did any good.
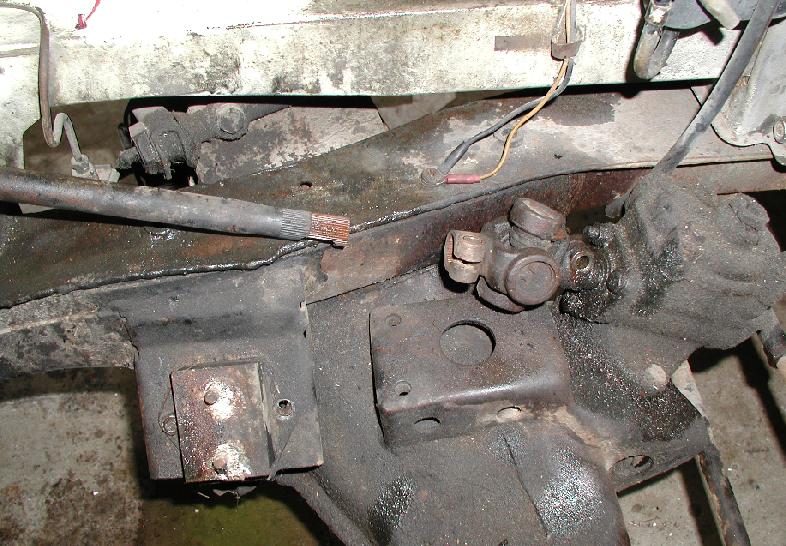
Note the brake line here on the drivers side that has to be disconnected. This one dripped forever, so have a catch pan handy. There is one on the other side too. Plus the line that goes to the rear. Make sure you get them all - you don't want to be stretching those lines out!
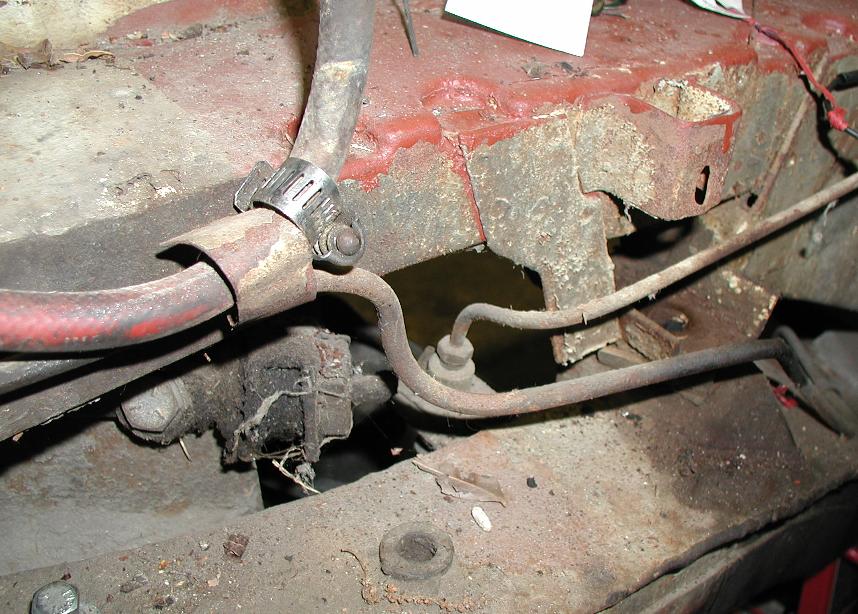
This is the brake line on the passenger side.
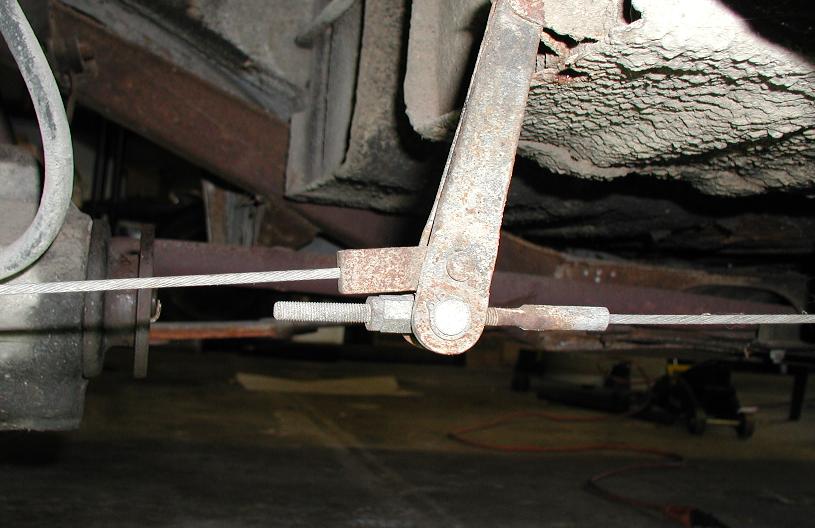
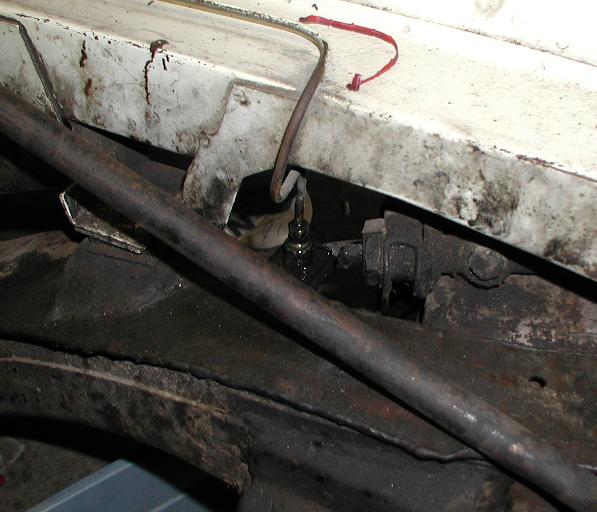
This looked to me like a good place to disconnect the emergency brake line between the frame and the body. Pull the little cotter pin out, and then the holding pin to separate. Tie them off so they don't get caught on lifting.
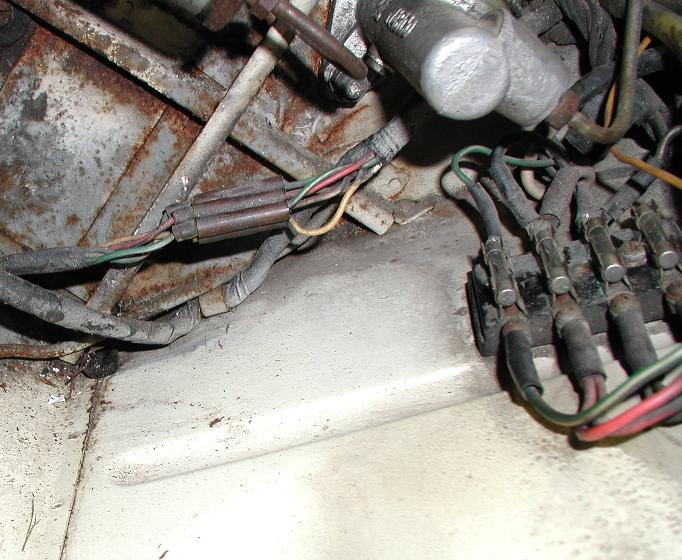
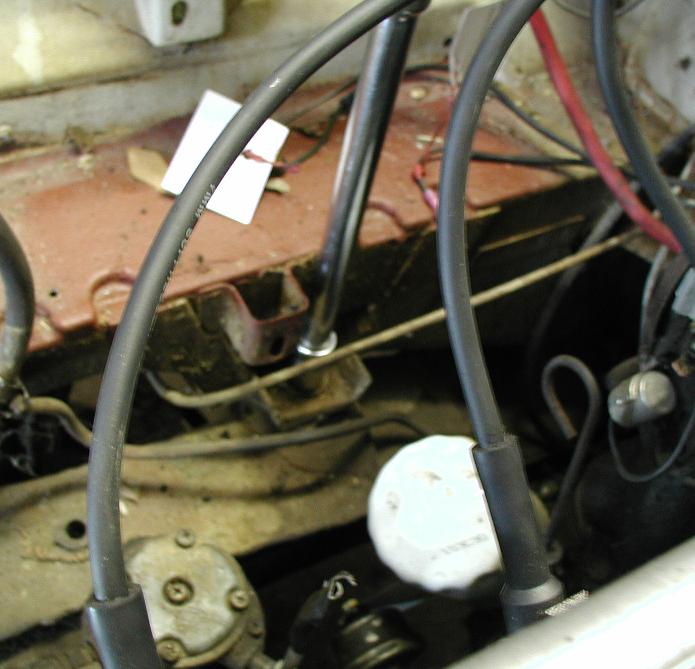
This is a tangle of electrics that need to be disconnected. Fortunately they are all bullet connectors, so it's not too hard. Then pull them down through the hole in the body and tie them off to the frame.
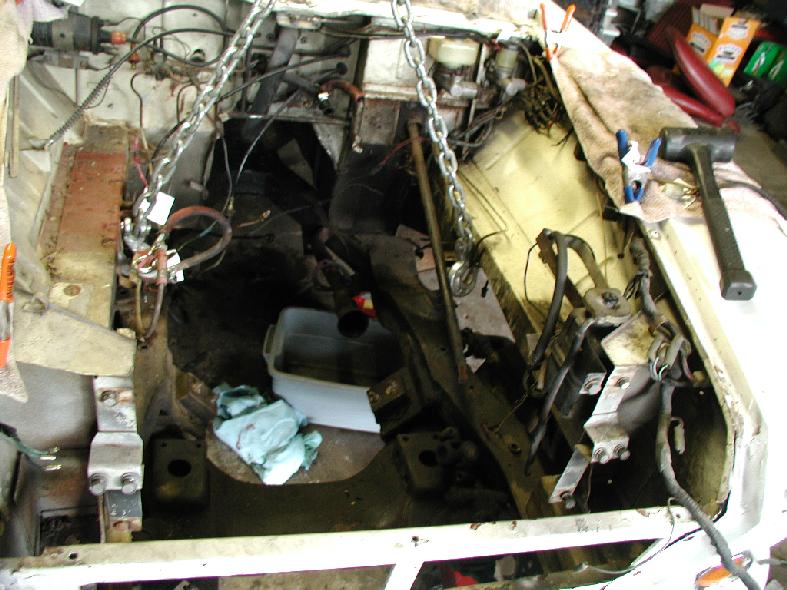
This is what I did to check the front connections (or lack thereof) to ensure everything was loose (it wasn't!). I also was using this lift to figure out why the body was not coming off the frame-it was the small bolts in the trunk.
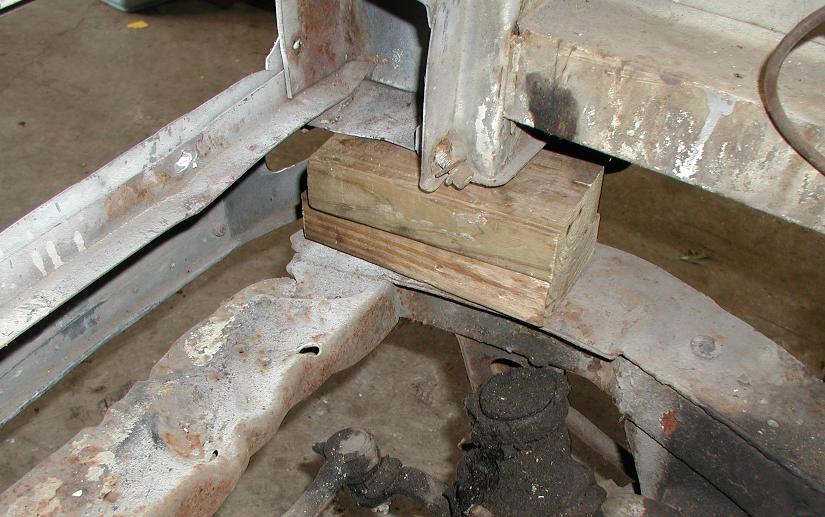
I then propped a couple small 2x4 pieces between the body and the frame to keep them separate.
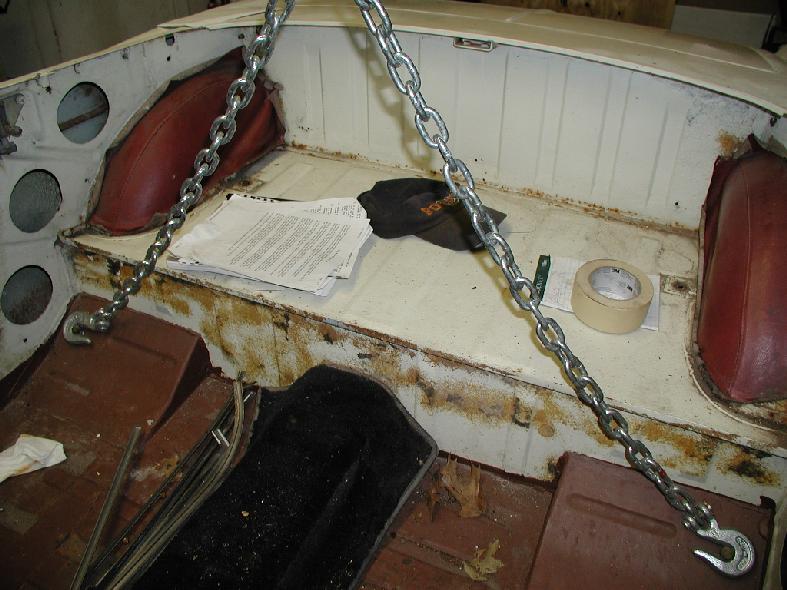
This is a good place to lift the body; it is not a perfectly balanced centerpoint and the front end will want to drop. With a little help from some friends you should be able to get her off safely.
Or you can attach a chain to a pipe across under the hole where the shift knob sits, and make that chain much shorter, you can use the lift to pull the body as that is closer to center.
Don't Forget!!! The hydraulic brake connection from the rear and the connection to the gas tank in the back. The brake I got pretty quickly, but we were trying to figure out what was holding the body down when my son noticed the gas tank connection. But that's all of them. I know!