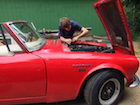
Early impressions first in case nobody makes it to the end. I love this unit. Install was a breeze, way easier than I thought it would be. This is the first distributor that I have swapped out, so I am a complete novice! I love being able to fiddle with my timing curve. Using the software is easy and making the changes are so quick. Now I have a reason to mount my phone where I can see it so I can look at the realtime info from the 123 app.
The product is awesome. The work Brian did to make these units work with our little cars is flawless. I am very very happy with my purchase and if I ever add to my collection of Roadsters, I will definitely be upgrading to this unit on every one.
What came in the box:
- A distributor, install instructions and a hex key Installation:
- Before swapping in the 123 distributor I swapped in new plugs (NGK BPR6ES) gapped to 0.040 and new wires (Beck/Arnley Premium Spark Plug Wires 175-4217). I made sure my static timing was set to 16 BTDC and rotated the engine so the distributor was pointing at the #1 cylinder wire (not sure if this was necessary, but it's what I did)
- Follow directions from the Wiki Page: http://www.311s.org/pmwiki-311/pmwiki.p ... tallADizzy
**Required me to lube the O Ring a little so it would slide in, but overall very easy peasy
- Removed the old coil and ballast resistor
- Installed the new coil (Bosch Blue Coil) and connected the wires (Ignition wire to positive, red wire from 123 distributor to positive on coil, black wire from 123 distributor to negative on coil, Blue Wire not connected to anything)**
**What did this mean for the existing wiring that was removed? Not being used, so I just tied it off.
- With the new unit installed, I started her up and set the static timing back to 16 BTDC and tightened the bracket (with the included hex key) and reconnected the vacuum tube
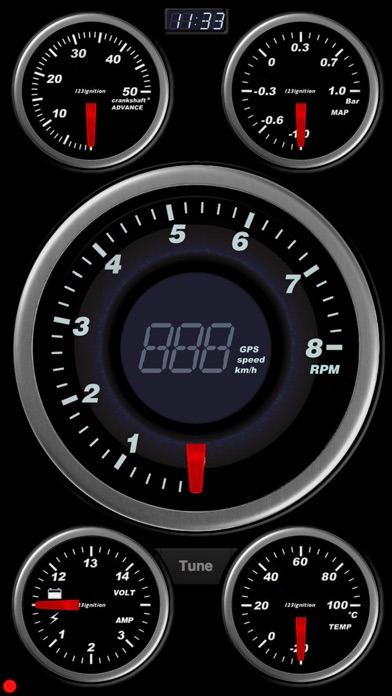
- Turned the ignition key, but did not start the engine. This activates the distributor so I could connect using the software on my phone and setup the initial Advance and MAP Curve. These are the numbers given to me by Brian:
Advance curve:
500 rpm 0
750 rpm 4
1500 rpm 7
2500 rpm 13
3250 rpm 22
4500 rpm 26
5500 rpm 29
Rev limiter set to 6000
Vac start at 4.5-5.5in Hg
Add a total of 7 degrees up to 12.6in. Hg.
- Took the car for a test drive and right away realized that there was way too much advance at higher RPMs, evident by engine pinging. I pulled over, turned the car off, hooked up the app and lowered by advance numbers from 29 at 5500 to 26 and scaled all back. Ran better, but still not perfect but it was time for bed. Did some research and found that ideal maximum advance is in the 35-36 range. I looked at some curves being used by BMW users who seem to love this unit and reprogrammed with the following numbers:
Advance curve:
500 rpm 0
750 rpm 4
1500 rpm 10
2000 rpm 15
3500 rpm 20
4500 rpm 21
8000 rpm 22 MAP curve:
0 kP 0
62 kP 5
69 kP 8
87 kP 10
88 kP 11
100 kP 0
200 kP 0 The following are pictures of the unit installed: Install and info manual
http://www.123ignition.nl/files/manuals ... NEPLUS.pdf
About
Compared against points and pertronix
Install on a BMW
Detailed lessons about the product and software (Laptop and apps)
http://123ignitionusa.com/123ignition-lessons/
Thread on 311s
http://www.311s.org/phpBB3/viewtopic.php?f=60&t=28900
Hope this is helpful to someone. And if anyone has any advice on how to make my timing even better, feel free. I am no timing expert and want my car to run the best it can.
Adam