Have you heard the old proverb
Q: "How do you eat an elephant? A: One bite at a time!"? This is the kind of attitude that you will need to have to tackle a project of this size and complexity. Many people get overwhelmed at the size and scope of a project like this, but if taken one step at a time, by being disciplined to stay on task, and by utilizing lots of check lists, this project is something that anyone with reasonable mechanical skills can handle. The rewards of an SR powered roadster are WORTH THE EFFORT!
A Word of Caution
Working on cars is inherently dangerous; there are no end of possible dangers to yourself, your car, and your work space.
Welding, grinding, and other fabrication work on an automobile brings many fire hazards. Be hyper-aware of gas lines, flammable interior materials, old grease, body felt, all of which can start a fire from spark from your welder or grinder.
Keep a couple fire extinguishers nearby, and whenever possible, have a helper on fire watch while fabricating. Always use appropriate hearing and eye protection when working on your roadster.
Recommended Tools
The right tools will make all the difference in completing this swap, but if you don't have everything on this list it won't be a show stopper. I have seen this swap done with an 110V wire feed welder and an angle grinder.
Welder: A welder is a must for this project. An 110V MIG with a tank of argon shielding gas will do the job, but as with all welders, more power is preferred. If you have a 220V MIG machine, even better.
Plasma Cutter: A plasma cutter is an indispensable tool for this conversion. A plasma cutter makes quick and accurate cuts into steel. Plasma cutters are available in both 110V and 220V voltage, with the 220V machine being able to cut thicker material. A good quality 110V plasma cutter will handle any jobs on this conversion. Plasma cutters also require clean and dry compressed air, so an air compressor is necessary to operate one. Many welding shops will rent plasma cutters if you don't know someone who has one.
(Alternative to a Plasma Cutter: Sawzall: If you can't find a plasma cutter, many of your cuts can be done with a saw such as a Sawzall. The cuts that you can't make with a Sawzall can be handled with a 4" grinder with a good cutting disk.)
More recommended tools:
Grinder: The grinder is another must-have tool for this project. Get yourself a variety of cutting disks, grinding disks, and flapper sanding wheels.
Wire Wheel: A wire wheel used in conjunction with your angle grinder will quickly remove paint and surface rust and get you down to clean metal - this is a must have!
- Angle Indicator: An angle indicator will help you set the correct engine angle.
Magnetic Level: To check that the frame and the bottom of the oil pan are sitting level.
Engine Hoist: To lift the engine and transmission in and out of the frame.
Scribe: To mark the frame for cutting.
Sharpie Markers: To mark the frame and materials.
Jack Stands: Four (4) heavy duty jack stands to support the frame to a safe and comfortable working height.
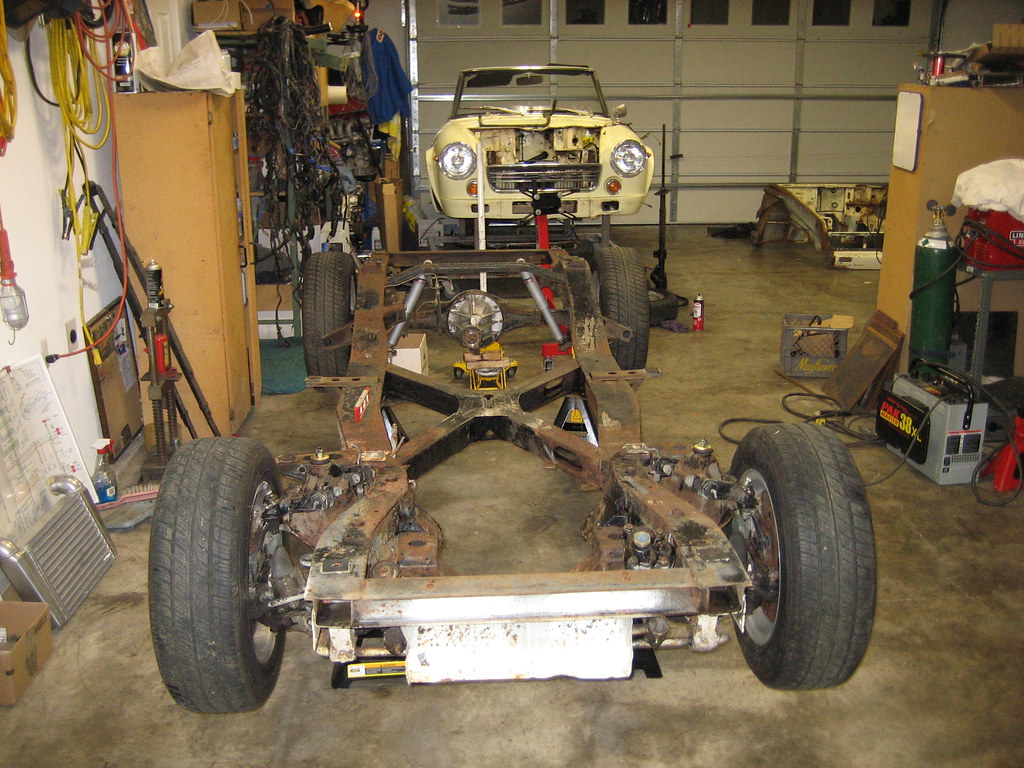
Preparing the Frame
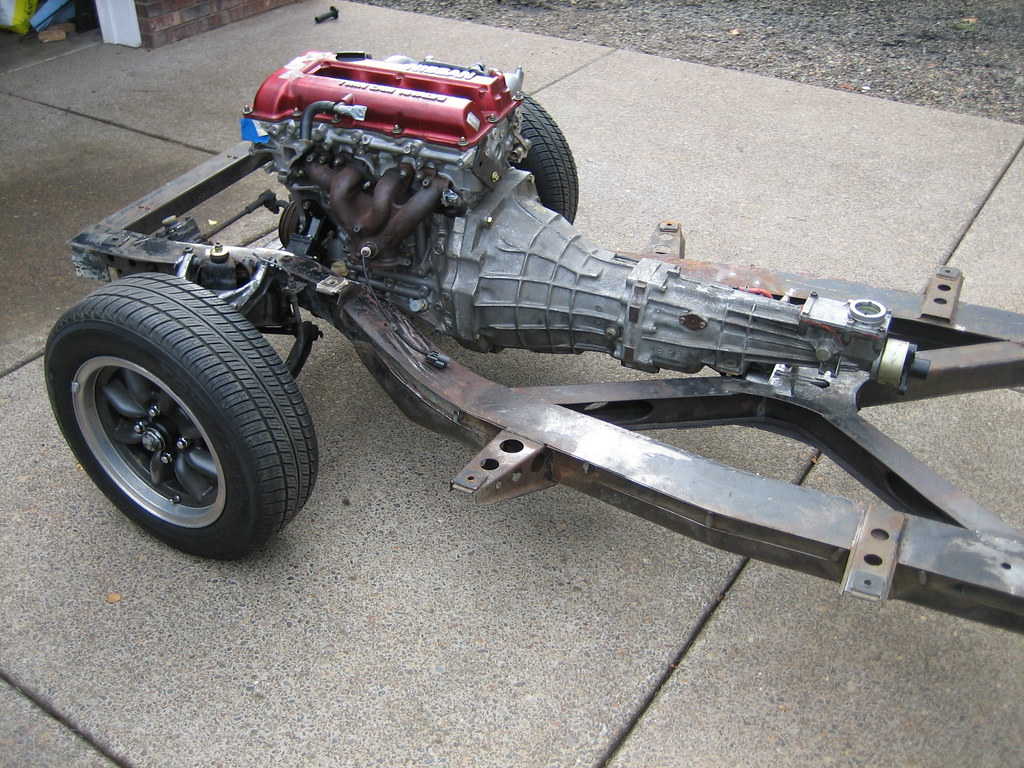
The first thing to do is to prepare your roadster frame for the new SR. This will involve removing the existing radiator, engine, transmission, driveshaft, and exhaust system. You want the already-too-small engine compartment to be free of as many items as possible. Now is an excellent time to pressure wash and clean the frame before doing any fabrication work. You want your work surfaces to be as clean as possible, this not only makes things a lot nicer for fabrication work, and it also prevents you from becoming a giant grease ball by the time the project is done.
One of the first things that I do when I start working on a roadster is rounding off all the sharp edges on the frame and body. The stock roadster frame will quickly fillet you with all of its sharp edges. A few minutes spent at the start of this project will save you many cuts and bruises down the road.
 Should I Remove the Body From the Frame?
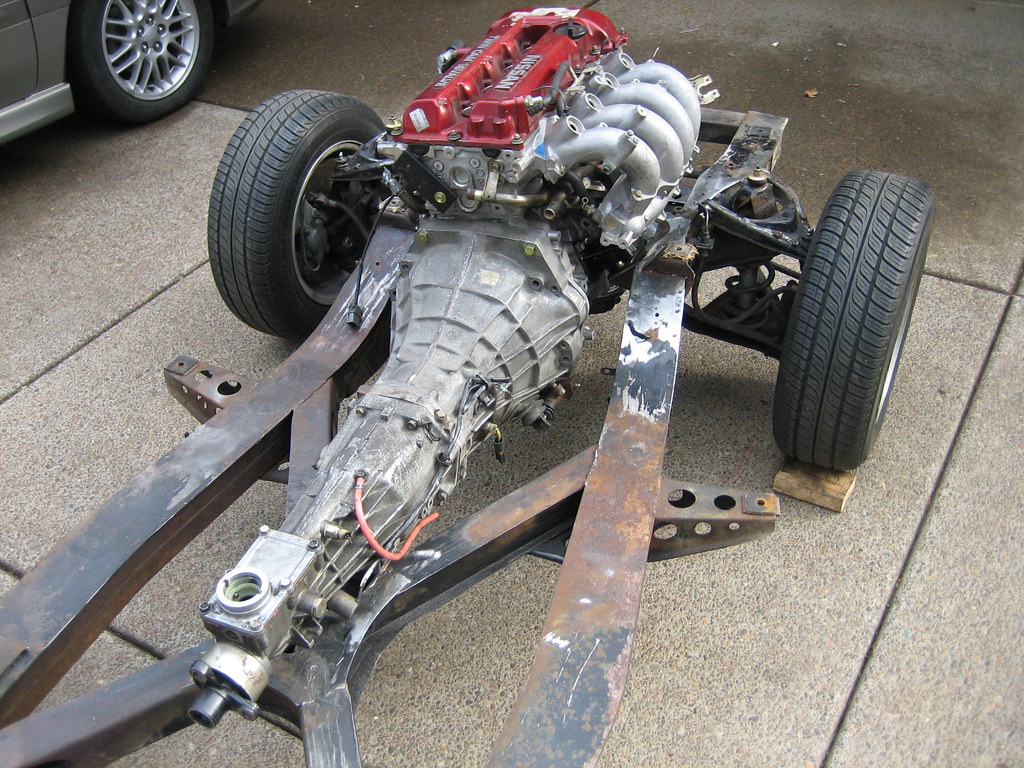
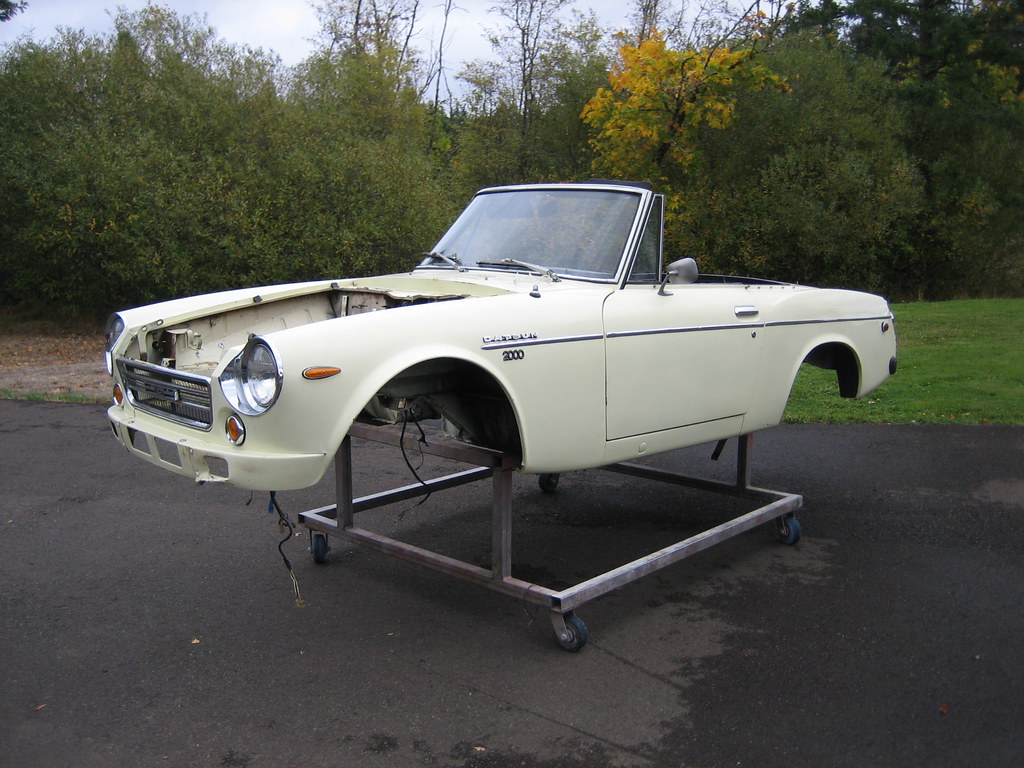
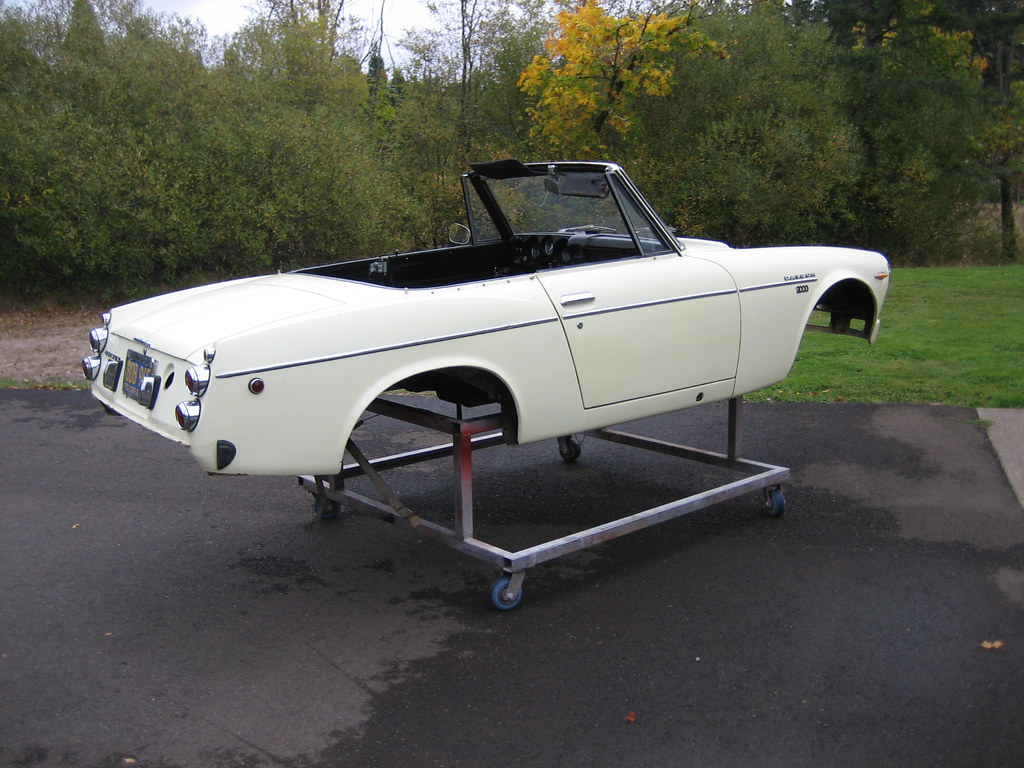
This is a great time to make the decision to keep the body on the frame, or remove it for ease of fabrication. The first few SR swaps that I did into roadsters, I left the body on the frame. This was nice to use as a reference point to know where the firewall and sides of the engine compartment frame rails were, but it also made doing the modifications to the X-member and the other spots on the frame much more difficult.
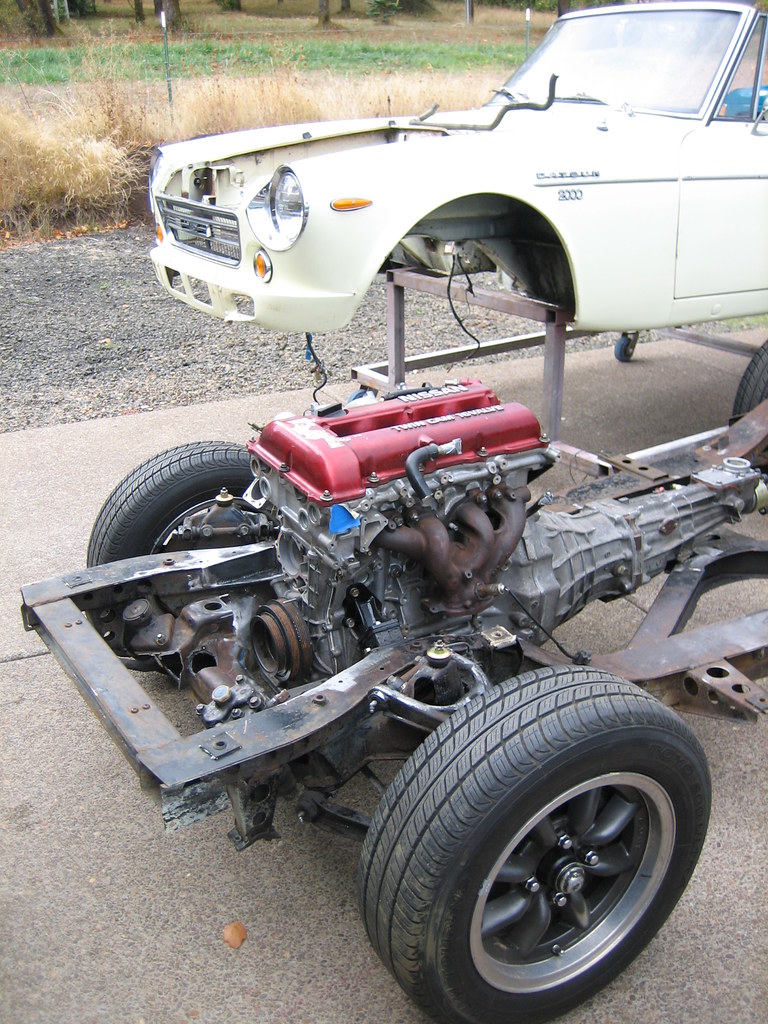
Now when we do this conversion, we remove the body from the frame, and put it onto a body cart to keep it safe from damage, and to allow much better clearance to the frame. Now doing the modifications on the X-member for the transmission mount, speed sensor, and opening up the exhaust holes is much easier than before. We also have the benefit of having a front half of a recently scrapped roadster (aka "Buck") to bolt onto the frame for firewall, radiator core support, or frame rail reference. Since roadsters generally have the same engine compartment dimensions (such as firewall placement) this is a great tool for modifying the frame.
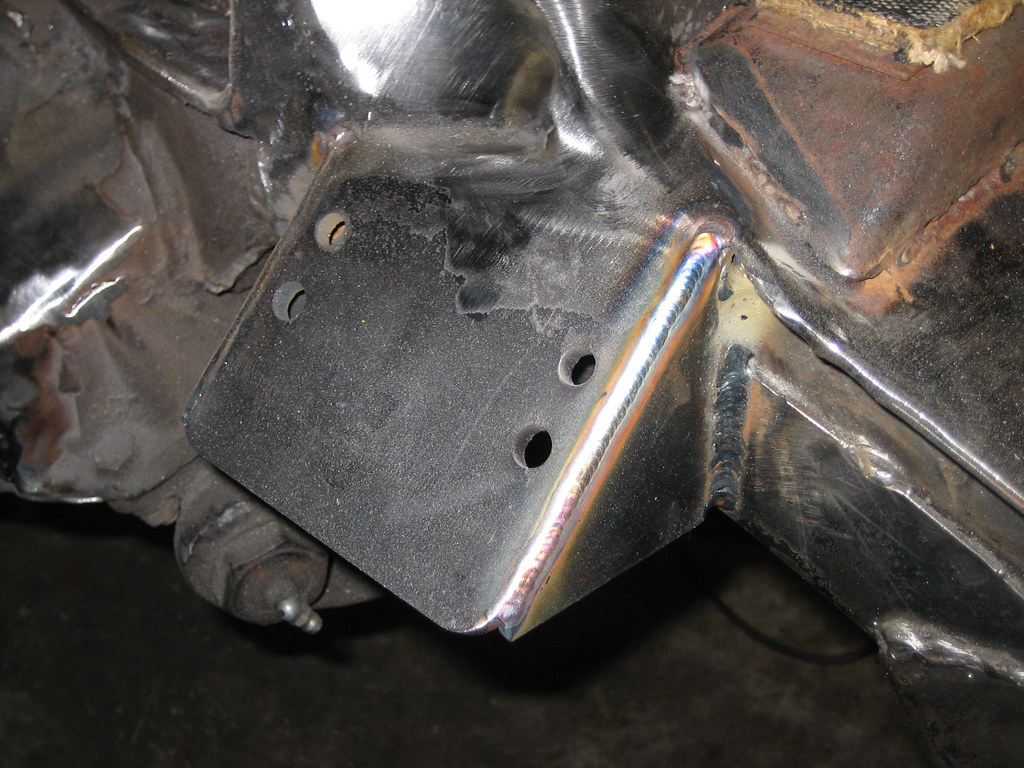
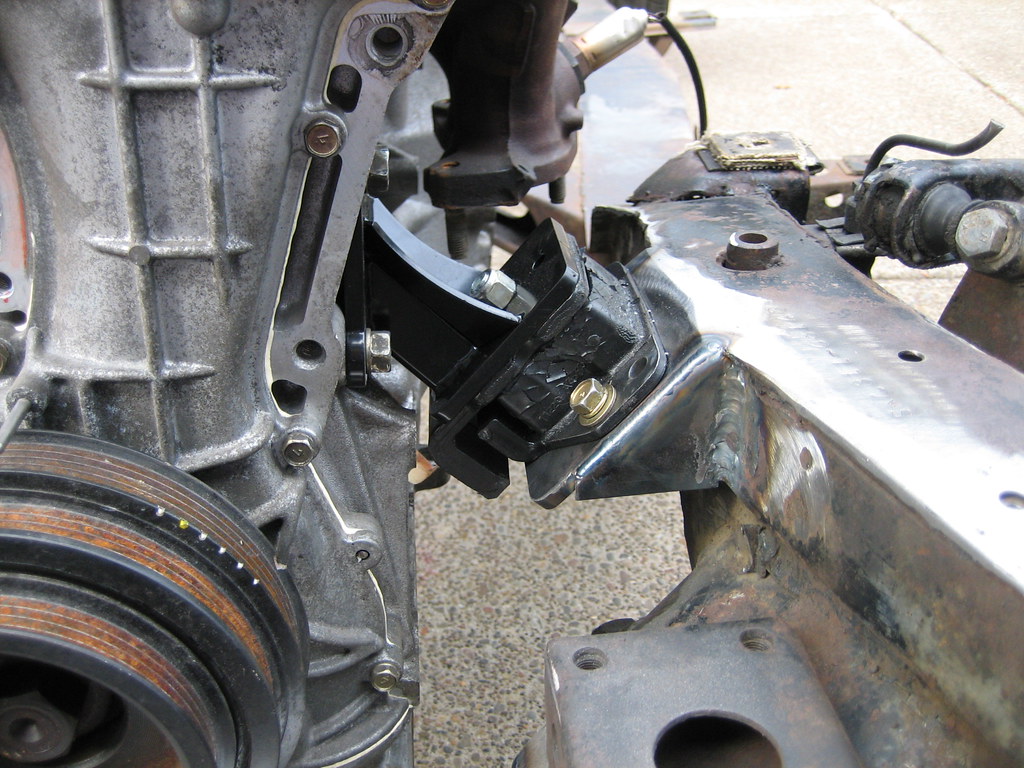
Frame Modifications
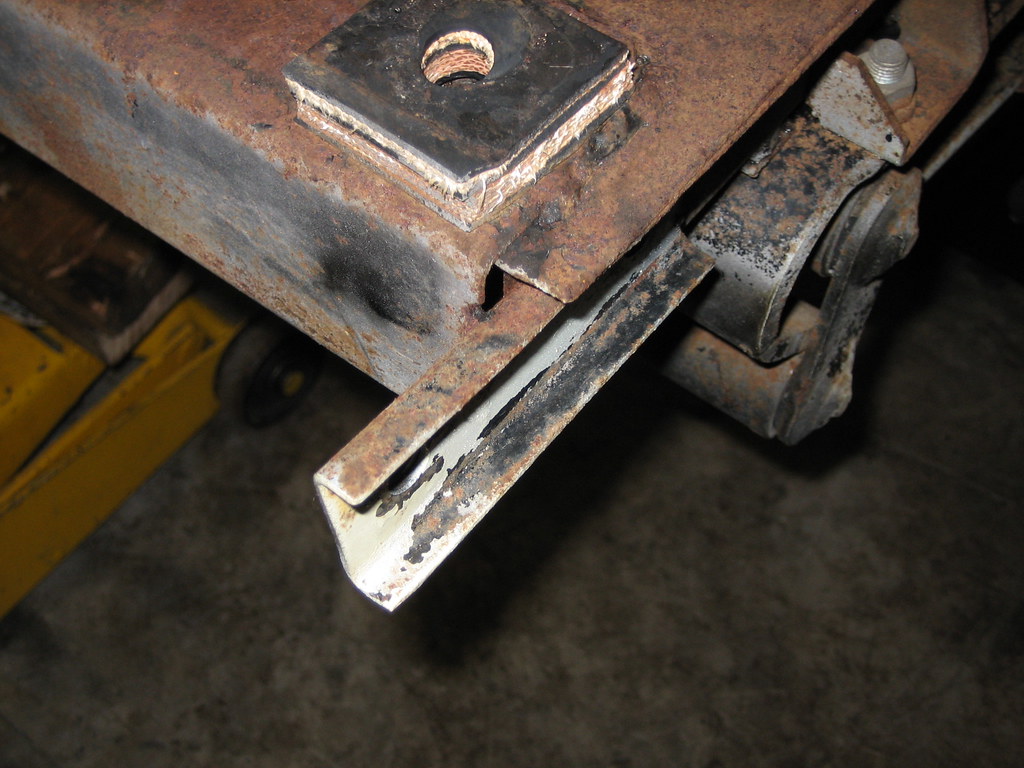
Assuming that we have decided to remove the body from the frame, we can start doing the modifications to the frame to fit the SR into the engine compartment.
Frame Setup: Mount the stripped and cleaned frame on a set of heavy duty jack stands. I like to work with the frame about 24� off of the ground, but find a suitable working height that feels comfortable to you.
After the frame is sitting on the jack stands, shim it as necessary to get it as level and square as possible. Use your magnetized level to check that the frame is level in more than one place. Give the frame a wiggle test to make sure that it is stable, and will not fall if something was bumped into it. You will be working at some unusual angles when doing the frame modifications, and it is very important that the frame is sitting solidly on the jack stands!
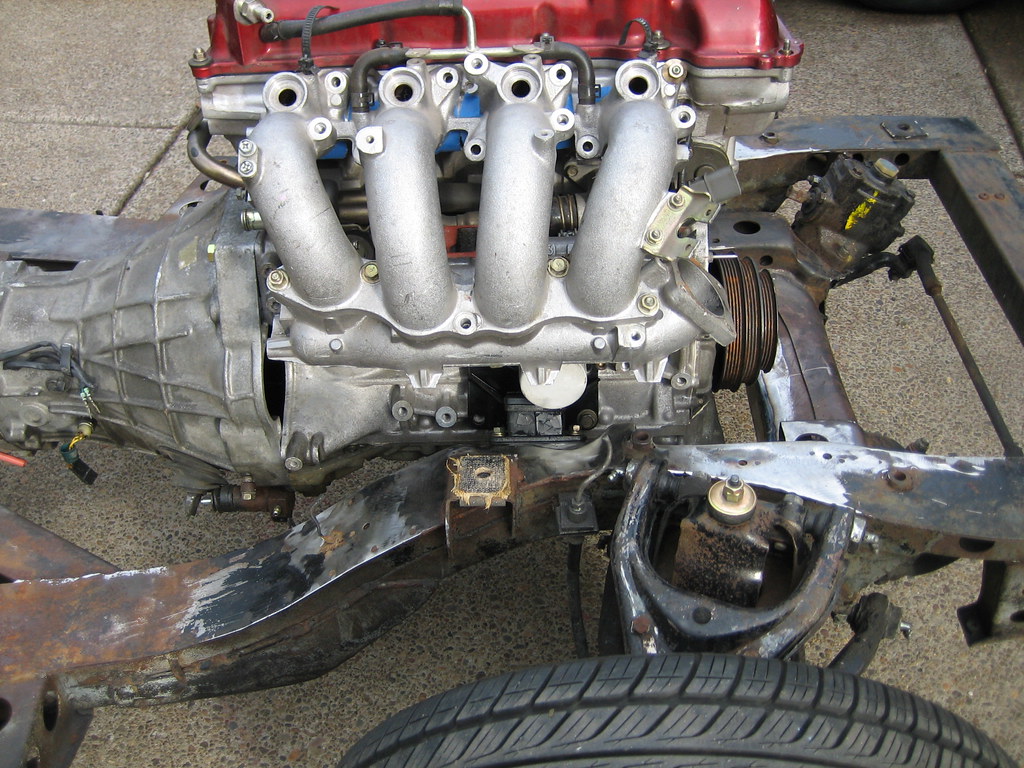
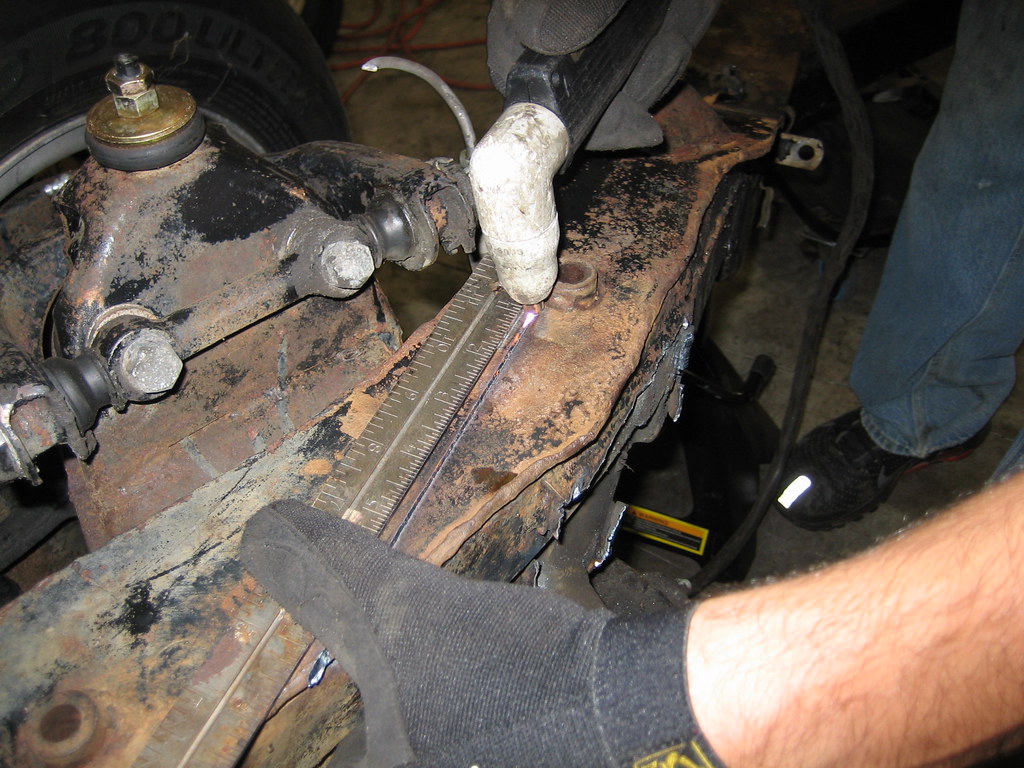
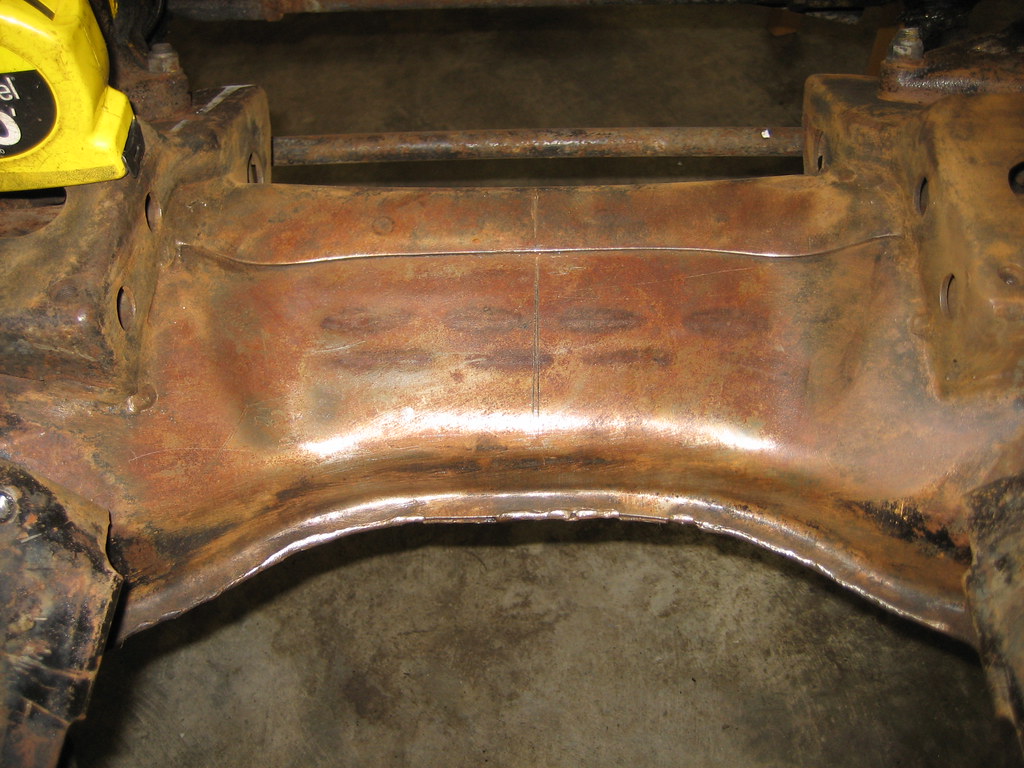
Once the frame is setup, scribe the center line on the front cross member and the X-member. This line will be very important, so be sure to use a good scribe and mark the frame carefully as we will reference this line many times during the conversion.
The front cross member can be difficult to mark, but I find that it is easiest to measure between the rectangular mounts (see photo) and to scribe a center line. The approximate dimension from side to side is (6 1/4").
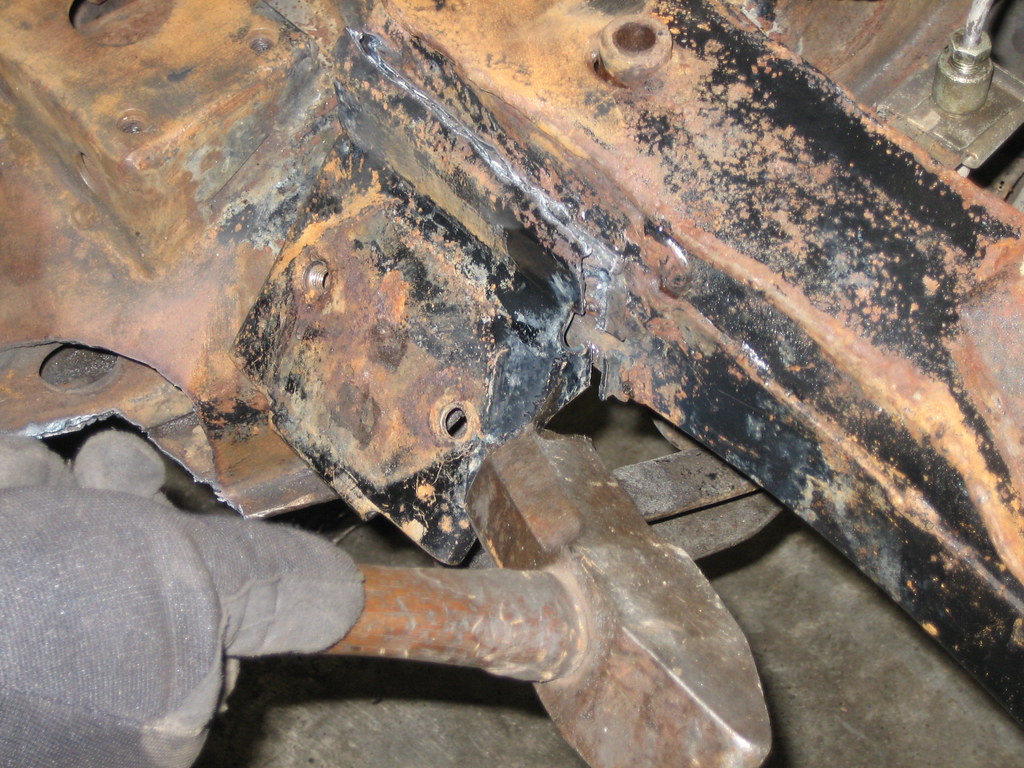
Once the engine and transmission are out of the car, and the entire frame has been degreased and cleaned, it is time to start removing the stock roadster brackets.
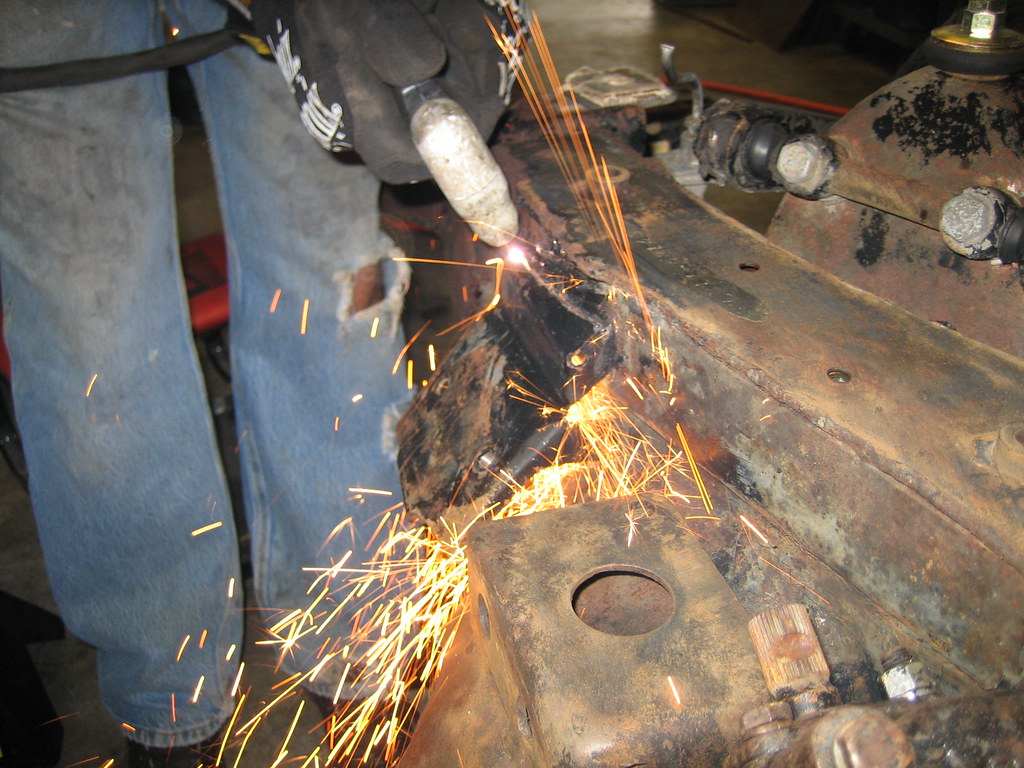
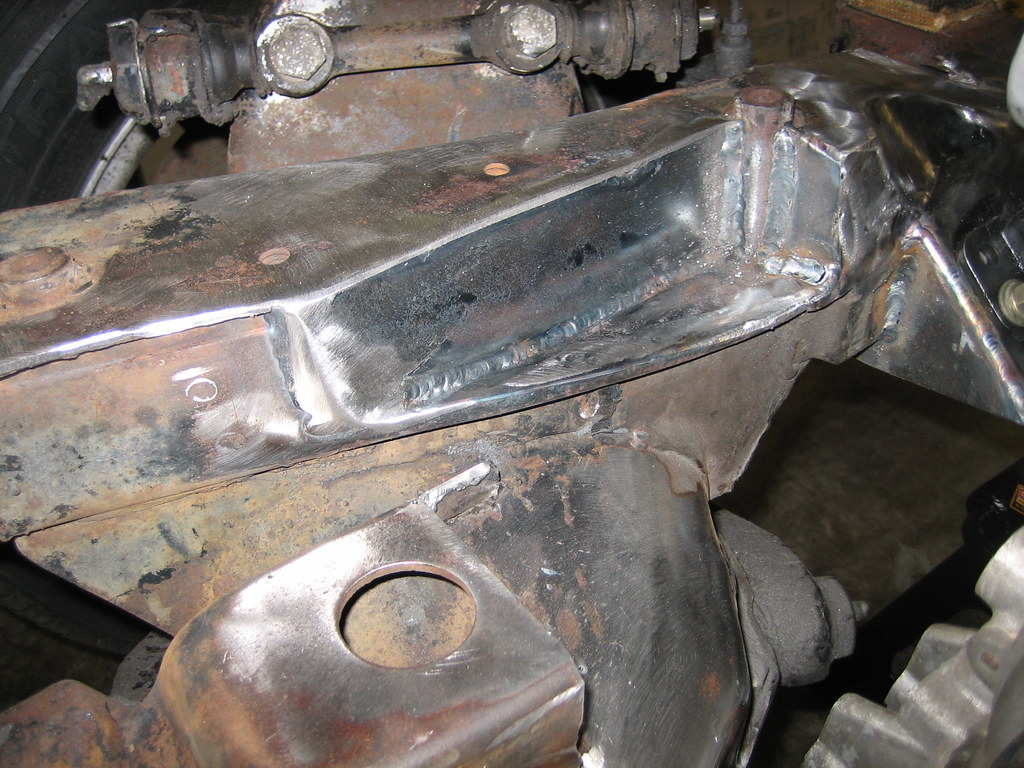
Engine Mounts: Remove both stock motor mounts and grind flush. (This motor mount has been cut with the plasma cutter and is going to be broken off the frame with a hammer)
Ok there is lots more, but that is all for tonight, I will update more tomorrow with more photos, more descriptions, and will show the engine and transmission sitting in the frame-- stay tuned!
Michael Spreadbury
Spriso Motorsports