'Caraddict' Jon's 1967 spl

Here can put pictures and write-ups about your roadster or other vehicles.

Moderators: notoptoy, S Allen, Solex68

User avatar
RCMike
Roadsteraholic
Posts: 2460
Joined: Tue Mar 13, 2012 12:58 pm
Location: Pomona, CA

'Caraddict' Jon's 1967 spl

Post by RCMike »

So someone has been asking Jon for a build thread for his 67 SPL.. Since I have most of the photos, I got the nod to write the start of it..

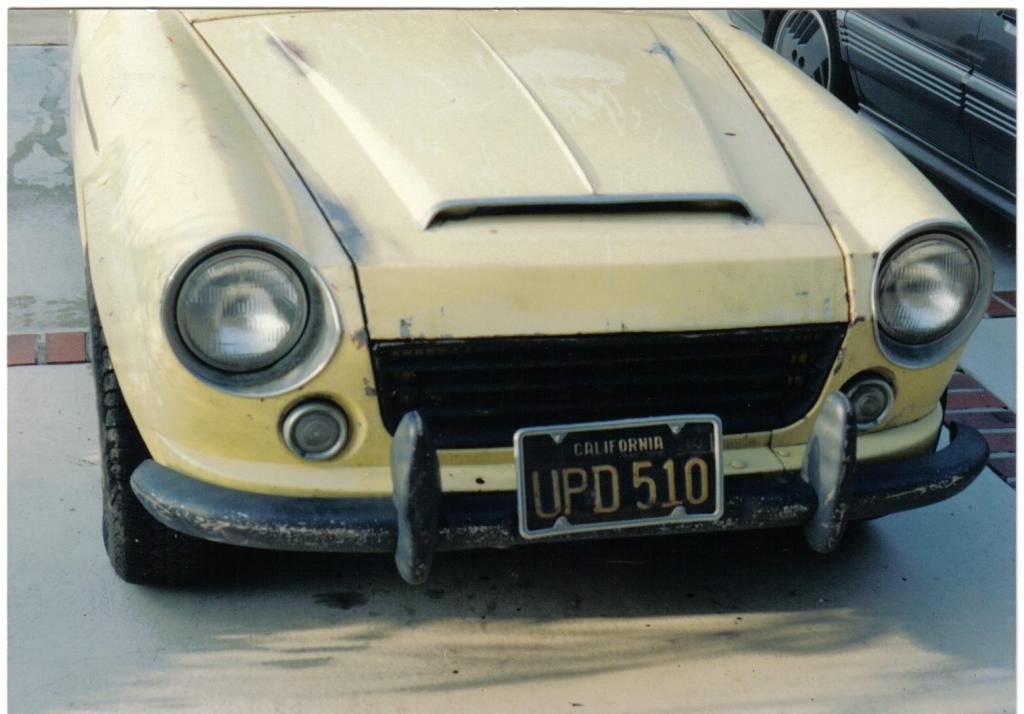
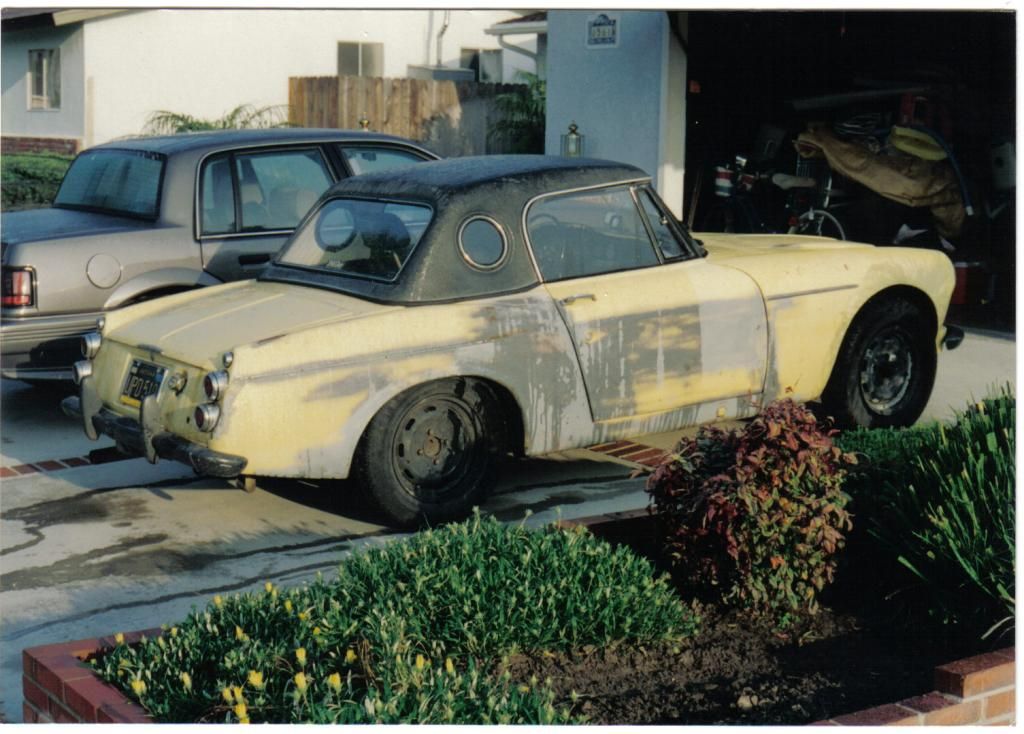
Jon started with a nice little 67, ready to clean up.. It was a cute yellow color, and was just looking for some freshening..lol
Image

Image

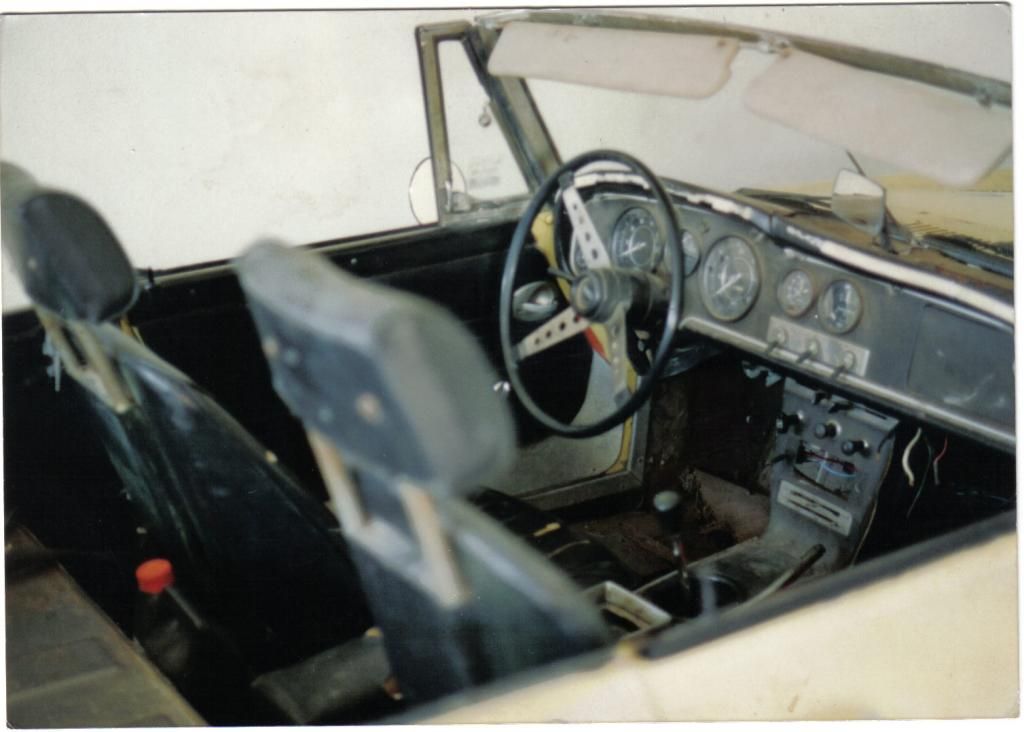
Interior was a little rough, but ready to clean up.
Image

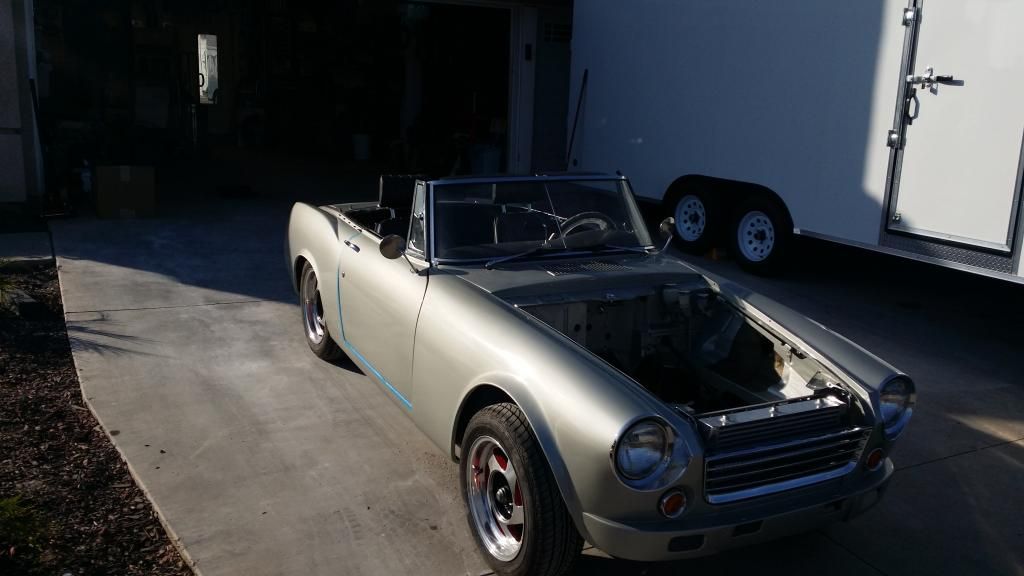
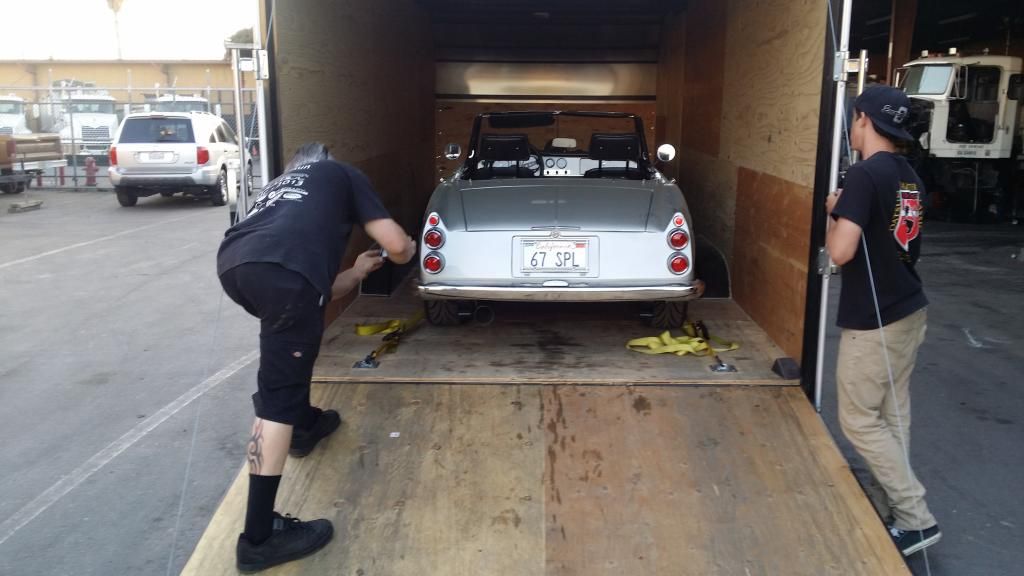
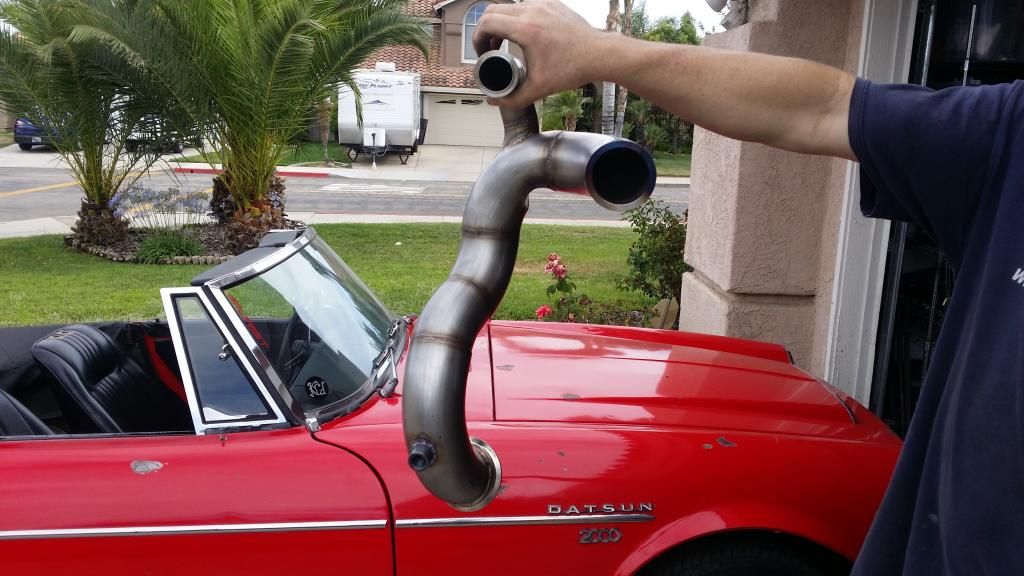
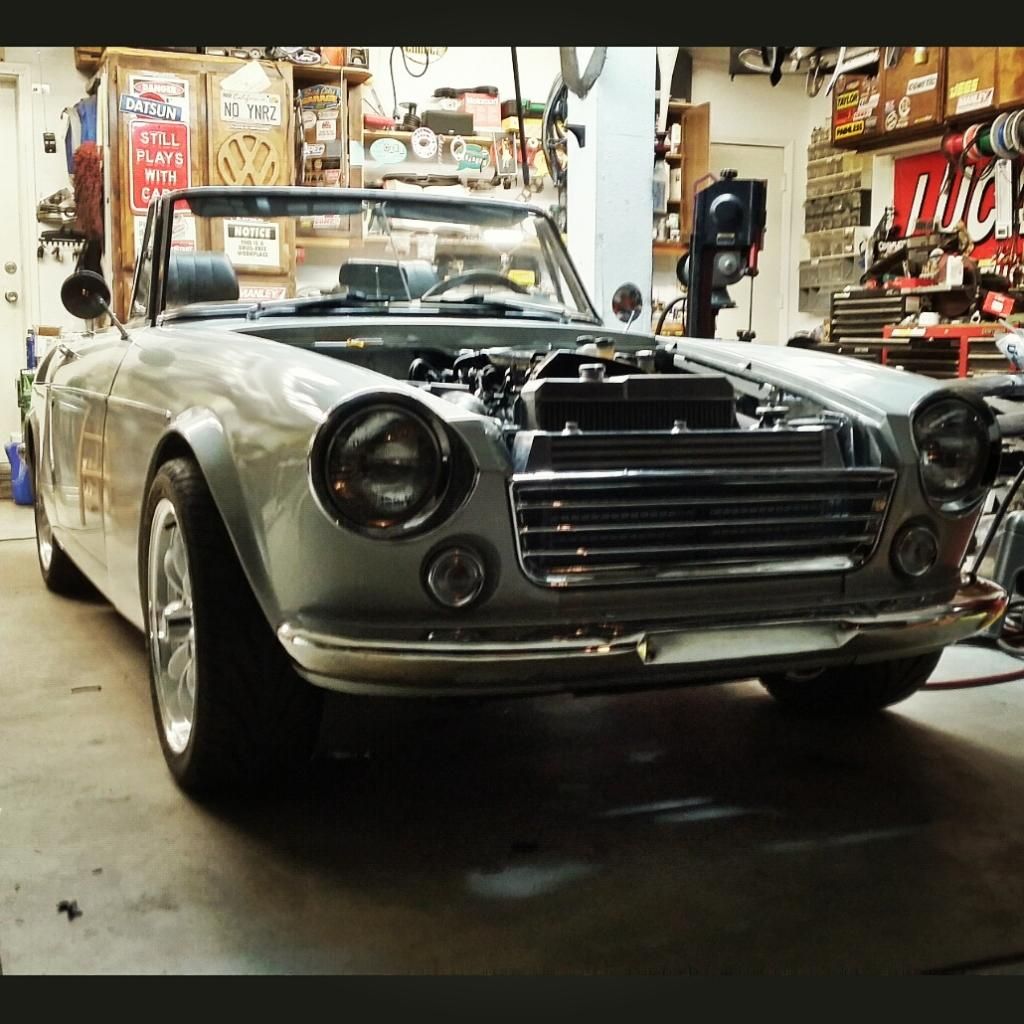
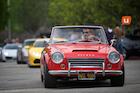
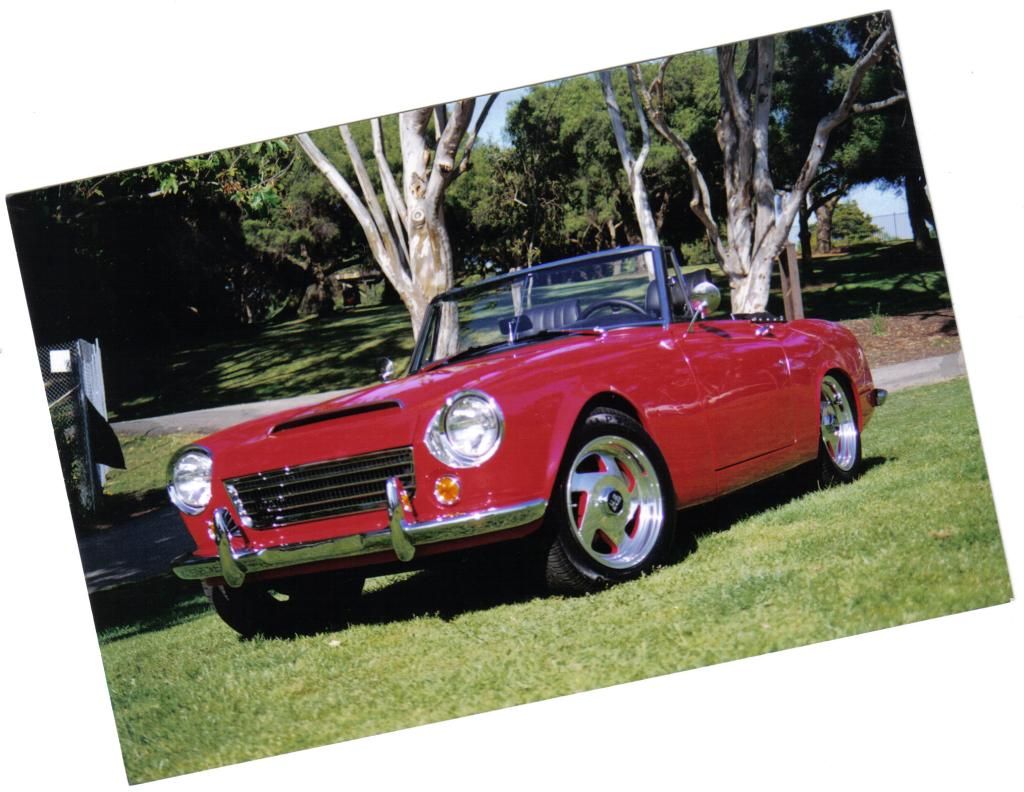
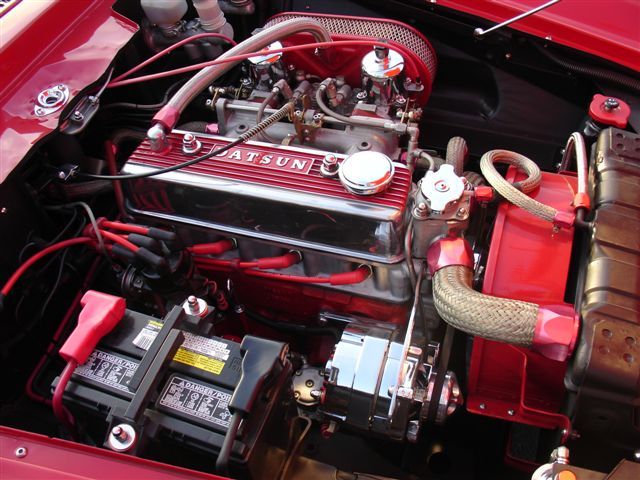
After Jon did some work, it became his 67 driver, red, with a beautifully detailed engine bay and interior.
Image

Image

Image

A little over 2 years ago, this car came to Kevin Desirello's place for a transmission swap. Jon wanted a 5 speed, to make it an easier car to tour in.

At some point, this car caught 'While-we-are-there-itis'... lol

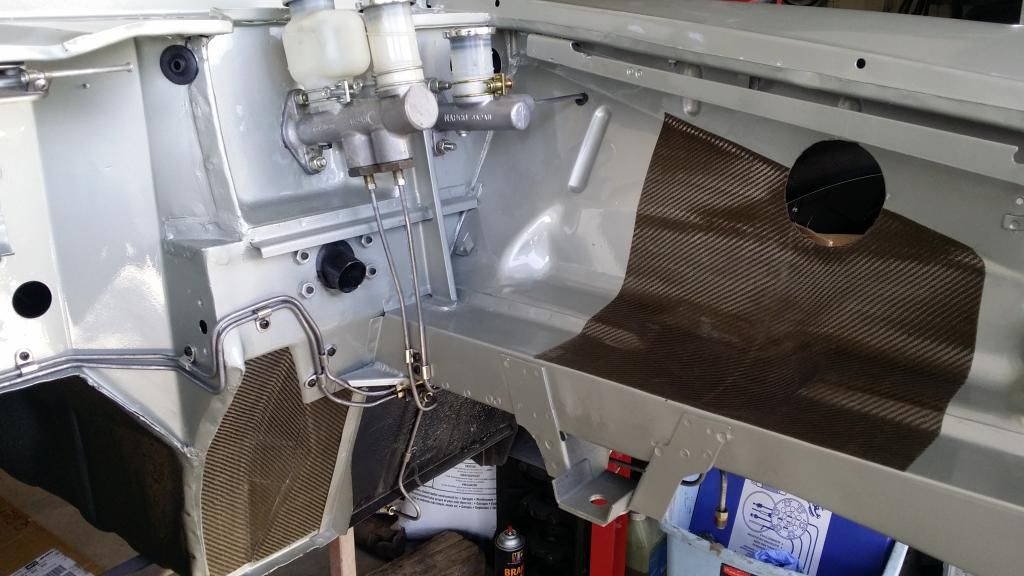
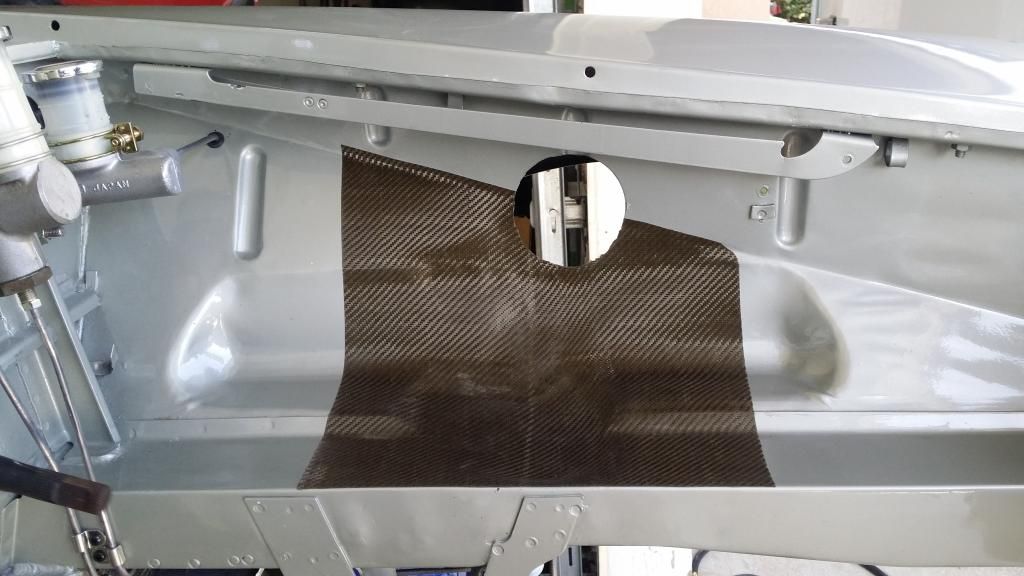
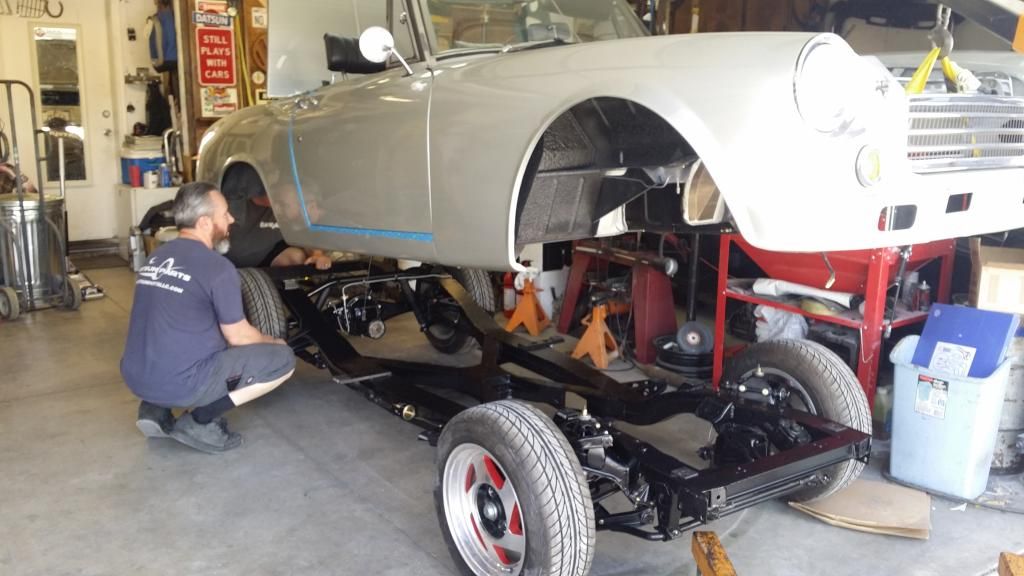
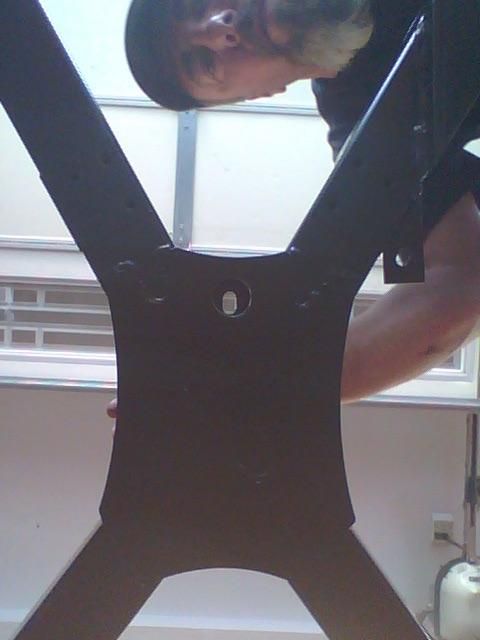
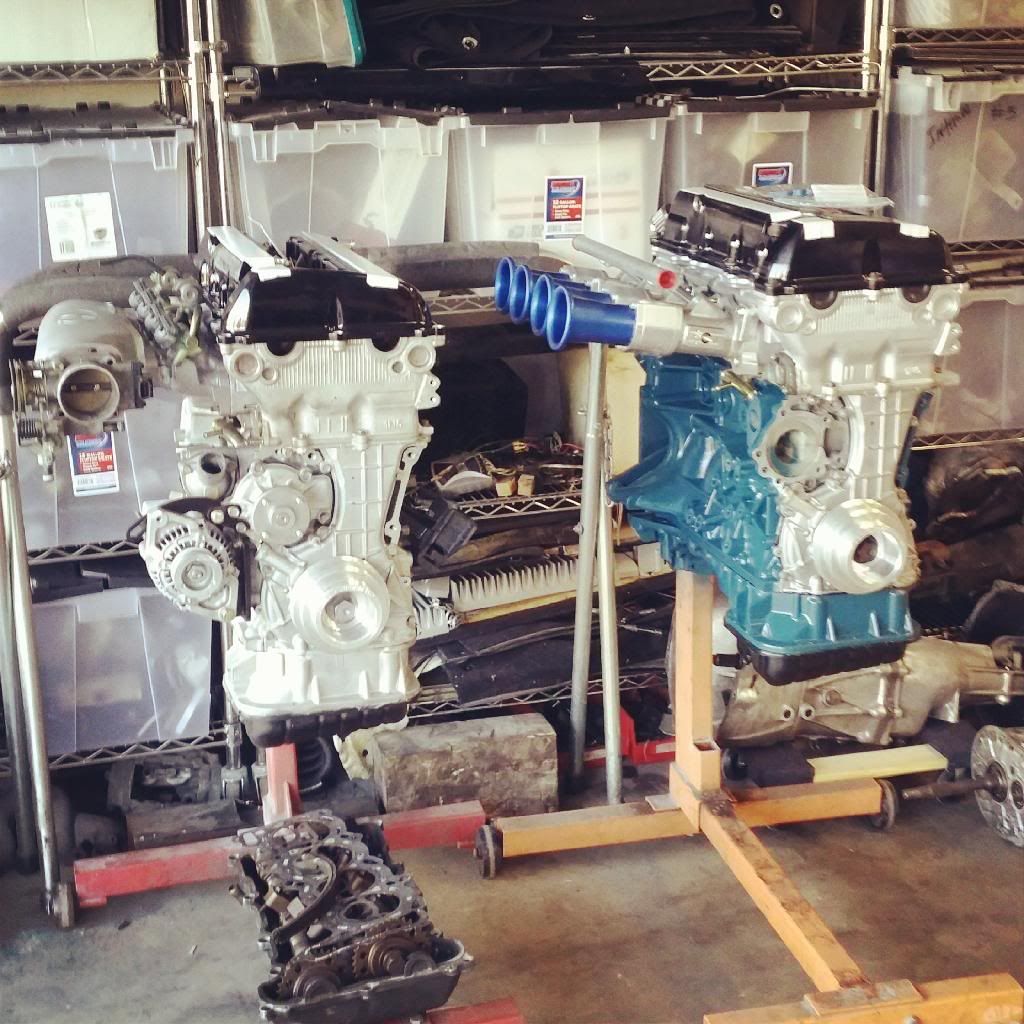
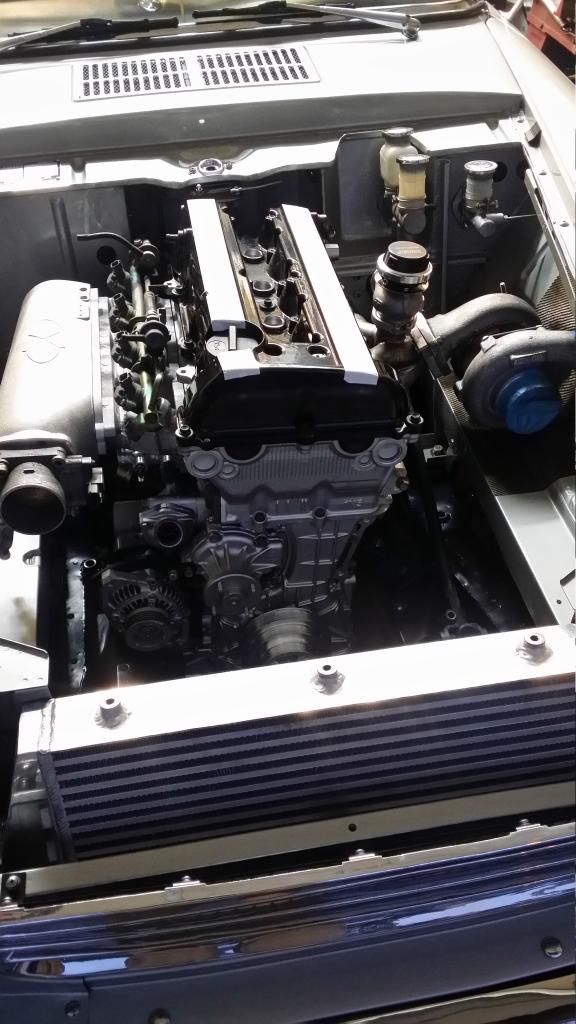
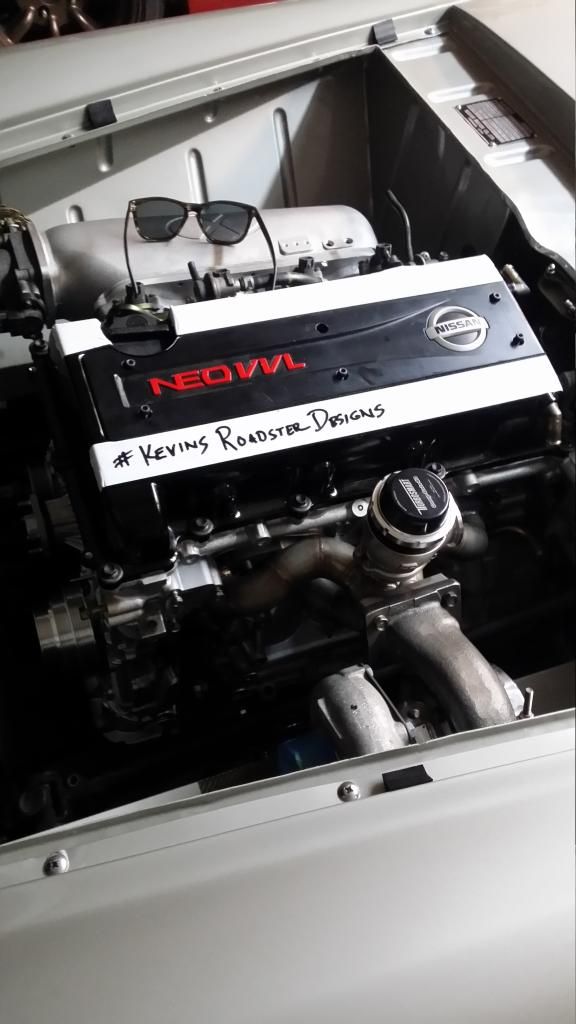
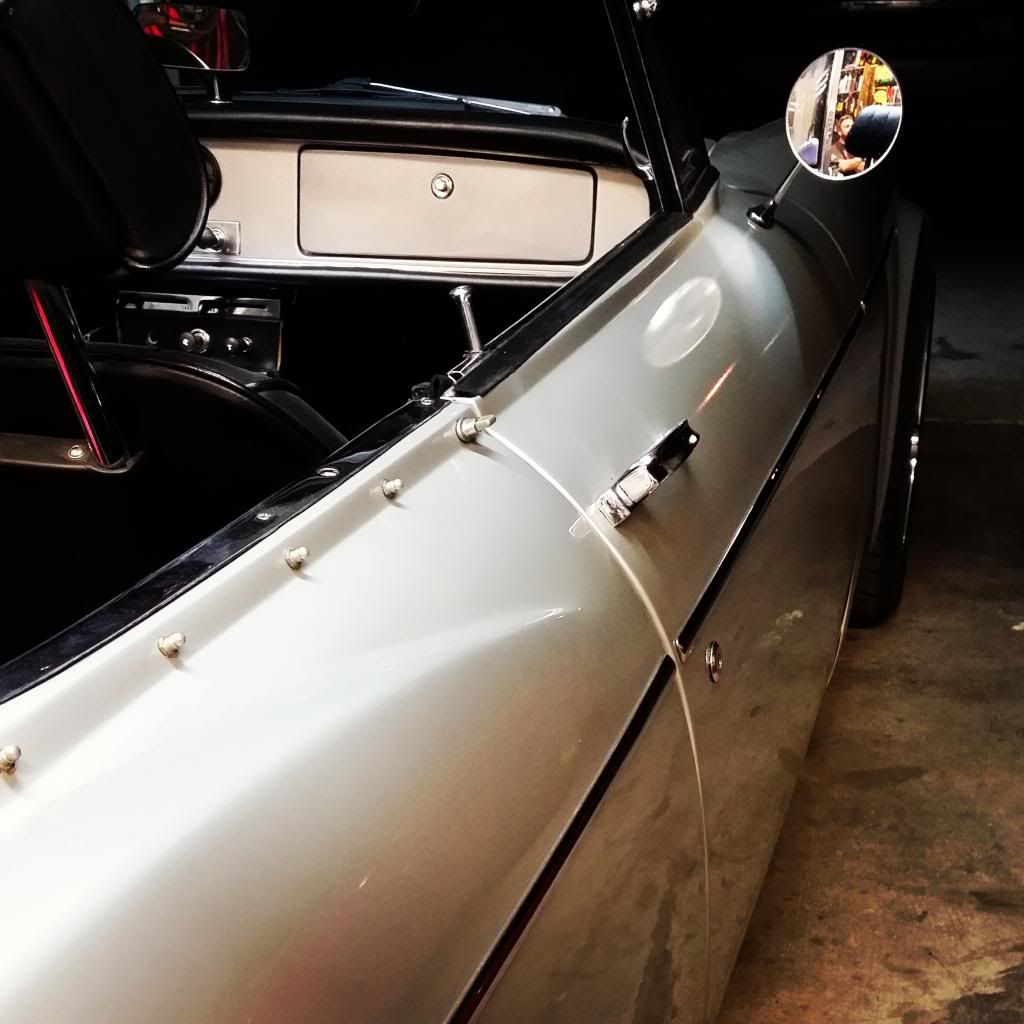
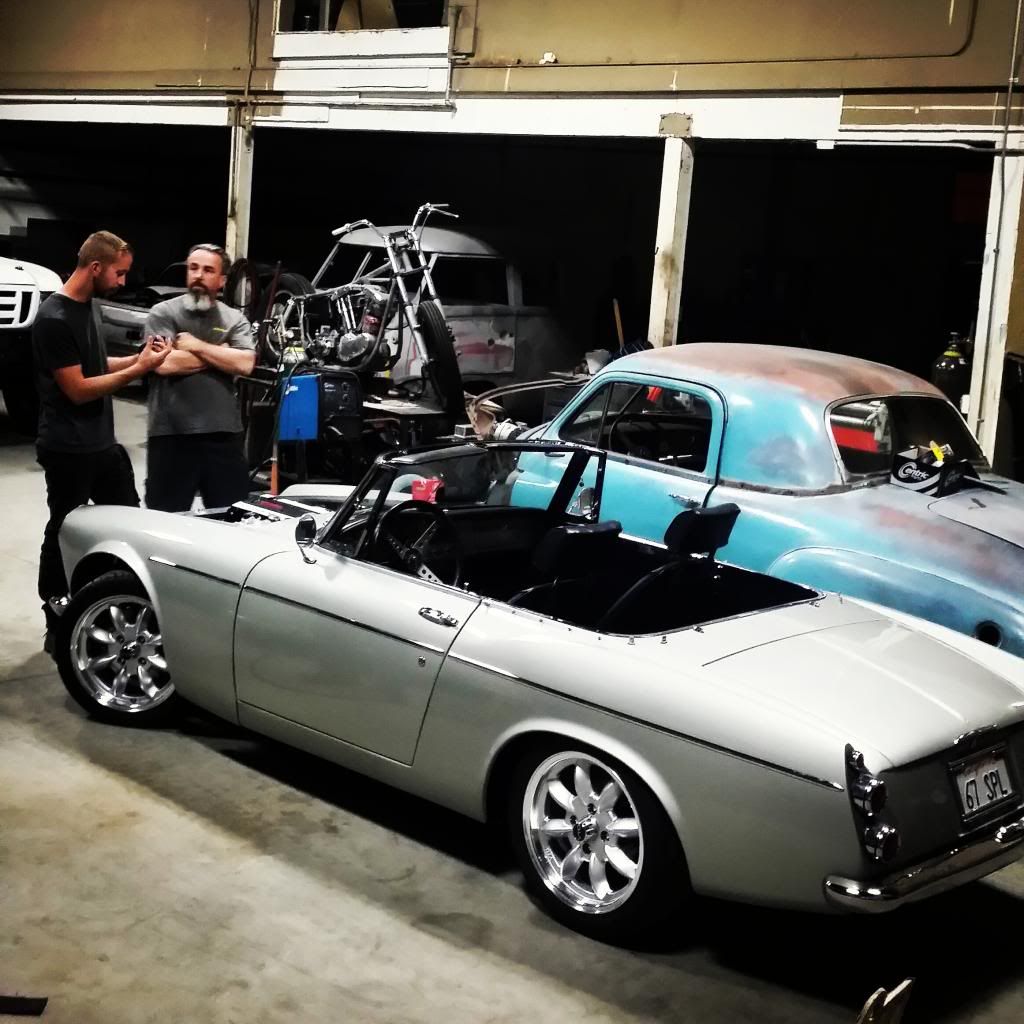
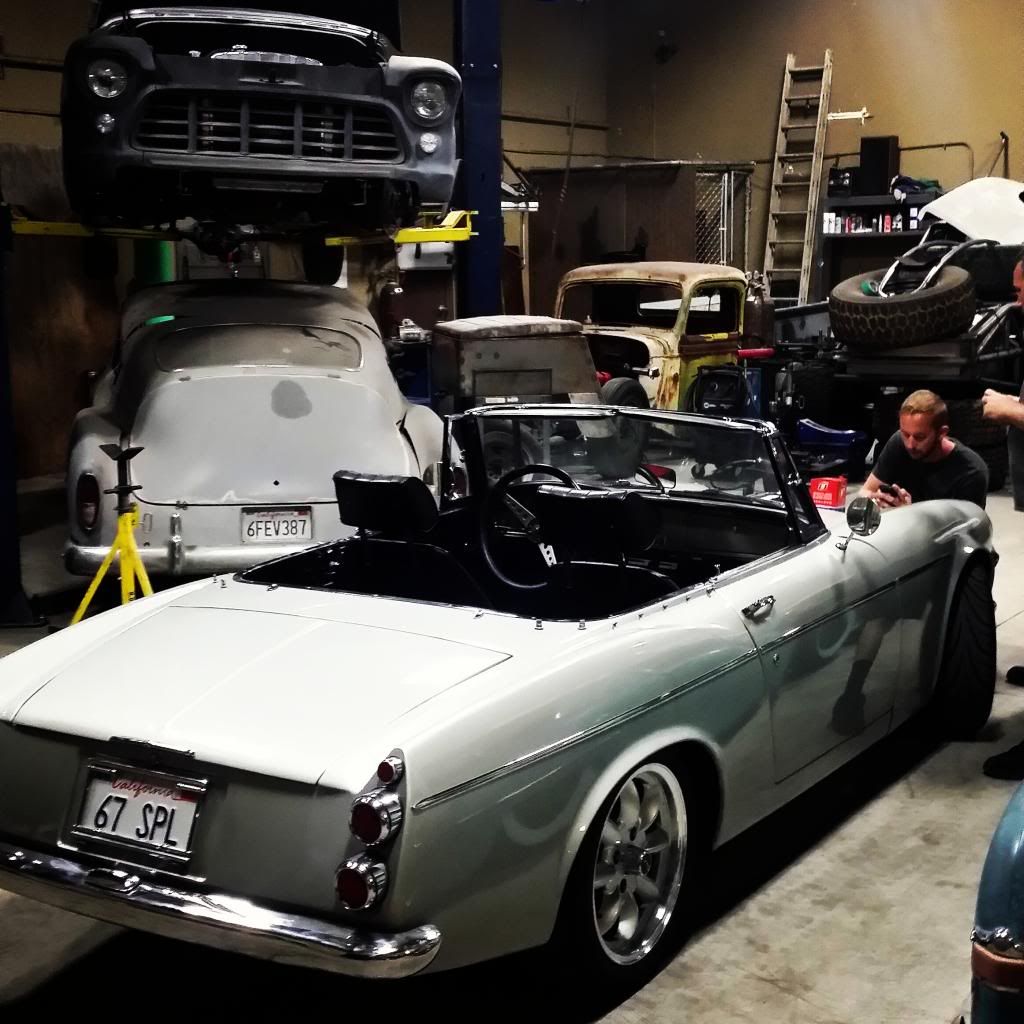
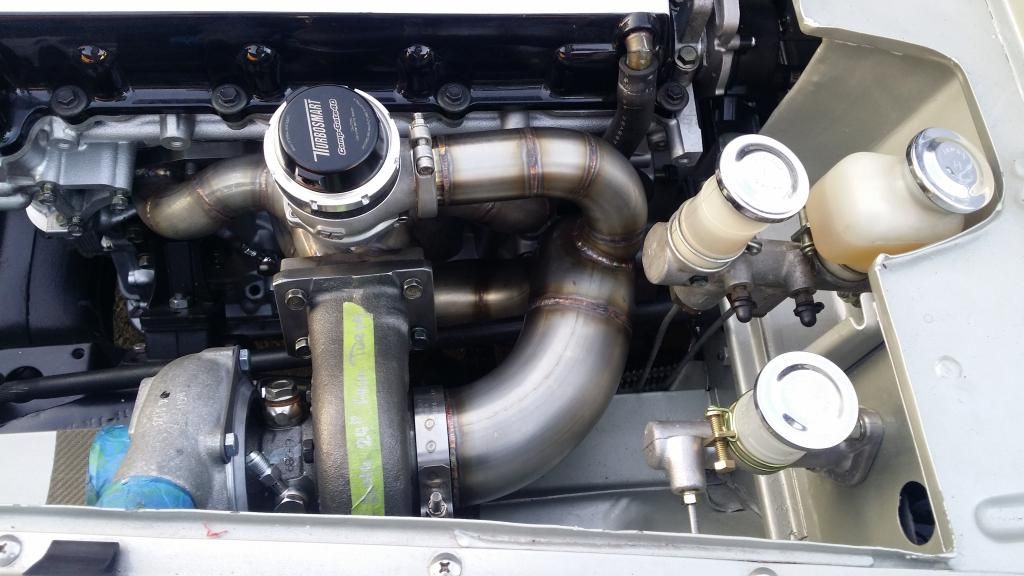
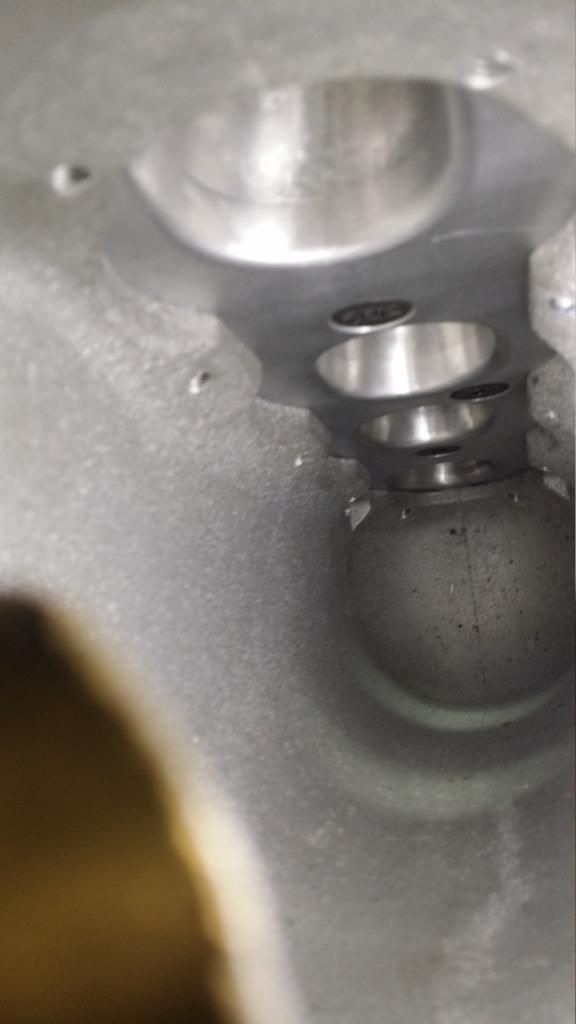
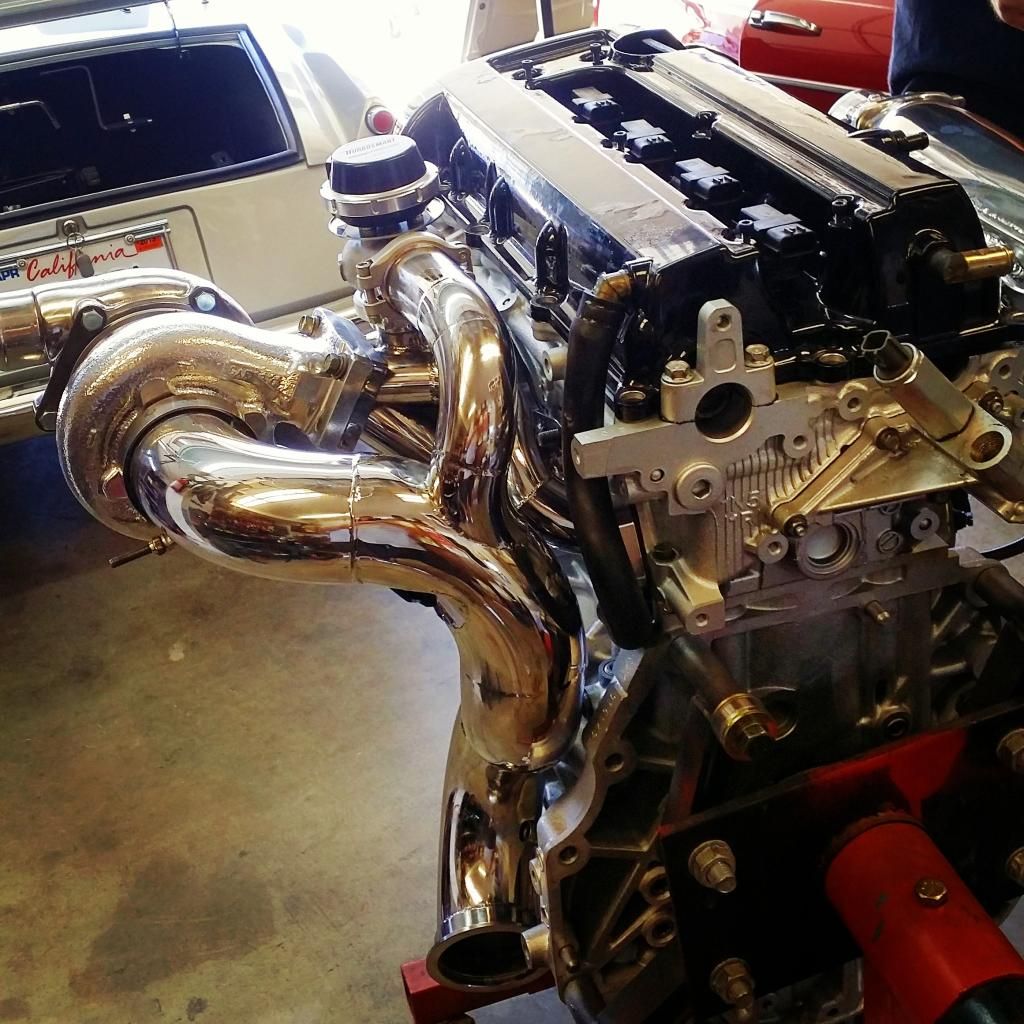
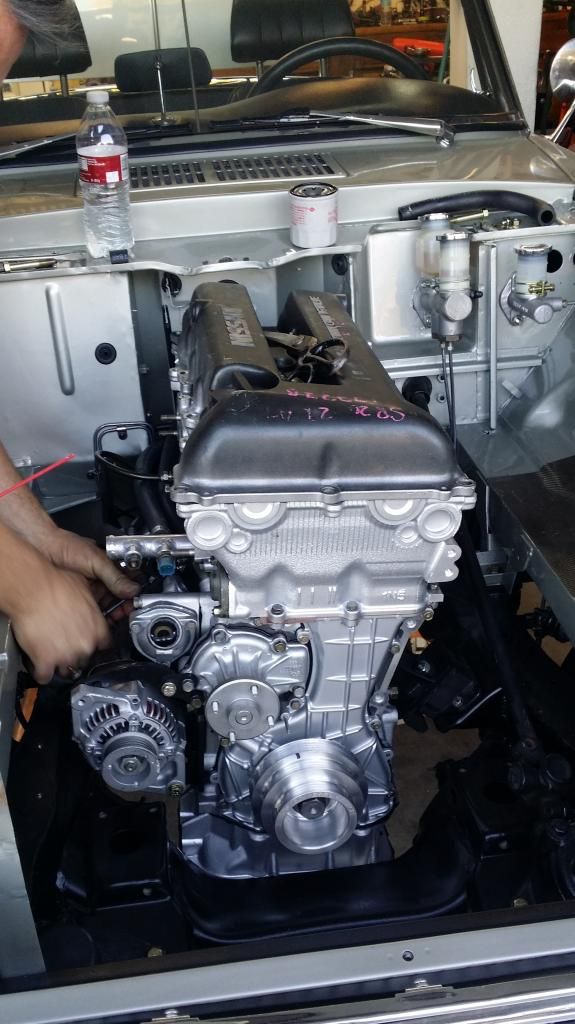
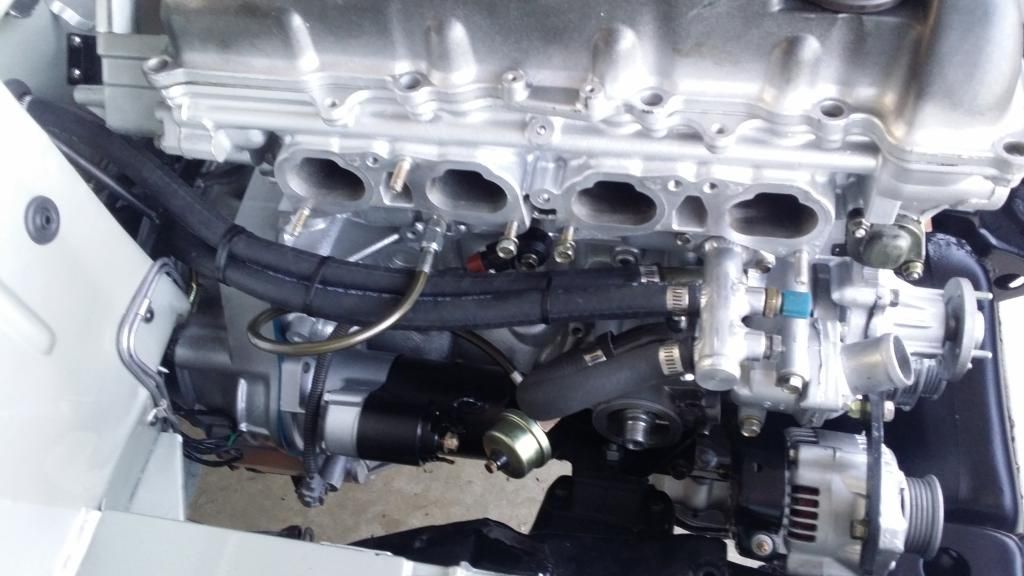
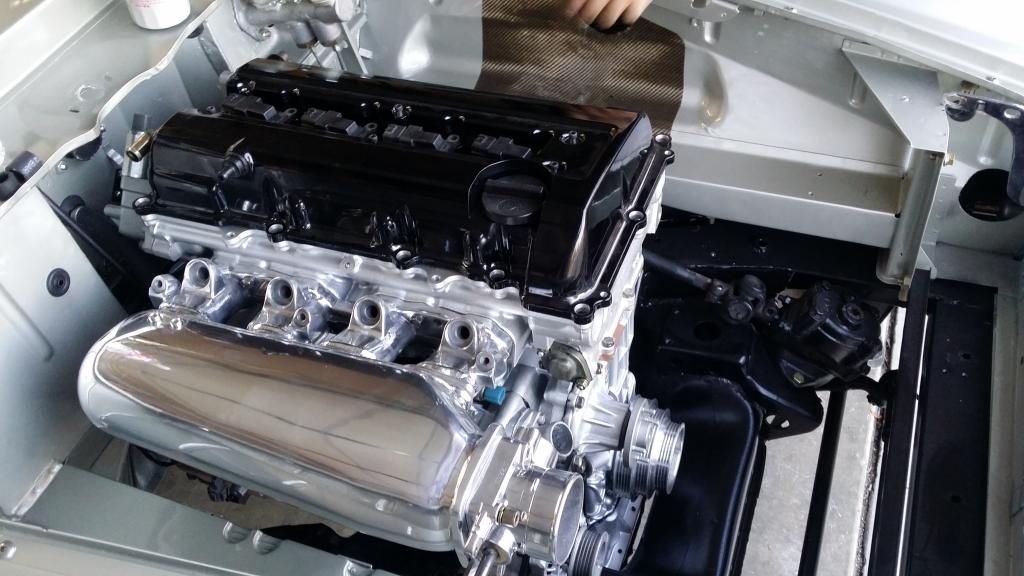
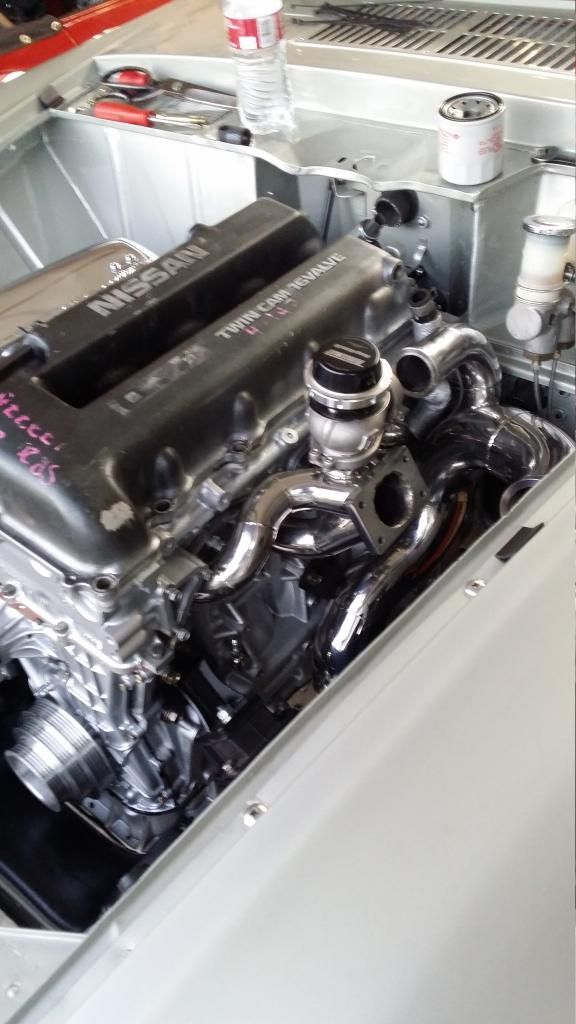
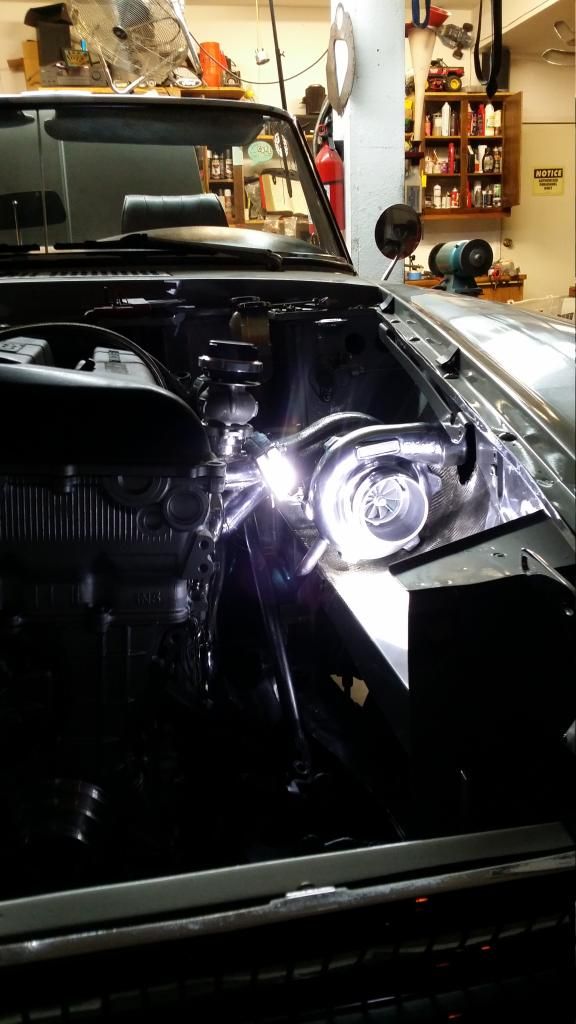
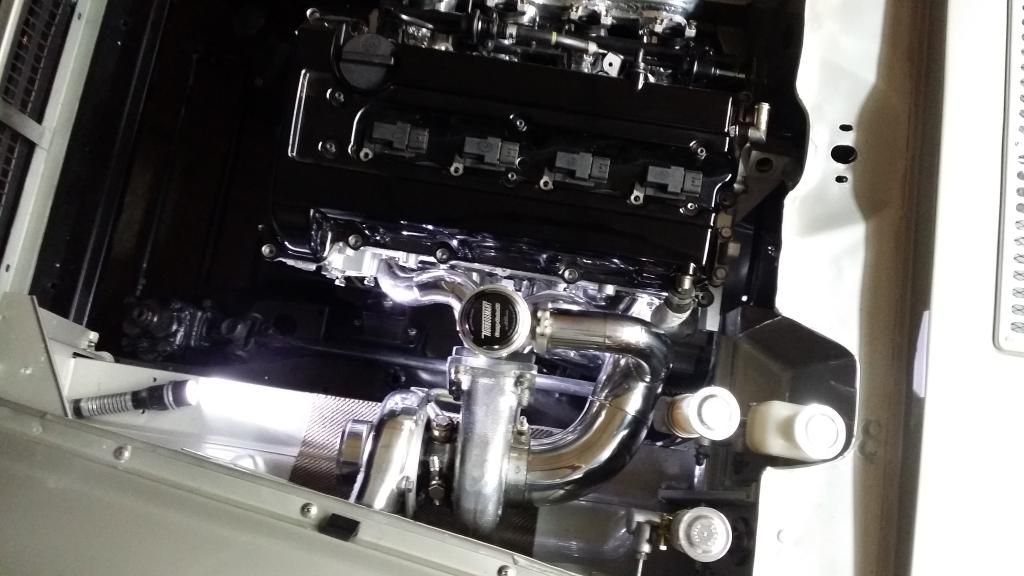
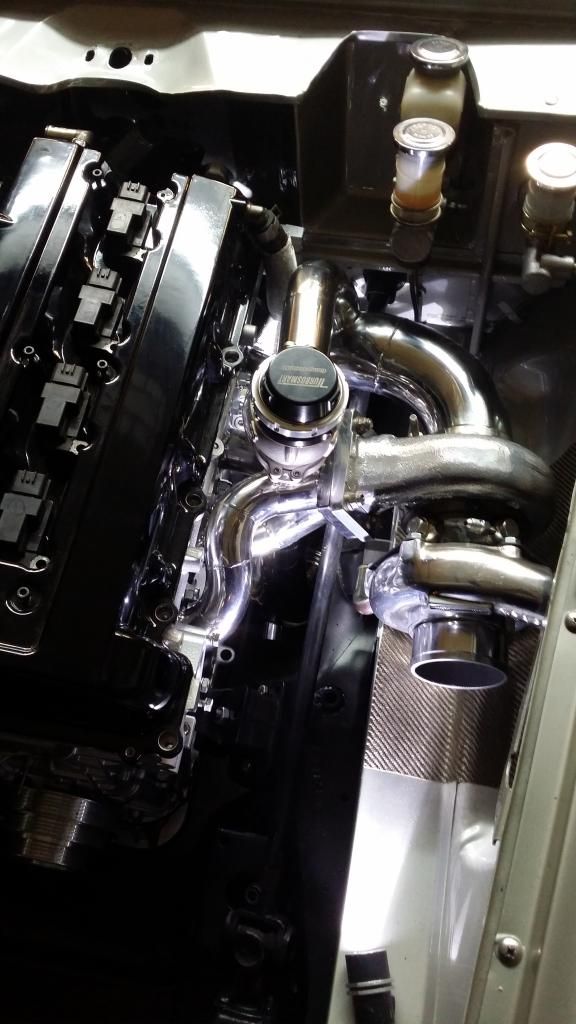
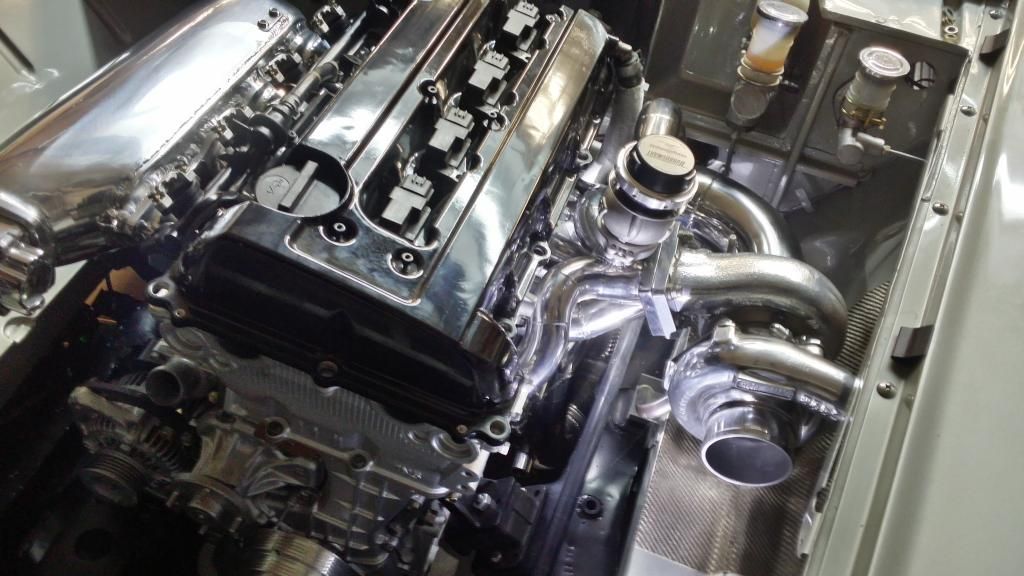
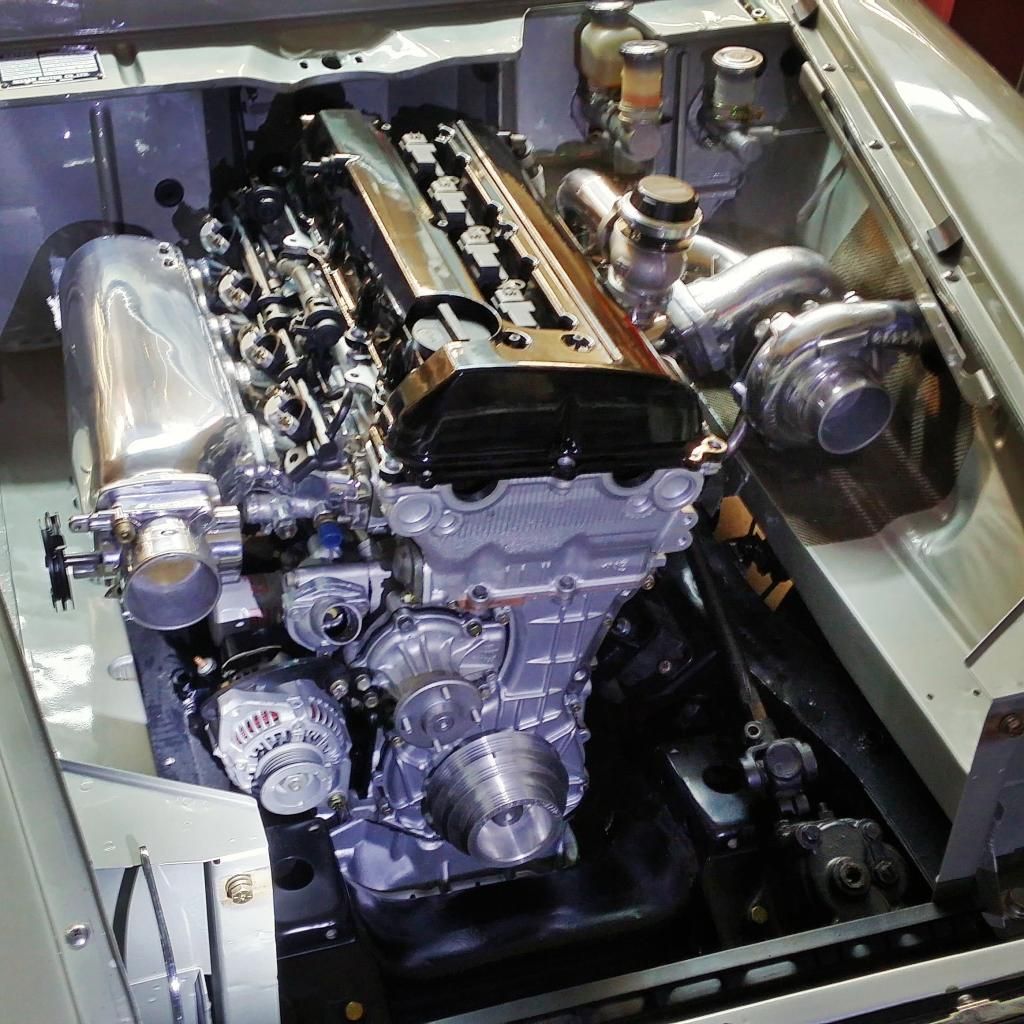
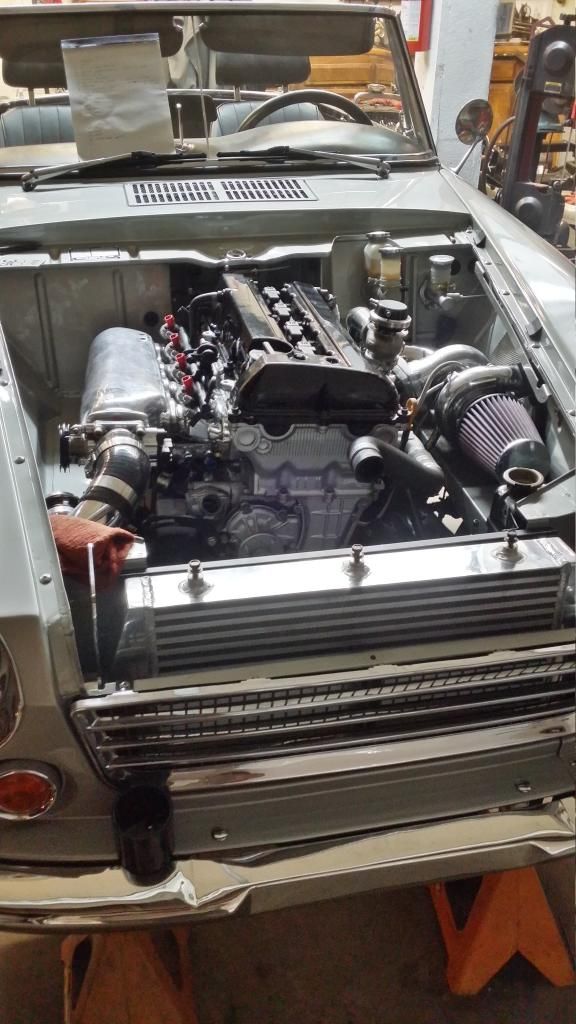
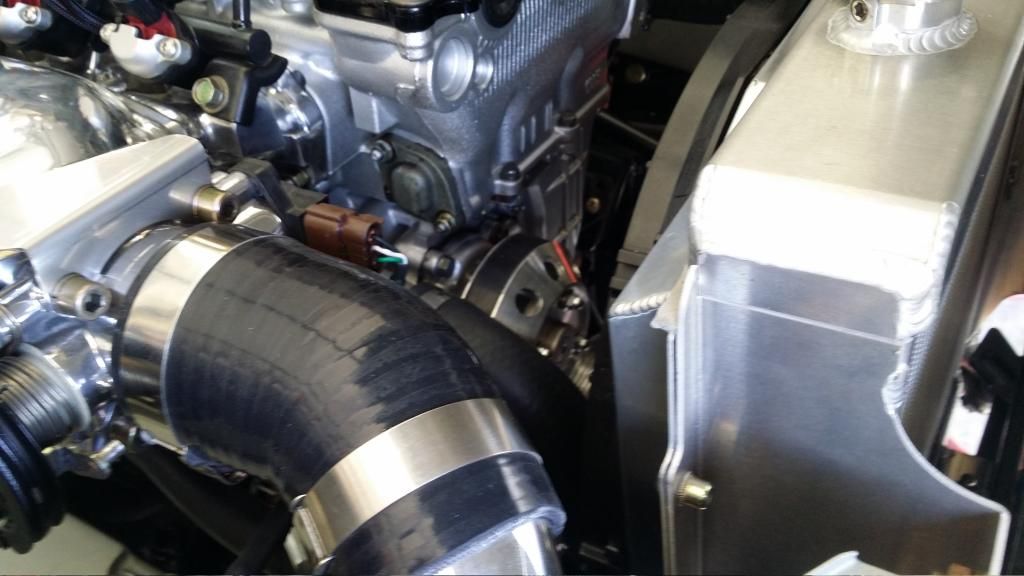
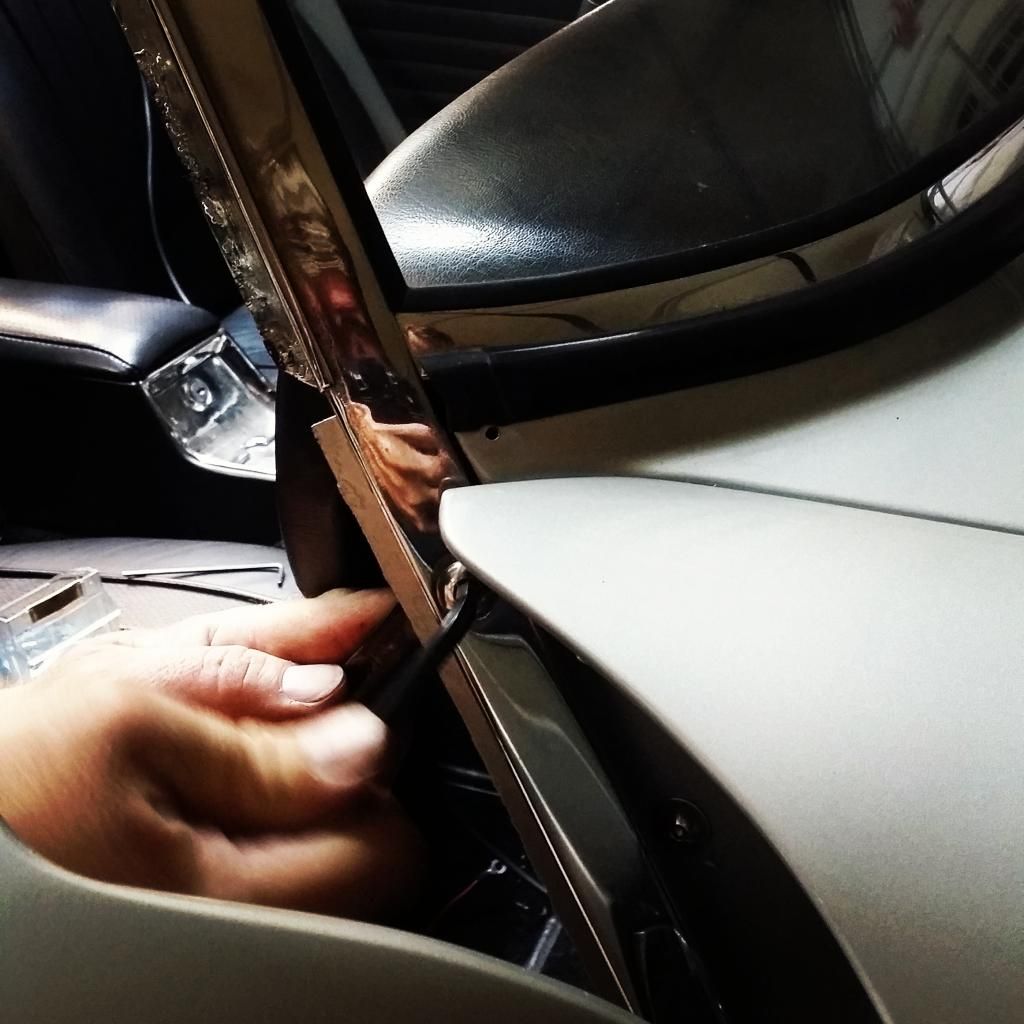
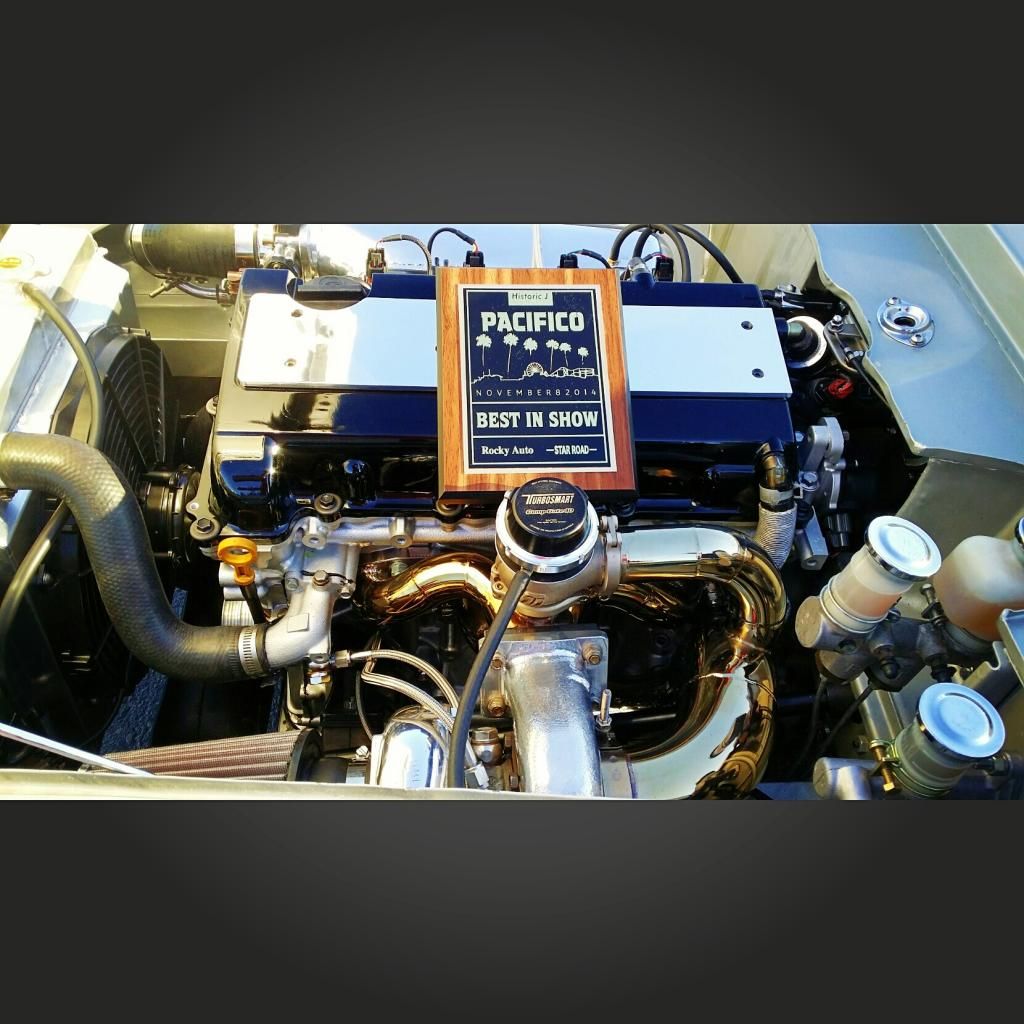
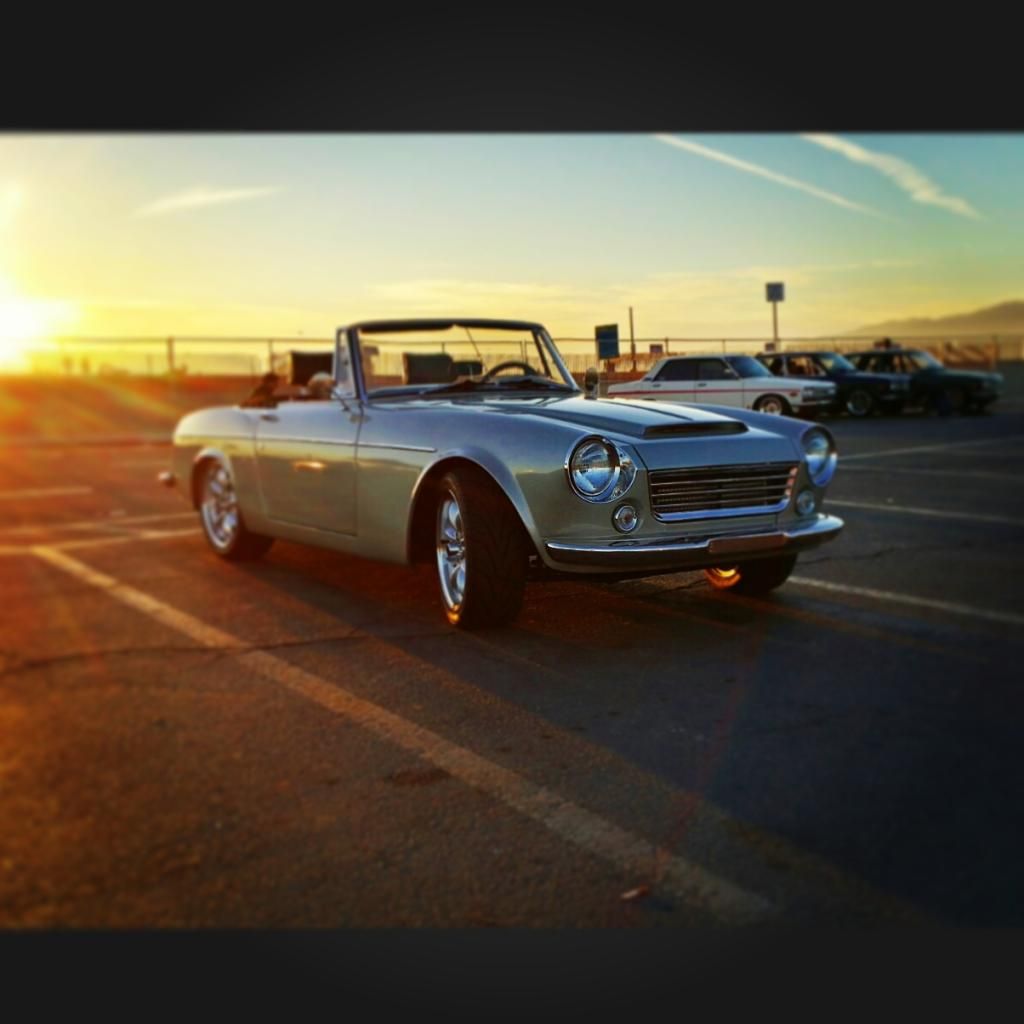
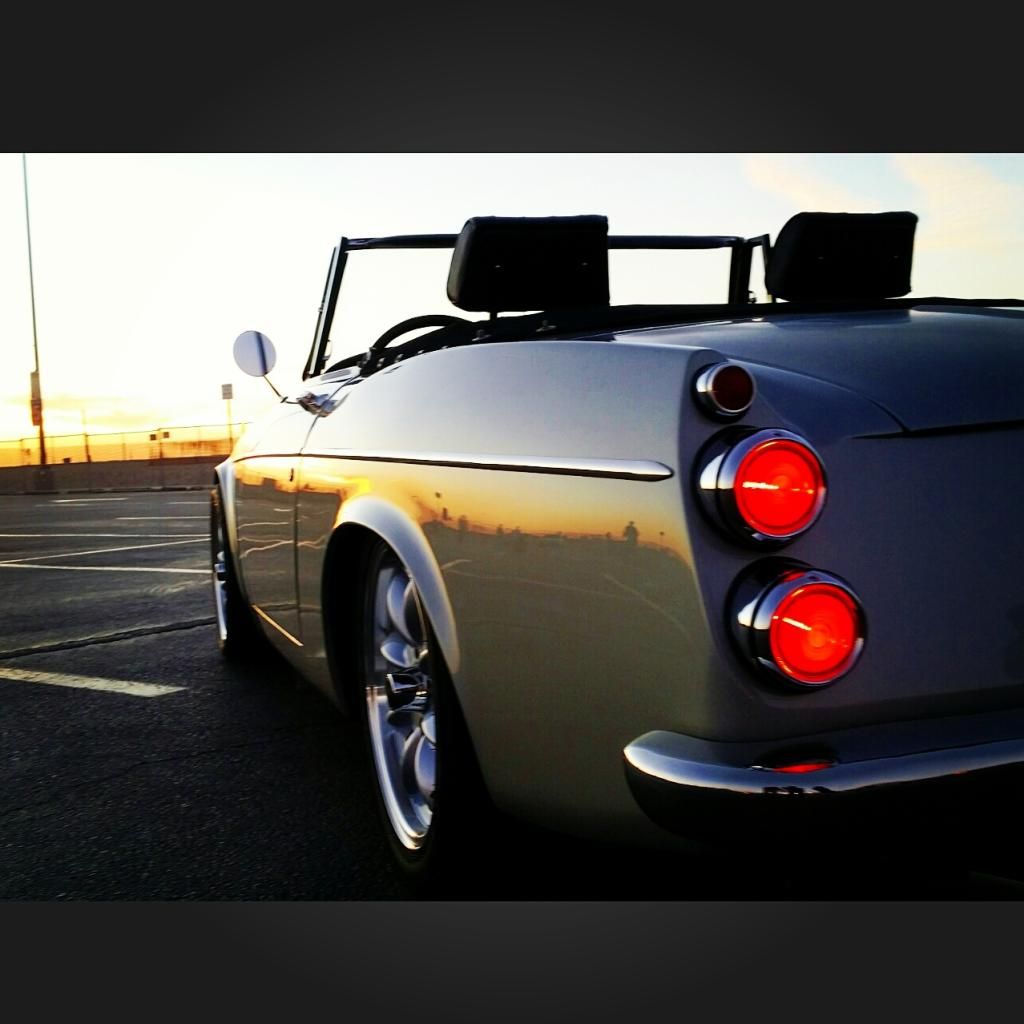
As I recall the order of progression, it went from R-16/5 speed, to S-14 SR20DE/5 speed, to S-14 SR20DET/5 speed. Then, Jon decided to go with the S-15 SR20DET with the 6 speed, and so Kevin told Jon that the tunnel would need some massaging. Once Kevin made it clear the body was going to be off the frame, and the interior would be out to adjust the tunnel, Jon decided he would really rather have this car silver. While we are there, lol. Then, just before the body was to go to paint and body, Jon decided he wanted to do the VVL head, so luckily, Kevin was able to make the firewall mod before the body went out.

This chronology might need adjusting, but that is what I remember from spending hours in Kevin's garage as this car and others were worked on.

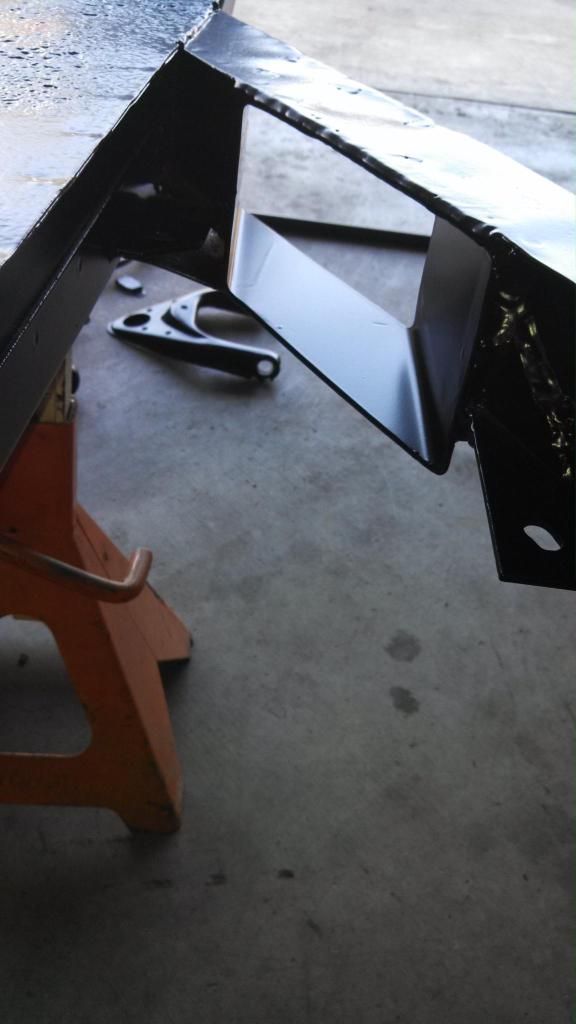
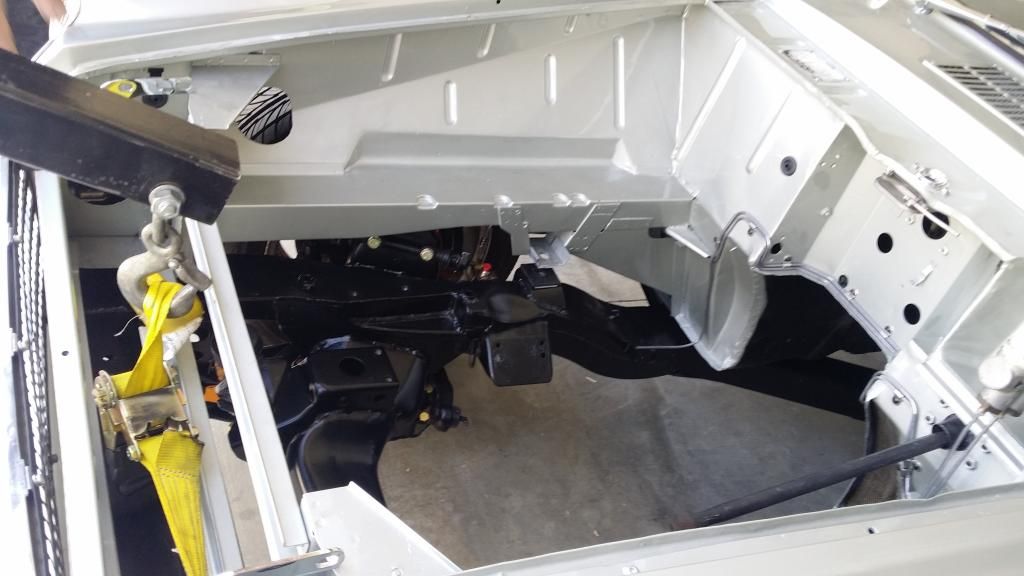
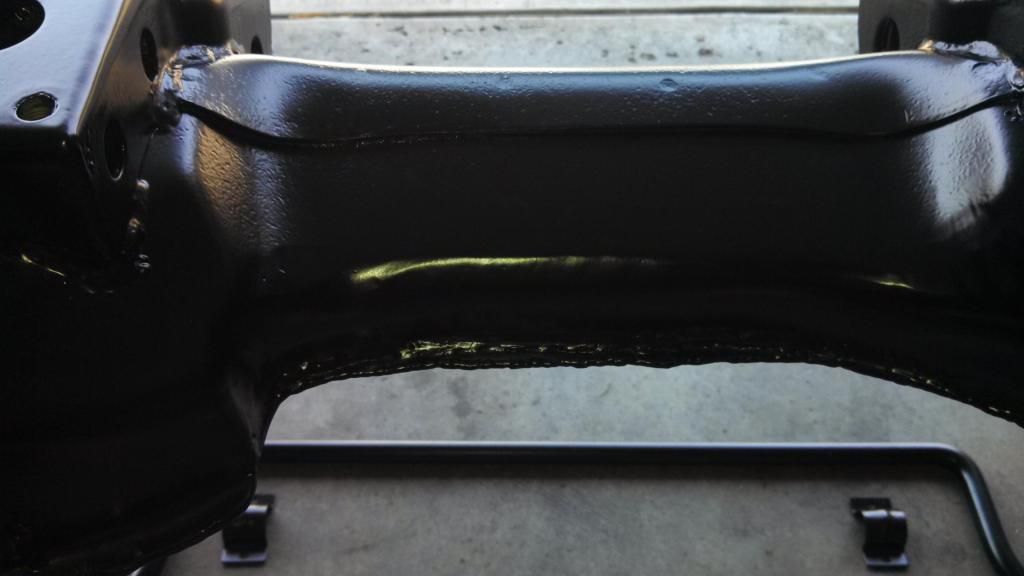
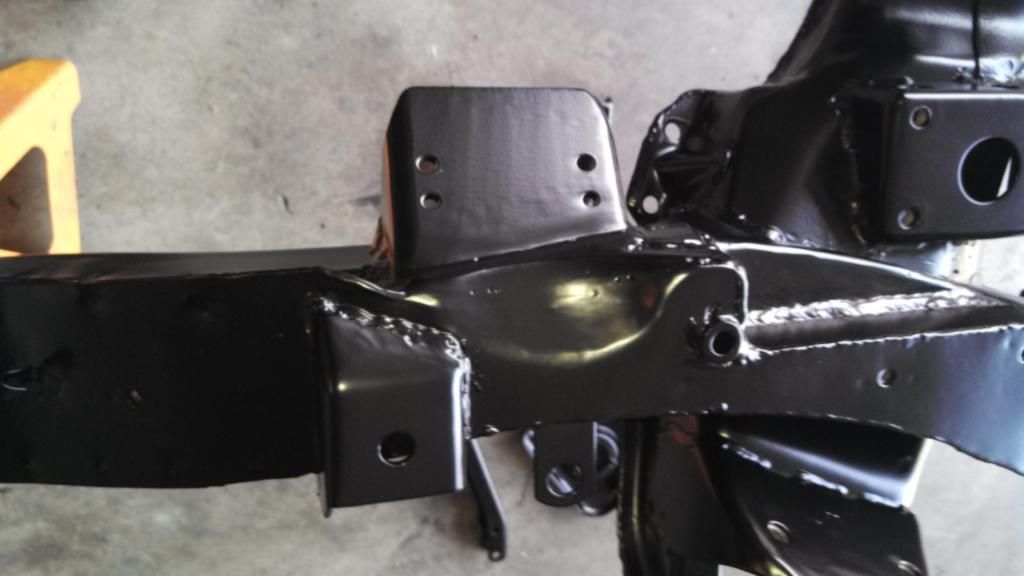
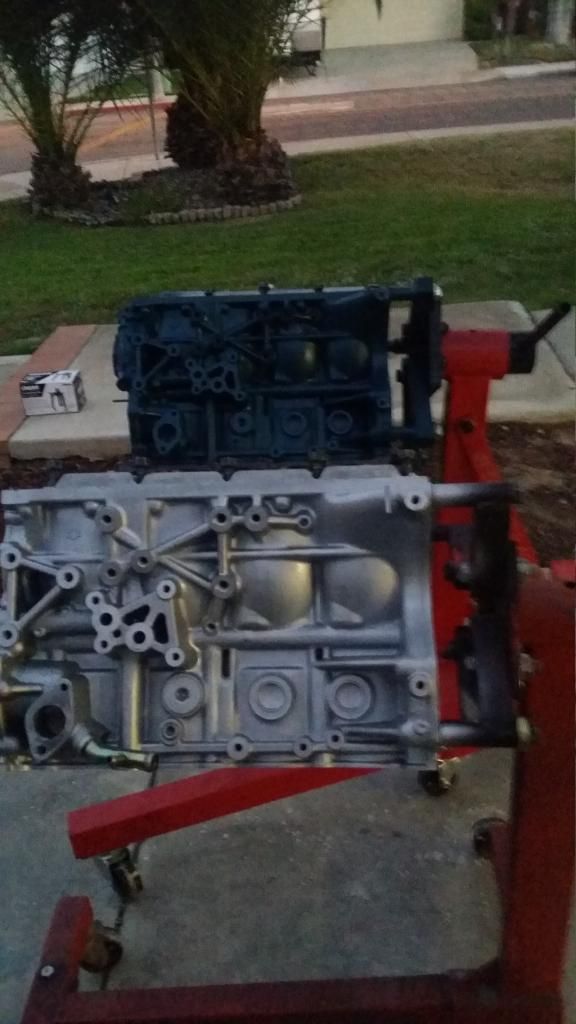
Anyway, the build starts next..
User avatar
RCMike
Roadsteraholic
Posts: 2460
Joined: Tue Mar 13, 2012 12:58 pm
Location: Pomona, CA

Re: 'Caraddict' Jon's 1967 spl

Post by RCMike »

So we start with the body back from the body shop, and the frame back from powder coat, both with the necessary mods made. I checked back through my old phone, but can't find the frame and body mod before paint/powder photos.

Firewall mod for clearance for the VVL hardware, brake lines, and turbo outlet.
Image

Turbo heat shielding in place.
Image

Body coming on to the modified frame for the first time, you can see the 4" square for exhaust, and the 6 speed trans mount.
Image
Bottom of the x frame..
Image
Exhaust cutout..
Image

In this the intake plumbing holes are visible both in front and behind the radiator supports, also the front crossmember mod is seen..
Image
Front crossmember..
Image
Alternator and oil filter mods..
Image

Bolted down and in the sun!
Image

Jon's S-15 motor arrived for disassembly. ready for some cleanup and modification. At this point, it will be disassembled, tanked, modified, decked, and then assembled.
Image

Next, exhaust fab, etc..
Last edited by RCMike on Thu Nov 13, 2014 10:13 pm, edited 1 time in total.
User avatar
RCMike
Roadsteraholic
Posts: 2460
Joined: Tue Mar 13, 2012 12:58 pm
Location: Pomona, CA

Re: 'Caraddict' Jon's 1967 spl

Post by RCMike »

So it's always fun to fit turbo plumbing under a roadster hood, but over the steering shaft.

This tiny little manifold fits the turbo and waste gate right where they need to sit.. I am pretty sure this was the final draft..
Image

Parts where they fit.. Turbosmart waste gate and Garrett GTX turbo..
Image

Jon's motor pre-assembly for fitment..
Image

Does it all fit? yes..
Image
Image

Somewhere along this line, it was decided that this car needed trim. Ron Dickson produced a set and Kevin made the holes..
Image

Next, the car goes to get exhaust built..
Last edited by RCMike on Fri Nov 14, 2014 3:13 am, edited 1 time in total.
User avatar
RCMike
Roadsteraholic
Posts: 2460
Joined: Tue Mar 13, 2012 12:58 pm
Location: Pomona, CA

Re: 'Caraddict' Jon's 1967 spl

Post by RCMike »

So we loaded it up on the trailer, and brought it to Brandon at Dynamic Metalwerx for the exhaust and intake fab.

We had to drop it off at night, because this was the week Brandon got hired at SpaceX, and his shop hours went to evening and weekends..
Image
Image

Future intake plumbing..lol
Image


So we came back a few days later, and this is what we found. Brandon was able to use the work he did on my car as a template, and so Jon got 3" mandrel bent stainless all the way back, including the axle hop between the extra torque arm and the shock.
Image

Downtube, O2 sensor bung, and flexpipe..
Image

Flexpipe back..
Image

Tailpipe..
Image

Intake passenger side in wheel well..
Image

Turbo and down tube/wastegate plumbing..
Image

Taking it back to Kevin's for more work..
Image


This is right about the time my engine blew up. Because both mine and Jon's heads and blocks had been modified at the same time, with the same mods, Kevin decided he needed to be sure he understood what went wrong with mine before we put fuel to Jon's. We were pretty sure we knew, but Kevin wanted to be sure. So mine got torn down, next to Jon's, and everything was compared and contrasted. When my parts went back out for secondary machining, for crank straightening, for assembly balancing, etc. Jon's went at the same time.

Anyway, on to the next.. Intake assembly..
Last edited by RCMike on Thu Nov 13, 2014 11:03 pm, edited 1 time in total.
User avatar
RCMike
Roadsteraholic
Posts: 2460
Joined: Tue Mar 13, 2012 12:58 pm
Location: Pomona, CA

Re: 'Caraddict' Jon's 1967 spl

Post by RCMike »

So the intake was an off the shelf unit from Xsessive manufacturing. The problem was that this head was built for FWD cars, so the manifold was way too tall since it was designed for Primera. Kevin cut it, took a pie section out, and had it welded back so the whole thing would fit comfortably under the hood..

Modified runners..
Image

Still bolt up and flange square? yes!
Image

So at this point, I took the intake manifold back to Brandon, for assembly and welding. All 3 pieces are now one, after it was made air tight and welded..

One more look at the down pipe and exhaust..
Image
Image

Next: final parts start to arrive..
User avatar
RCMike
Roadsteraholic
Posts: 2460
Joined: Tue Mar 13, 2012 12:58 pm
Location: Pomona, CA

Re: 'Caraddict' Jon's 1967 spl

Post by RCMike »

So final assembly parts began to come in. All the air plumbing was sent out for polish..

Downtube..
Image

Block back for assembly after final cleanups..
Image

Full air plumbing set, including compressor housing..
Image

Assembly underway..
Image

Built..
Image

So ready.. so sexy..
Image

Next: the car starts going together..
User avatar
RCMike
Roadsteraholic
Posts: 2460
Joined: Tue Mar 13, 2012 12:58 pm
Location: Pomona, CA

Re: 'Caraddict' Jon's 1967 spl

Post by RCMike »

So it took 4 of us to drop the motor in.. could have done it with 2, but with everything as clean and polished, etc..

Engine going in with mock up valve cover..
Image

Heater hoses installed, Head oil and water supply installed..
Image

Intake, VVL controls installed, final valve cover dropped on top..
Image

Exhaust side assembly beginning..
Image

Turbo in..
Image

From below..
Image

From above..
Image
Image
Image

Engine drop in day done..
Image

Next, the wait for the radiator, and other general assembly..
User avatar
RCMike
Roadsteraholic
Posts: 2460
Joined: Tue Mar 13, 2012 12:58 pm
Location: Pomona, CA

Re: 'Caraddict' Jon's 1967 spl

Post by RCMike »

So the list is down to one page..

Engine is almost completely together..
Image

The brakes are on the car..
Image

The oversize driveshaft is in..
Image

The wiring harness from Wiring Specialties was in..
Image
Image

And then, the radiator arrived from Ron Davis..
Image

So the whole engine bay could be finished, including all intake plumbing..
Image

Image

Next: the mechanical is done, but this is Jon's car.. needs gauges, lol
Akpilot
Roadster Fanatic
Posts: 169
Joined: Tue Aug 20, 2013 12:05 am
Location: Anchorage, Ak

Re: 'Caraddict' Jon's 1967 spl

Post by Akpilot »

Absolutely Gorgeous!!! Now need to clean up my drool.

Mike or Jon, What is the turbo heat shield made out of? In the snowmobile industry they have a fiberglass reflective mat they line the plastic body with to protect it from the exhaust pipes I have used in the past, but I like the look or your shield better.

Akpilot
User avatar
RCMike
Roadsteraholic
Posts: 2460
Joined: Tue Mar 13, 2012 12:58 pm
Location: Pomona, CA

Re: 'Caraddict' Jon's 1967 spl

Post by RCMike »

So Jon finished the dash, and it was ready to install.

Off came the windshield..
Image

Old dash out.. New dash going in..
Image

Mirror..
Image

Windshield going back on..
Image

Ready for all the hook-ups and the computer..
Image

So one of the changes needed for an SR powered roadster is the electronic gauges, because there is no provision for cable drive off the motor or trans.. In the previous 'stock' gauges I have seen converted, this usually results in an LCD odometer.. Jon blew this one out, with an electronically driven analog odometer..
Image

And Jon built the gauges with LED lighting.. So it is full color change.. Although I was surprised to see how few colors I took pictures of..
Image
Image

But I did take a video of them changing..
[youtube][/youtube]

Next.. Does it all work?
Last edited by RCMike on Fri Nov 14, 2014 3:21 am, edited 1 time in total.
User avatar
RCMike
Roadsteraholic
Posts: 2460
Joined: Tue Mar 13, 2012 12:58 pm
Location: Pomona, CA

Re: 'Caraddict' Jon's 1967 spl

Post by RCMike »

Ak, it is a woven carbon mat.. Kevin sourced it. Beautiful stuff. It is flexible with a sticky back, so you lay it out, cut to shape, then put it on..
User avatar
RCMike
Roadsteraholic
Posts: 2460
Joined: Tue Mar 13, 2012 12:58 pm
Location: Pomona, CA

Re: 'Caraddict' Jon's 1967 spl

Post by RCMike »

So does it all work?

First start was done, and it would start but did not want to respond to idle tuning, and sounded terrible..
[youtube][/youtube]

Took a few, but Kevin and Chris (the tuner) determined it was a bad VVL solenoid. Chris was trying to turn it off with the computer and it would not react. The motor was running on VVL from idle. So for anyone who wondered what the SR on big cams at idle sounded like, well, there it is.. With no vacuum, it really didn't want to run..

Kevin located a new VVL solenoid, and the next night, fired it again.. Chris was happy, so we decided to do basic drivability tuning.. Want to put some miles on it before it goes to tuning, so it needs basic tune for that. Kevin decided I should drive it for the first short run. Chris set the map super rich so the computer could start to clean itself up safely, Kevin checked all the lights, and...

Some language in this video..lol
[youtube][/youtube]

More tuning needs to be done. But it works.

After the first run, the exhaust started to take on color..
Image
Image
I can only imagine these are going to turn many colors..

So Kevin decided to present the car to Jon at the Pacifico Show by Historic J at the Santa Monica Pier. These photos were posted elsewhere, but might as well be connected to the car here.
Image

Image

Image

Image

This was fun to watch and pretend to help.
User avatar
Datsun.David
Site Supporter
Posts: 1188
Joined: Sat Sep 03, 2011 12:18 am
Location: Calgary, Alberta, Canada
Contact:

Re: 'Caraddict' Jon's 1967 spl

Post by Datsun.David »

More amazing attention to detail. The analog odometer is the ultimate stealth detail...
67.5 SRL311 #00050 - Silver - SU
67.5 SRL311 #00544 - Sora Blue SU
68 Roadster Race Car
69 SRL311
69 SRL311
72 PL510
74 260Z - Silver
andyroo
Roadster Fanatic
Posts: 244
Joined: Wed Aug 07, 2013 12:06 pm
Location: Baltimore, MD

Re: 'Caraddict' Jon's 1967 spl

Post by andyroo »

That is spectacular.
1968 Datsun 1600
2005 MINI Cooper S
User avatar
spriso
Vendor
Posts: 1572
Joined: Wed Jun 04, 2003 9:20 am
Location: Oregon
Contact:

Re: 'Caraddict' Jon's 1967 spl

Post by spriso »

Very cool-- love the speedometer!

Michael
Spriso Motorsports
http://www.spriso.com
Instagram https://instagram.com/spriso/
SR20 Powered Roadsters
Engine swap kits Available! See my website!
Post Reply