Page 3 of 7
Re: 69 2000 Derustoration
Posted: Thu Mar 17, 2016 2:09 pm
by Kman
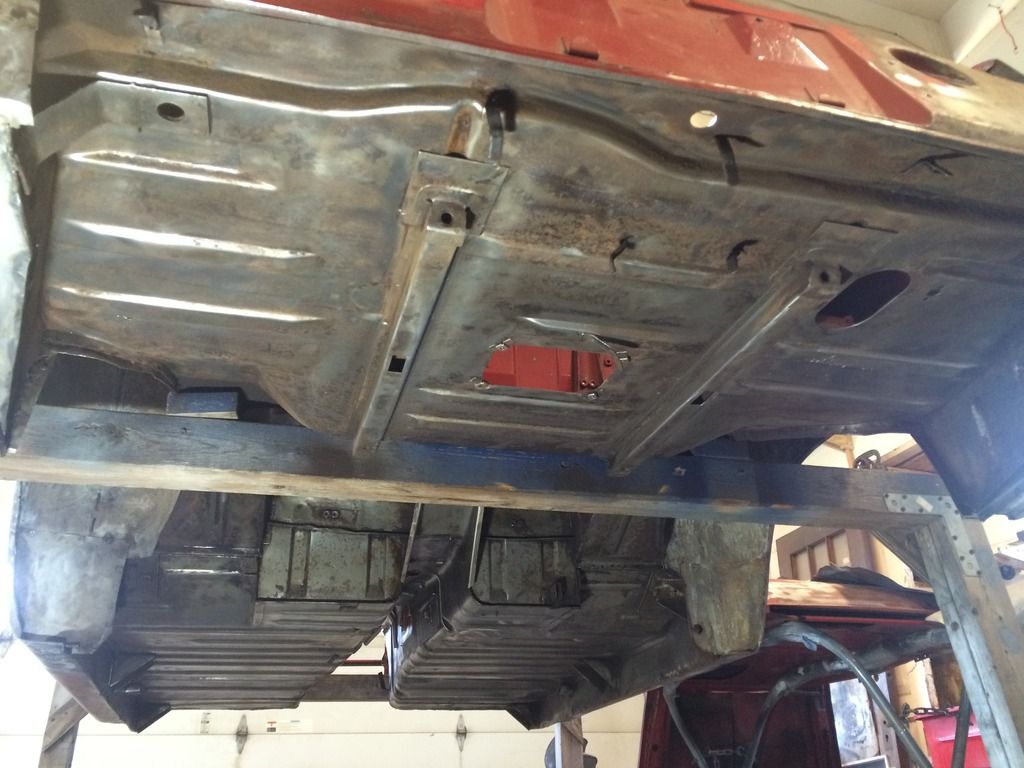
After I fitted the fenders and doors I took everything else off the body.
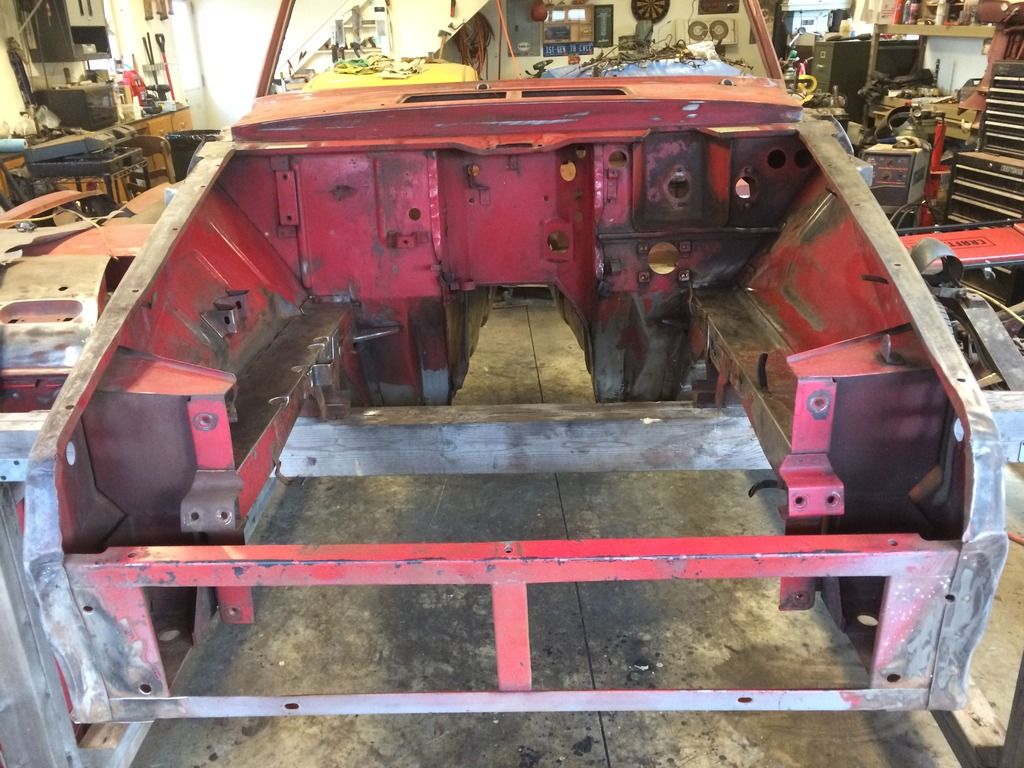
And began the fun process of scraping and stripping the bottom of the car. I am not near done with this part.
Re: 69 2000 Derustoration
Posted: Thu Mar 17, 2016 6:14 pm
by Akpilot
Looking really good Kman,
Not too long ago I was cleaning the underside of my car. I cant even imagine doing it without a rotisserie and getting coated with everything coming off the car. My hats off to you.
Akpilot
Re: 69 2000 Derustoration
Posted: Thu Mar 17, 2016 9:02 pm
by Kman
Ear plugs, hooded sweatshirt, dust mask, face shield. and a direct route to the washing machine.
Re: 69 2000 Derustoration
Posted: Sat Apr 09, 2016 6:39 pm
by Kman
Re: 69 2000 Derustoration
Posted: Tue Apr 12, 2016 6:13 pm
by Kman
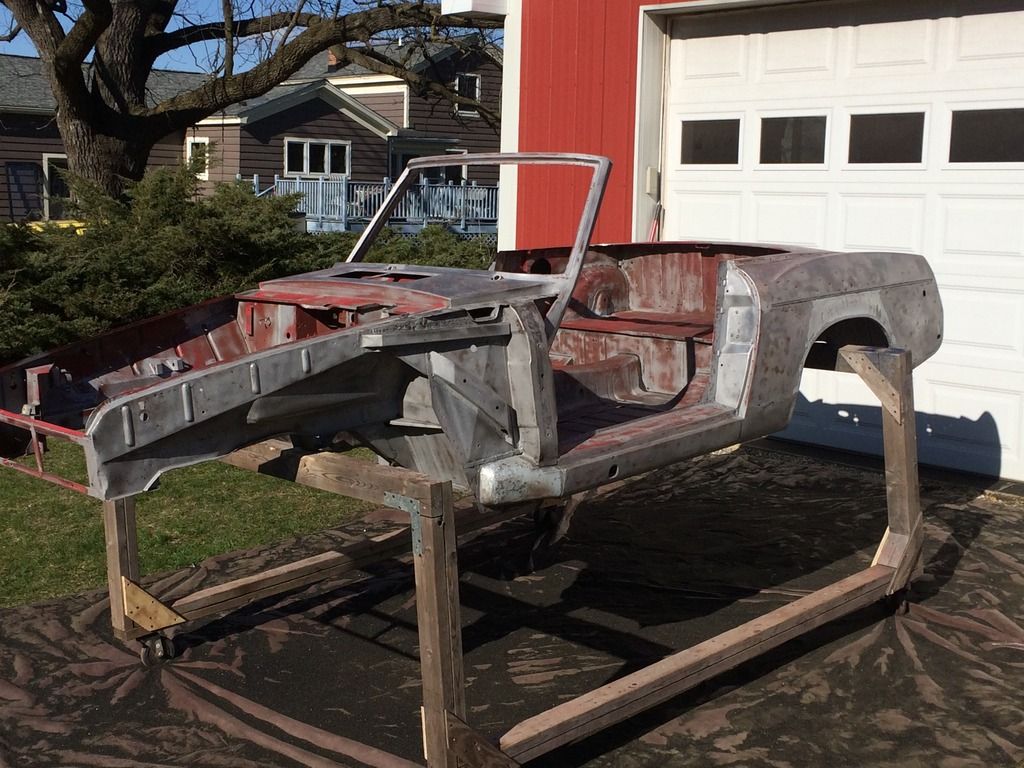
Me and the body are blasted.
Re: 69 2000 Derustoration
Posted: Tue Apr 12, 2016 7:16 pm
by pebbles
Looking good.
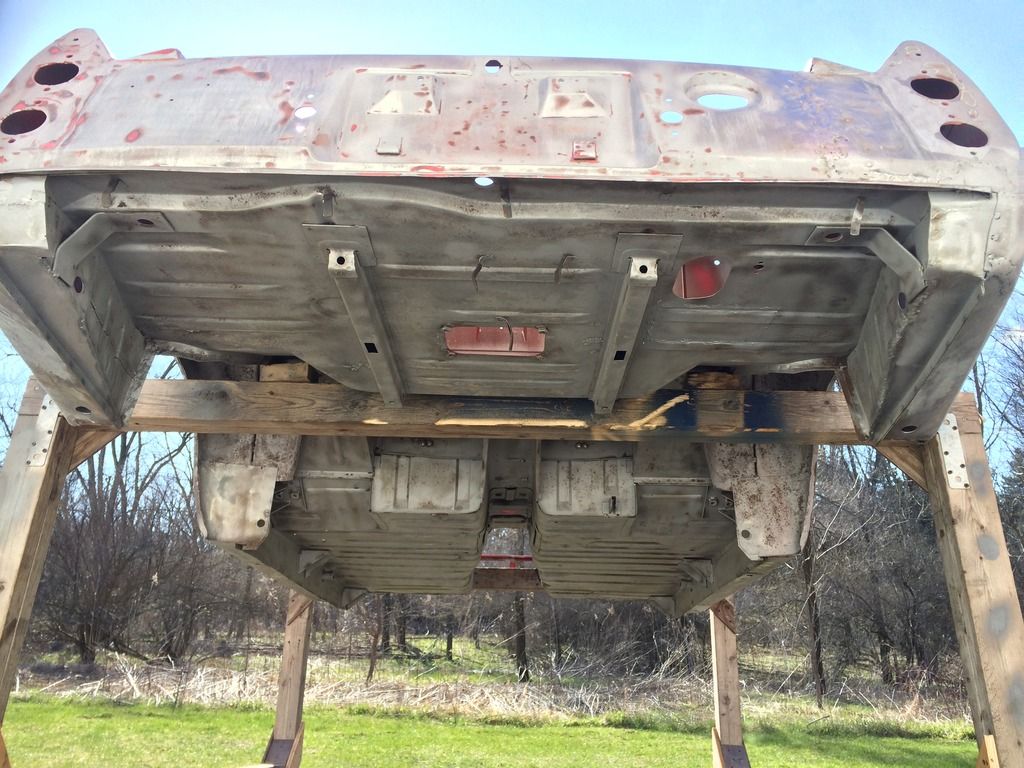
The trunk floor likes to crack at the aft end of the rail doubler. Add a 5" x 5"plate, or do the frame mod.
Re: 69 2000 Derustoration
Posted: Wed Apr 13, 2016 6:35 am
by Kman
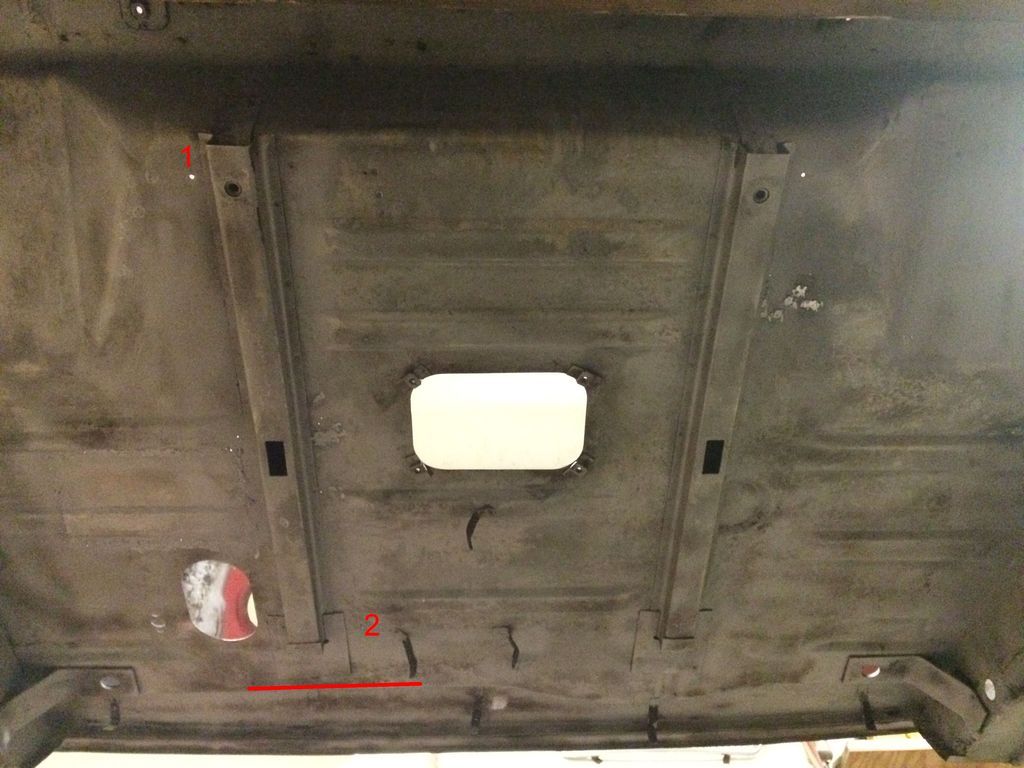
Thanks for the warning pebbles. I am trying to get a better idea as to where the problem happens. I can't find a good picture of this problem. My guess is that is cracks at #2 along the red line? I would rather not attach the tank to the frame.
Re: 69 2000 Derustoration
Posted: Wed Apr 13, 2016 2:12 pm
by pebbles
About 1" forward of the step. It varies slightly from car to car.
In 1970 a longer plate was added.
Re: 69 2000 Derustoration
Posted: Thu Apr 14, 2016 3:26 pm
by Kman
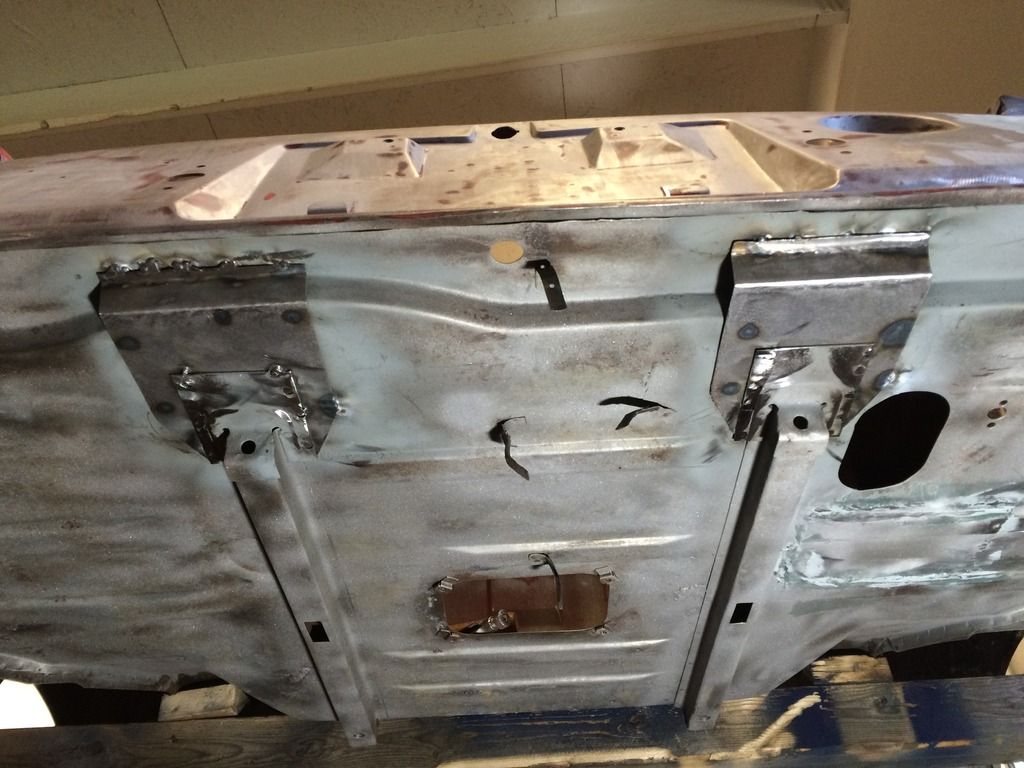
Thanks again. Put these in today. Made with 16 gauge.
Re: 69 2000 Derustoration
Posted: Thu Apr 14, 2016 7:13 pm
by pebbles
nice work.
Re: 69 2000 Derustoration
Posted: Thu Apr 14, 2016 8:25 pm
by S Allen
Mike Young has developed a bolt on solution. You can read about it here.
http://www.311s.org/phpBB3/viewtopic.php?f=60&t=26081
Steve
Re: 69 2000 Derustoration
Posted: Thu Apr 14, 2016 9:02 pm
by spl310
I drilled a hole in the rear frame crossmember and put the Japanese bolts in there
Re: 69 2000 Derustoration
Posted: Thu Apr 28, 2016 7:06 pm
by Kman
Re: 69 2000 Derustoration
Posted: Thu Apr 28, 2016 7:13 pm
by pebbles
Hella Busy!
Re: 69 2000 Derustoration
Posted: Wed May 11, 2016 3:46 pm
by Kman


