Ok, this weekend was spent finalizing the intake plumbing so we can get the engine/trans pulled out of the car, back to the painter for some paint work, etc.
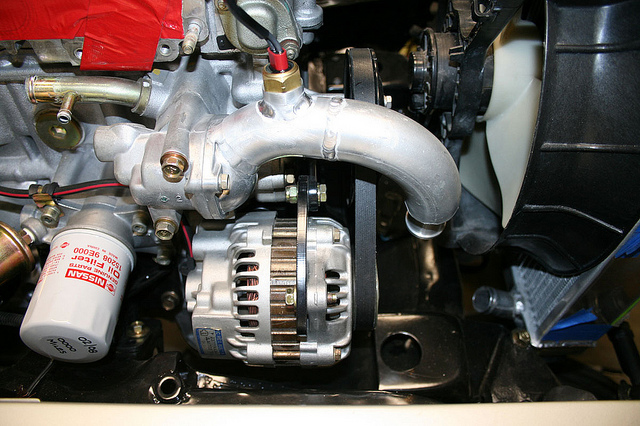
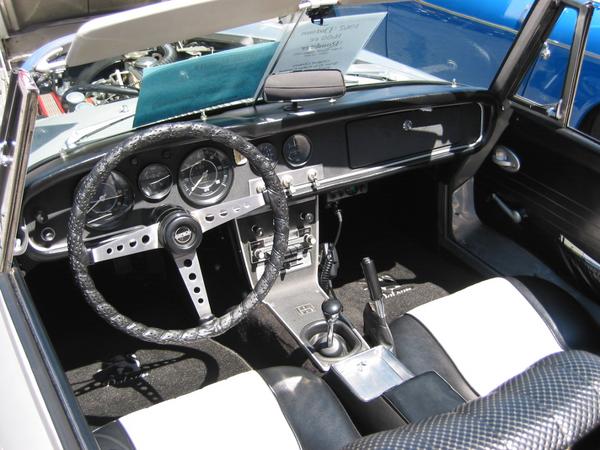
When we left off last weekend, we had not completed the plumbing for the recirculation valve (aka blow off valve), plumed the valve cover breather hose, or finished the plumbing for the turbo to the hot pipe. All of that got sorted out this weekend and lets take a look at what the front of the car looks like now:

Wow, there is a lot of stuff going on here! (Can anyone tell what the support bracket for the return plumbing is from?â€â€hint, it is from an early roadster!)
The recirculation valve should be plumbed as close to the throttle body as possible, and we were able to get it mounted nice and close.

The job of the recirculation valve is to relieve air that is being crammed down the intake tubing when the throttle plate is closed. If you don’t run a recirculation valve, the air will back up through the pluming to the turbo, which if unchecked, can damage the turbo.
Since Nissan uses a MAF air metering system, the EFI system needs to balance the amount of air that is circulating through the system. If the air that was released by the recirculation valve was vented to atmosphere, the EFI system would still think that there was XX pounds of air in the system, and it would continue to add the matching amount of fuelâ€â€which causes a rich running condition and stalling at low speeds. Not good.
So, we need to plumb the recalculated air back into the intake system (after the MAF) so it can be squeezed through the intake plumbing once again. Out the front side of the recirculation valve, and across the front of the engine:

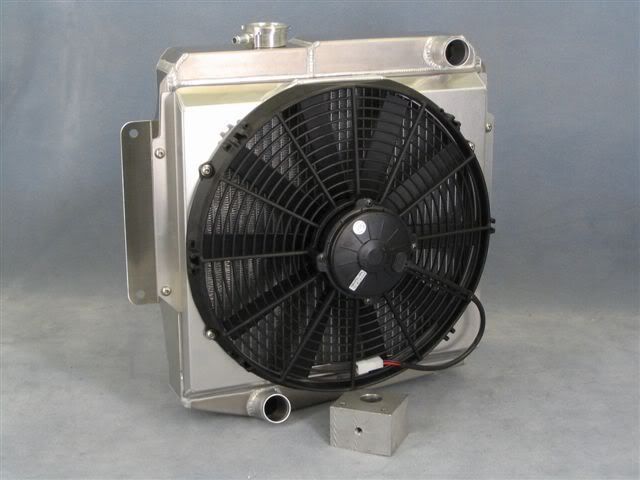
Then down underneath the upper radiator outlet, and into the bottom of the intake plumbing, after the MAF, but before the turbo (you can see the mystery bracket here too):

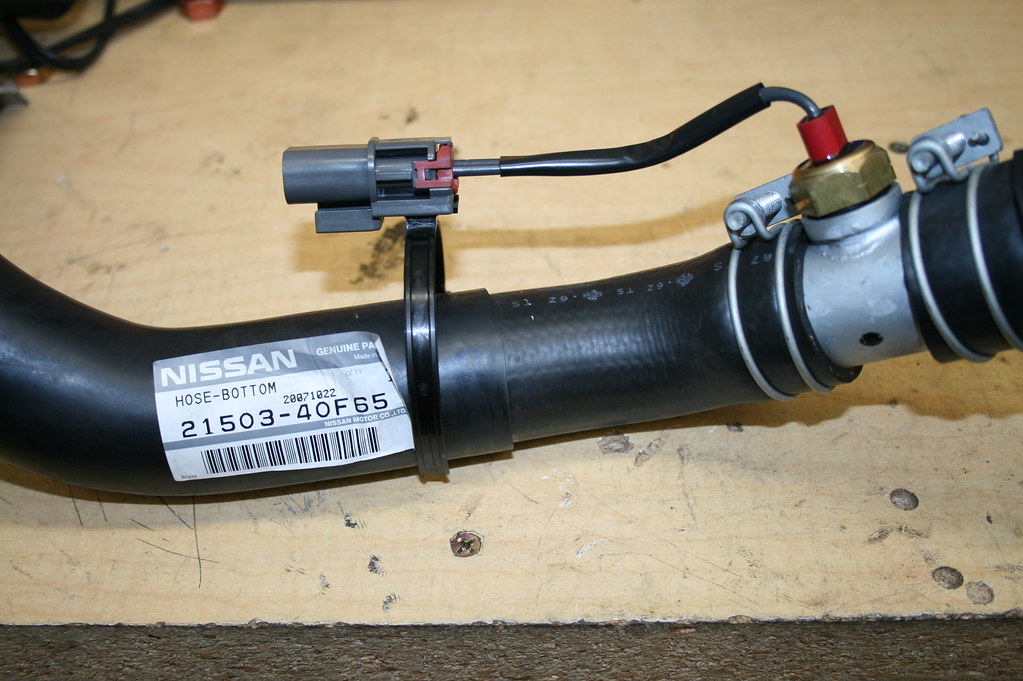
You can also see the valve cover breather hose that has been plumbed back into the intake. This is also very important if you want your car to run properly but this is not just an ordinary hose-- these are the details that you need to pay attention to:

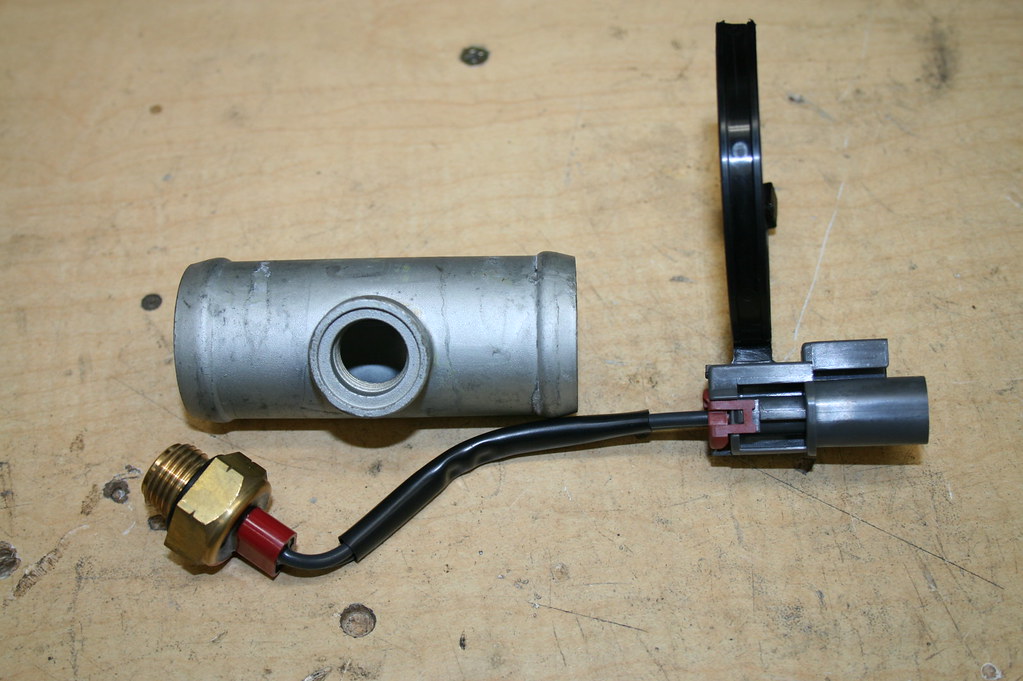
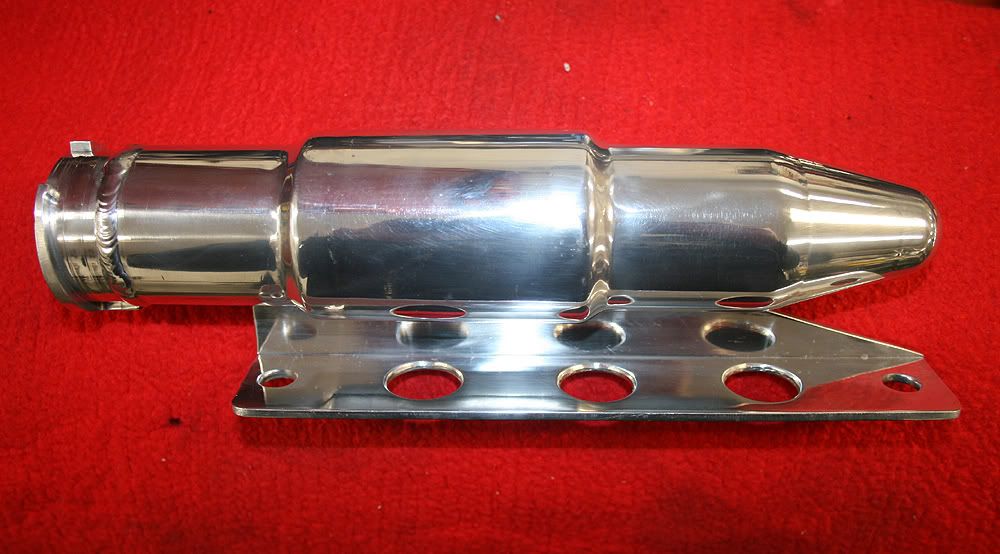
The stock valve cover breather hose was not quite right to match up with our intake plumbing, so a replacement was sourced that fit our application much better. Inside the middle of the stock turbo hose is this brass bushing. Its job is to stop oil from leaking down into the intake, but still allow any air from the PCV system to be able to breathe into the intake to keep a good PCV balance.
To keep all of this happy, you need to put the restrictor back into the plumbing so you are not just sending down oil into your intakeâ€â€not good! Cut the bushing out of the stock intake hose and liberally squirt down the inside of the new hose and press it into place (on the valve cover side of the hose!) Here is a shot of the restrictor before being pressed back into the new hose:

We also pressure tested all the intake plumbing, as well as the intercooler. This was done by plugging the hoses with PCV caps, the silicone couplers, and the use of a Schrader valve in the end of one of the caps. All the pressurized intake plumbing was test for pin holes so we know that we won’t have any boost leaks:

One last shot; here is the newly painted valve cover on for a quick test fit with all the intake plumbing done:

If there are any details that any of you want more information on, or another view of, don't hesitate to contact me.
I also want to take this opportunity to give a shout-out to my assistant Eric Straw. He has been a HUGE help on this project and has come up with some really great, innovative ideas, many of which you can see here in these pages well done!
Michael Spreadbury
Spriso Motorsports