Interior aluminum trim restoration

General topics.

Moderators: notoptoy, S Allen, Solex68

Post Reply
User avatar
guyatou
Roadster Fanatic
Posts: 333
Joined: Tue Aug 16, 2011 10:34 am
Location: Oklahoma City, Okla.
Contact:

Interior aluminum trim restoration

Post by guyatou »

I get a lot of help and advice from everybody on here, but I rarely have any good tech advice to contribute to the group. However, I am picky about bright work, and know a bit about how to make our cars shine. (I had my own aircraft detail company when I was in high school.)

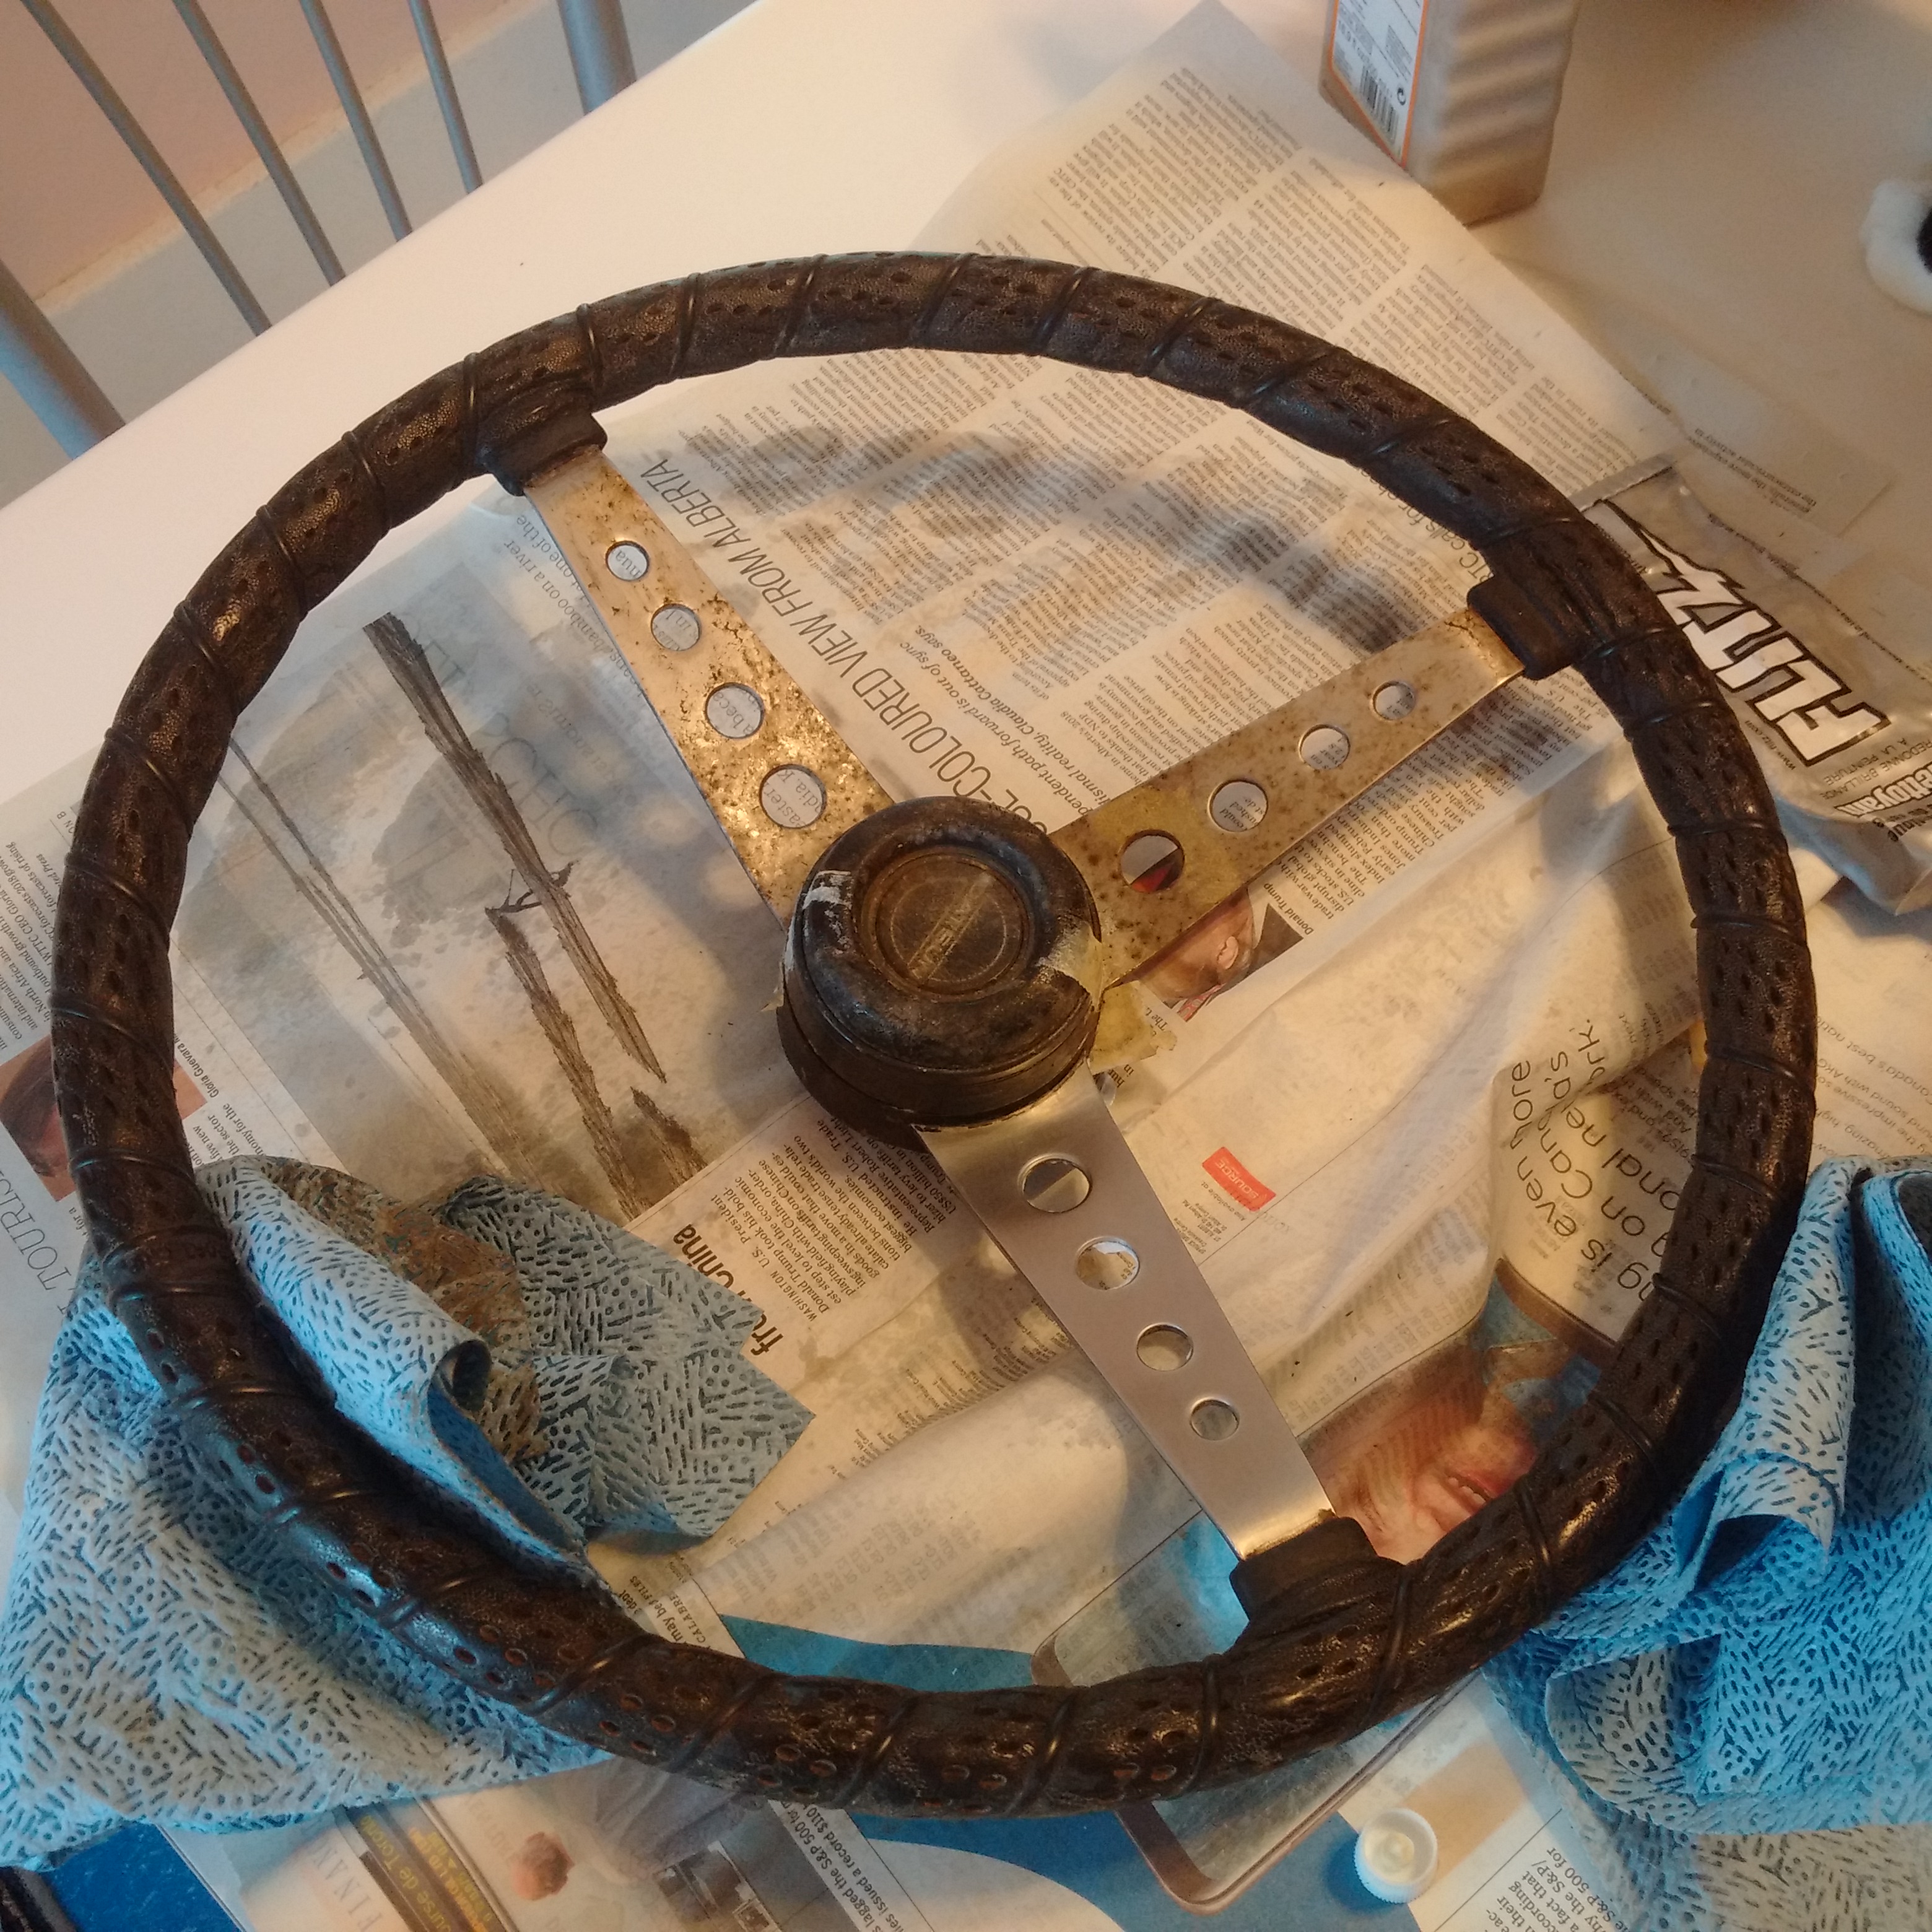
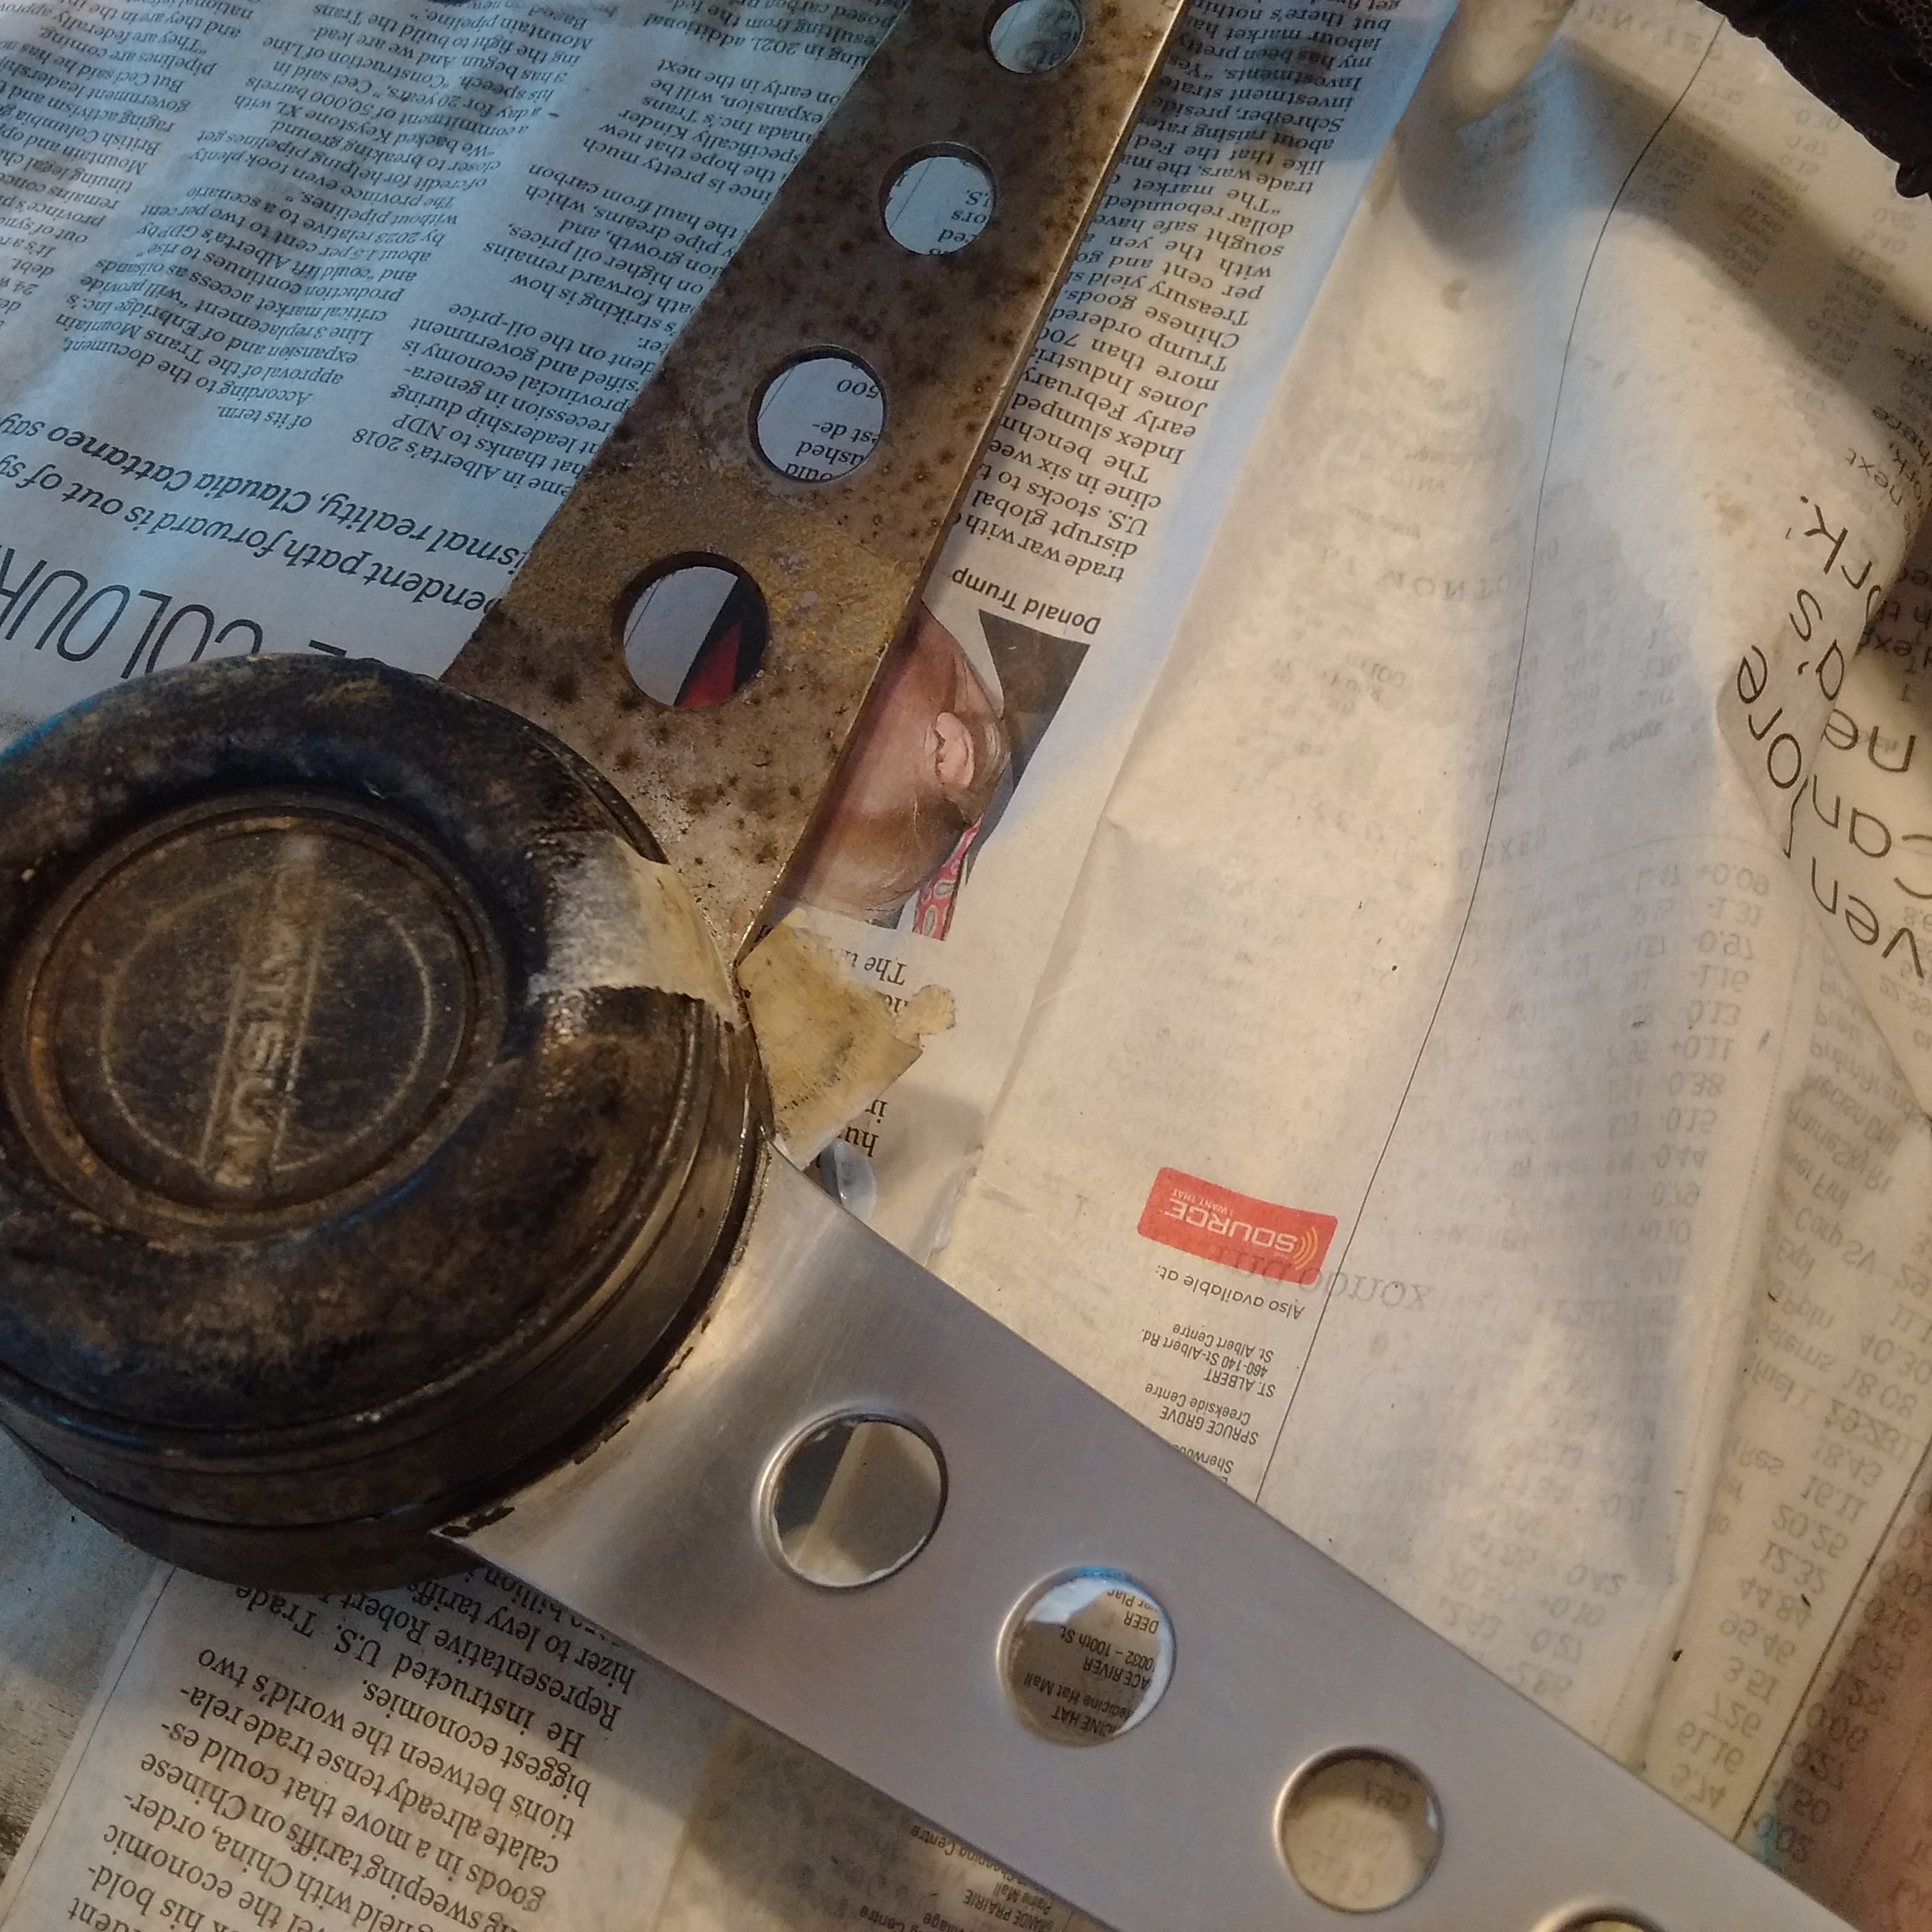
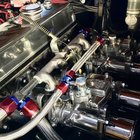
I decided to tackle my very bad ribbed aluminum kick panels and door sills this week. It took some work, but yielded nice results.

Step 1: Remove panels, degrease if necessary. Clearly mine have seen better days.
IMG_9574.jpg
Step 2: Scrub with a brass brush and water. (DO NOT use steel wool or a steel brush. They are too harsh.) You can be somewhat aggressive with this step, but make sure to keep the surface wet, and wipe away the black debris as you go. Brush in line with the ribs of the metal. This step removes big debris, and will remove some of the coarse defects. Work in small patches.
IMG_4775.jpg
Step 3: The metal is clean but very dull because you've completely scuffed up the original factory polish. Don't panic! Rise with water.
IMG_8259.jpg
Step 4: I use a metal polish called Flitz that we used the 90s at the airport where I worked. It's safe for chrome, aluminum, plastic headlights, etc. I used to polish aircraft windscreens with it -- and silver flatware. It's somewhat hard to find these days. I think I got this can from Amazon some years ago. Any metal polish will probably work, but this is what I use for everything. My recollection is it's made with aluminum oxide, so it's not very aggressive, unlike some polishes.
IMG_3743.jpg
Step 5: Using a terrycloth rag, apply polish and rub in the direction of the ribs of the metal. A heavy terrycloth works better than a smooth shop rag due to the ribs. Work in small areas and wipe with a clean cloth on occasion to see your progress. You can't overdo this step in my experience, so keep at it until it looks pretty good. Wipe down with a clean section of your cloth again when you're pleased with the results.
IMG_6838.jpg
Step 6: Extra credit: Polish with a stiff toothbrush to get down in the grooves a little farther. Wipe with a clean section of cloth. The toothbrush stage may be overkill, but I want this to shine like a diamond in the sky. And I'm a little OCD about these things. Wipe with a clean section of cloth. You'll notice the metal looks pretty good, but it's a little hazy and dull. Onto the next step!
IMG_4223.jpg
Step 7: Time to pull out the secret weapon: Raid the cupboard for some regular old flour. Sprinkle the flour on the metal. You don't have to go full-on Tony Montana here, a little white powder will go a long way. :D Grab a fresh terry towel and polish the metal with the flour. Don't reuse your previous towel for this step. A lot of black oxidation will come off on the rag. The aluminum will quickly look good -- don't spend a lot of time on this step. (If it isn't shiny enough for your taste, go back to either Step 5 or Step 6.)
IMG_4544.jpg
Step 8: Admire your fine handiwork and reinstall.
IMG_1278.jpg
I hope this helps someone get their car shined up. My 68 SRL has terrible paint (3 layers!) and some major dents, but I get compliments on it all the time -- mostly because the bright work is always shiny and attracts the eye away from its defects.

You might check with an expert before you get this aggressive with a Concours-level car -- this process dulls and replaces the factory polish completely on the aluminum parts (the brass brush step) and that may be a no-no for high-end cars. But for your average driver, this will make your bright work pop! Failing the brass brush, you can just use more elbow grease and stick with metal polish only. I've tried that in the past, but for these solid aluminum parts, it takes forever to get a good shine.

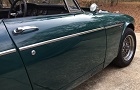
NOTE: If you decide to clean up your chrome bright work DON'T use the brass brush. Flitz or other metal polish with some elbow grease will be sufficient and safe for the metal.
You do not have the required permissions to view the files attached to this post.
Michael D.
Oklahoma City
1968 SRL-311
1930 Model A Ford
insta: @downesphoto
User avatar
AC77
Roadster Fanatic-Site Supporter
Posts: 472
Joined: Thu Jun 22, 2017 11:21 am

Re: Interior aluminum trim restoration

Post by AC77 »

Looks great! Thanks for the detailed post.
Adam C
1967 Datsun Roadster 1600, "Ivy" Registry | Photos
--
1964.5 Ford Mustang Coupe
1972 Chevy Luv
User avatar
Pjackb
Roadsteraholic
Posts: 1252
Joined: Fri Nov 04, 2016 2:49 pm
Location: Montreal,Qc & Plattsburgh,NY

Re: Interior aluminum trim restoration

Post by Pjackb »

Thanks for posting,
Flitz is still available at Aircraft Spruce,

Personally I’m partial to the Nuvite line of metal polisher , expensive but IMO best on the market
https://nuvitechemical.com/wp-content/u ... 6WEB-1.pdf

The lip on the wheels in my Avatar was finished by hand using these products
JT68
Talented Enthusiast
Posts: 2920
Joined: Sun Jan 27, 2013 9:43 am
Location: Cumming, GA

Re: Interior aluminum trim restoration

Post by JT68 »

Great job! I always just brushed them (only lengthwise) with a hand welding brush. Gives a very nice brushed AL finish- (since it is brushed AL) Will have to try this polish too.
You do not have the required permissions to view the files attached to this post.
LT/JT
https://www.datsunrestorationproducts.com/
Only the very BEST parts for your Datsun- 10000's of items in stock
New, Used and Reproduction!
User avatar
vorpal
Roadster Fanatic
Posts: 257
Joined: Fri Sep 21, 2012 2:32 pm
Location: Edmonton, Alberta, Canada

Re: Interior aluminum trim restoration

Post by vorpal »

Flitz polish is my go-to as well, as you mentioned, it's a mild abrasive and you can't go too far with it. I get mine from a local restaurant supply company.

Used some last week cleaning up the steering wheel that was in the trunk of my '67.5 1600:

Image

Image

Pro tip... use a maple dowel and sharpen to a rounded point to get into the tight areas next to the leather to remove corrosion.

Final result (also with a ton of leather cleaner and conditioner):

Image
Rob
1969 Datsun 2000 Solex # 12921
1967.5 Datsun 1600 # 14262
1990 300ZX Twin Turbo
another 1990 300ZX Turbo
1993 300ZX Convertible
new garage DONE Oct 2019!!!
Edmonton, Canada
User avatar
S Allen
Site Admin
Posts: 4531
Joined: Thu Dec 05, 2002 4:57 pm
Location: Knoxville, IA(Lake Redrock)Emory, TX
Model: 1500/1600
Year: Low Windshield-64-67.5
Contact:

Re: Interior aluminum trim restoration

Post by S Allen »

This looks like a good one for the tech wiki. Is it okay to add it? Thanks.

Steve
66 Stroker-Going Orange
67 SRL311-00279-resto project
Stock '72 240Z-Blue
2002 Ford F250 7.3 Diesel 2WD Hauler
2008 Toyota FJ Cruiser
2009 Smart ForTwo Passion Coupe
2013 Fiat 500 Abarth
User avatar
pebbles
Roadster Fanatic-Site Supporter
Posts: 3925
Joined: Thu Dec 16, 2010 12:00 am
Location: Washington

Re: Interior aluminum trim restoration

Post by pebbles »

S Allen wrote: Sun Apr 01, 2018 11:12 am This looks like a good one for the tech wiki. Is it okay to add it? Thanks.

Steve
+1
David


"When we were standing next to the motor while on the dyno, and the motor hit VVL, eyes went watery.."
User avatar
Mattk
Roadster Nut-Site Supporter
Posts: 677
Joined: Mon Oct 28, 2013 1:49 pm
Location: DFW, TX
Model: 2000
Year: High Windshield-68-70

Re: Interior aluminum trim restoration

Post by Mattk »

I’ve got to try this!
Thanks for the post

Matthew
MattK
User avatar
Bigtaku
Roadster Fanatic
Posts: 407
Joined: Mon Dec 26, 2016 4:10 pm
Location: Dayton, Nevada
Model: 1500/1600
Year: High Windshield-68-70

Re: Interior aluminum trim restoration

Post by Bigtaku »

I spent several hours with electric brass wheel but did not keep it wet. I had lots of pitting on my aluminum and now it is more pitted but shiny. I hope your method will help me out. Can't seem to add photos
Michael Montez
User avatar
toplessdottie
Roadster Fanatic
Posts: 94
Joined: Mon Apr 11, 2011 8:40 pm
Location: Dallas

Re: Interior aluminum trim restoration

Post by toplessdottie »

S Allen wrote: Sun Apr 01, 2018 11:12 am This looks like a good one for the tech wiki. Is it okay to add it? Thanks.

Steve
+1
Just be happy, and have fun!

Chris in Dallas
'64 1500 3 seater
'70 2000 KA Swap
'21 Titan Pro4x
User avatar
S Allen
Site Admin
Posts: 4531
Joined: Thu Dec 05, 2002 4:57 pm
Location: Knoxville, IA(Lake Redrock)Emory, TX
Model: 1500/1600
Year: Low Windshield-64-67.5
Contact:

Re: Interior aluminum trim restoration

Post by S Allen »

Well, I never got permission but I did it any way.

Interior aluminum trim restoration

I can always remove it if it comes to that.

S
66 Stroker-Going Orange
67 SRL311-00279-resto project
Stock '72 240Z-Blue
2002 Ford F250 7.3 Diesel 2WD Hauler
2008 Toyota FJ Cruiser
2009 Smart ForTwo Passion Coupe
2013 Fiat 500 Abarth
User avatar
#009
Roadster Fanatic
Posts: 111
Joined: Fri Oct 30, 2015 12:19 pm
Location: Concord, CA
Contact:

Re: Interior aluminum trim restoration

Post by #009 »

Thanks for the great tip. I like the product so much that I even tried it on my ti frame w/ great result.
You do not have the required permissions to view the files attached to this post.
User avatar
vorpal
Roadster Fanatic
Posts: 257
Joined: Fri Sep 21, 2012 2:32 pm
Location: Edmonton, Alberta, Canada

Re: Interior aluminum trim restoration

Post by vorpal »

S Allen wrote: Mon Apr 02, 2018 11:33 pm Well, I never got permission but I did it any way.

Interior aluminum trim restoration

I can always remove it if it comes to that.

S
What's the old saying about asking for forgiveness rather than permission? :lol:
Rob
1969 Datsun 2000 Solex # 12921
1967.5 Datsun 1600 # 14262
1990 300ZX Twin Turbo
another 1990 300ZX Turbo
1993 300ZX Convertible
new garage DONE Oct 2019!!!
Edmonton, Canada
User avatar
guyatou
Roadster Fanatic
Posts: 333
Joined: Tue Aug 16, 2011 10:34 am
Location: Oklahoma City, Okla.
Contact:

Re: Interior aluminum trim restoration

Post by guyatou »

S Allen wrote: Sun Apr 01, 2018 11:12 am This looks like a good one for the tech wiki. Is it okay to add it? Thanks.

Steve
Absolutely! Probably in the restoration section. I'm excited to be able to contribute something!
Michael D.
Oklahoma City
1968 SRL-311
1930 Model A Ford
insta: @downesphoto
User avatar
guyatou
Roadster Fanatic
Posts: 333
Joined: Tue Aug 16, 2011 10:34 am
Location: Oklahoma City, Okla.
Contact:

Re: Interior aluminum trim restoration

Post by guyatou »

S Allen wrote: Mon Apr 02, 2018 11:33 pm Well, I never got permission but I did it any way.

Interior aluminum trim restoration

I can always remove it if it comes to that.

S
Sorry for the delay, Allen -- I was on a 2500 mile trip in my Roadster the last few weeks. You're always welcome to do whatever you see fit with my posts. Always happy to help when I can!
Michael D.
Oklahoma City
1968 SRL-311
1930 Model A Ford
insta: @downesphoto
Post Reply